


在photoshop怎样设计逼真的牵牛花插画呢?下面就为大家分享photoshop设计逼真的牵牛花插画的操作方法,有需要的可以来了解了解哦。
photoshop设计逼真的牵牛花插画的操作方法

1、准备一张花朵素材,导入文件,调整大小和位置,作为绘制参考
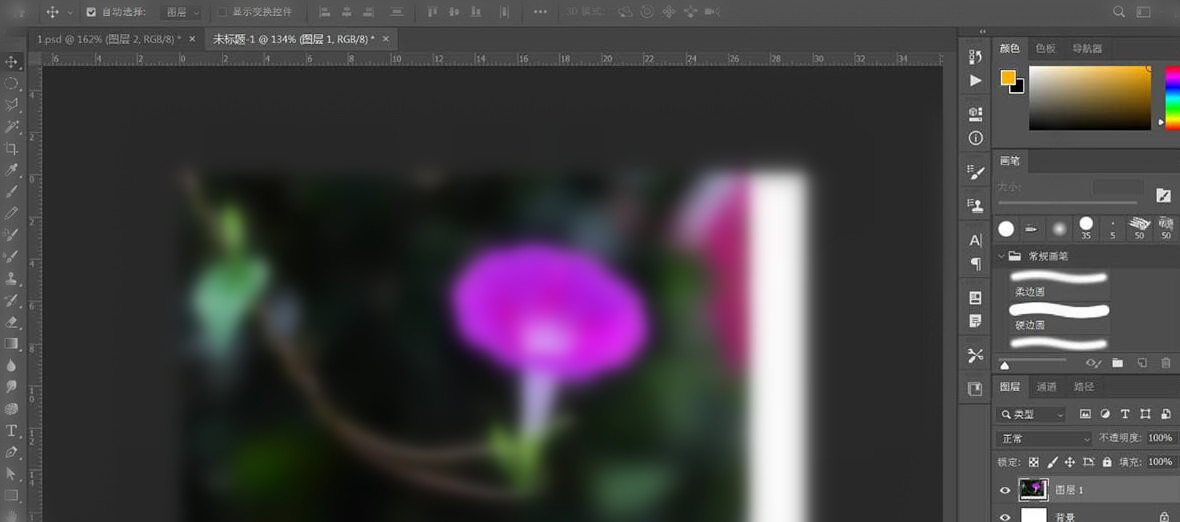
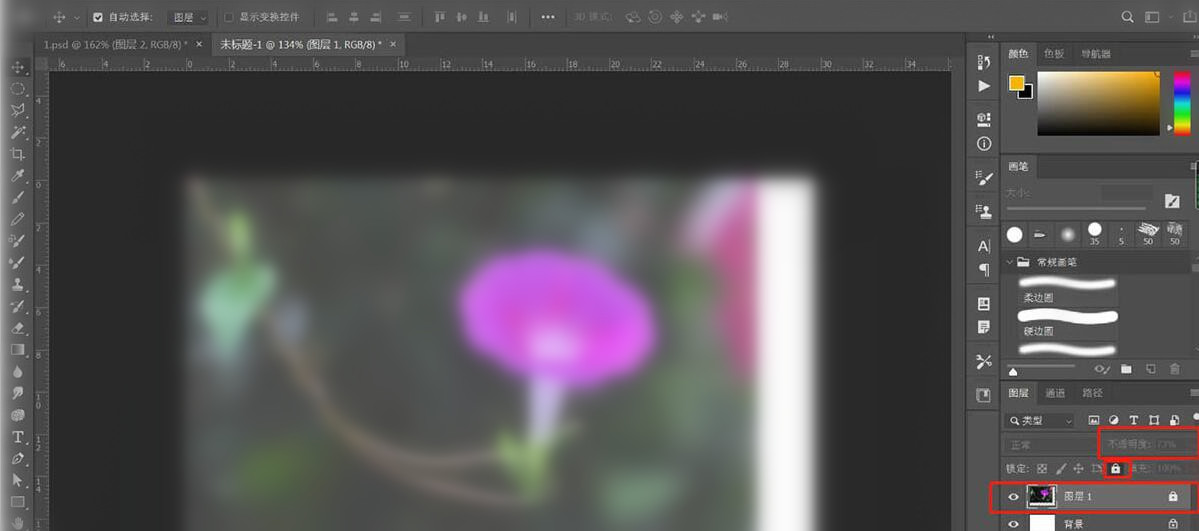
2、降低素材图层的透明度,并锁定素材图层,
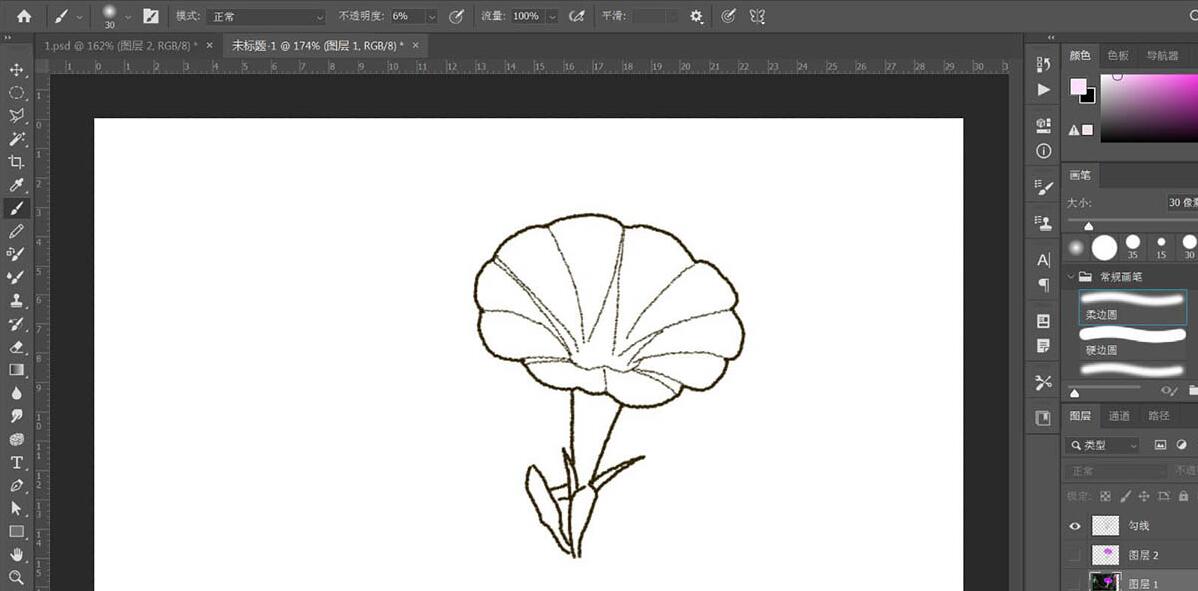
3、新建图层,双击图层上的文字,更改图层名称为“勾线”,使用画笔工具,调整画笔大小,沿着花朵的轮廓,绘制花的形状,
4、再次在素材图层上方,勾线图层下方,新建一层,作为大面积上色图层,使用画笔工具,调整画笔大小,选择不同颜色,给花朵上色,
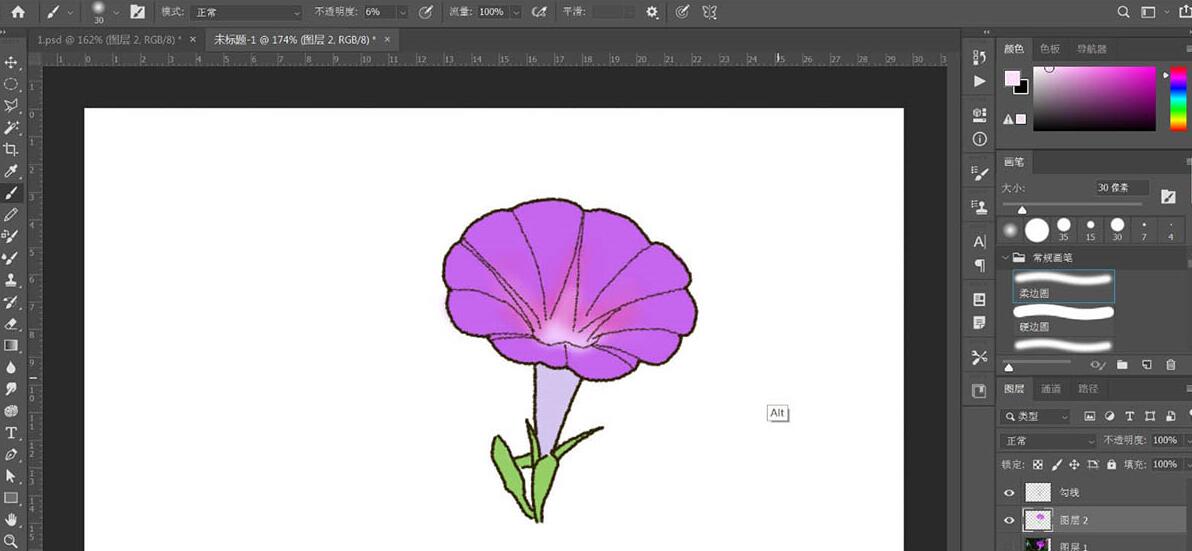
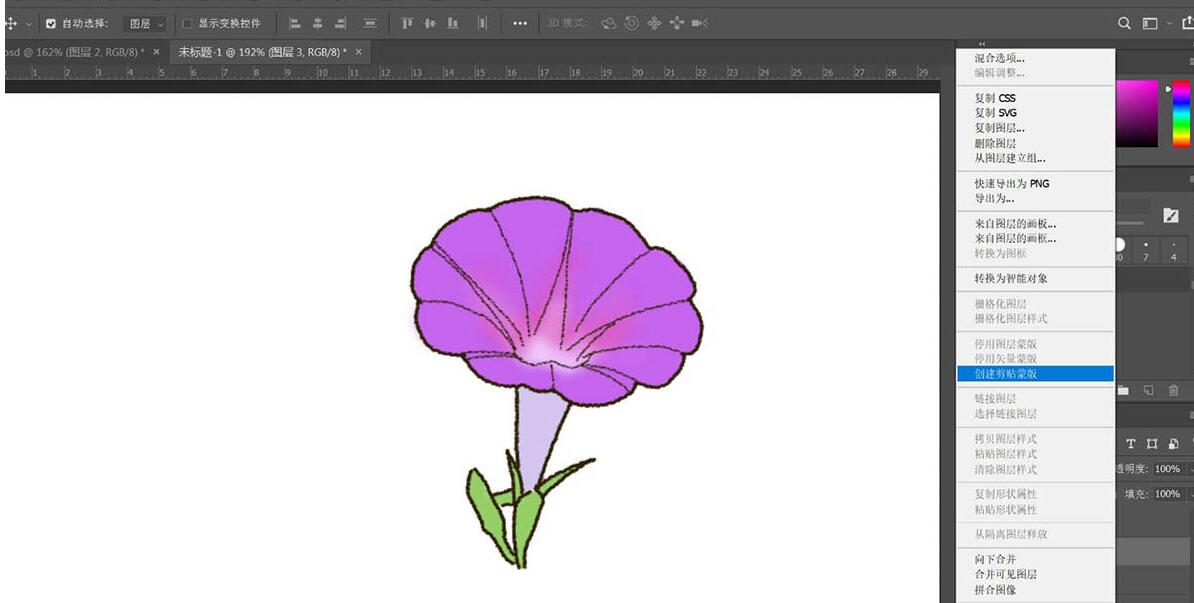
5、图层2上方新建图层,右键,创建剪切蒙版,这一步是为在大色块上进行细节的调整
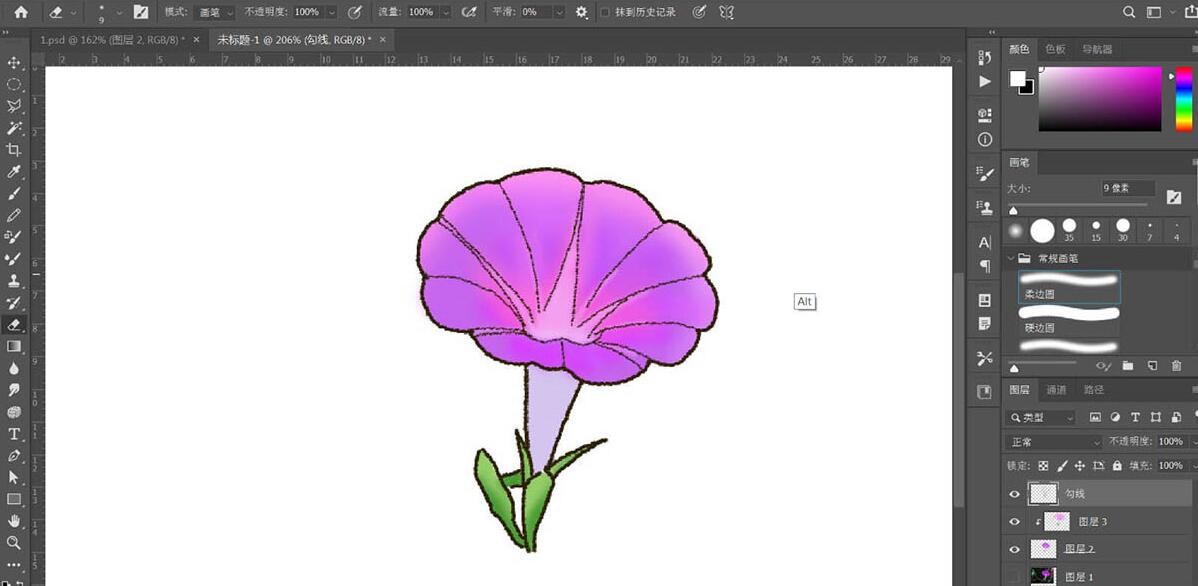
6、画笔工具,使用不同颜色,画出花朵和叶子的细节,此时会大量用到柔边圆笔刷,这样过渡会比较自然
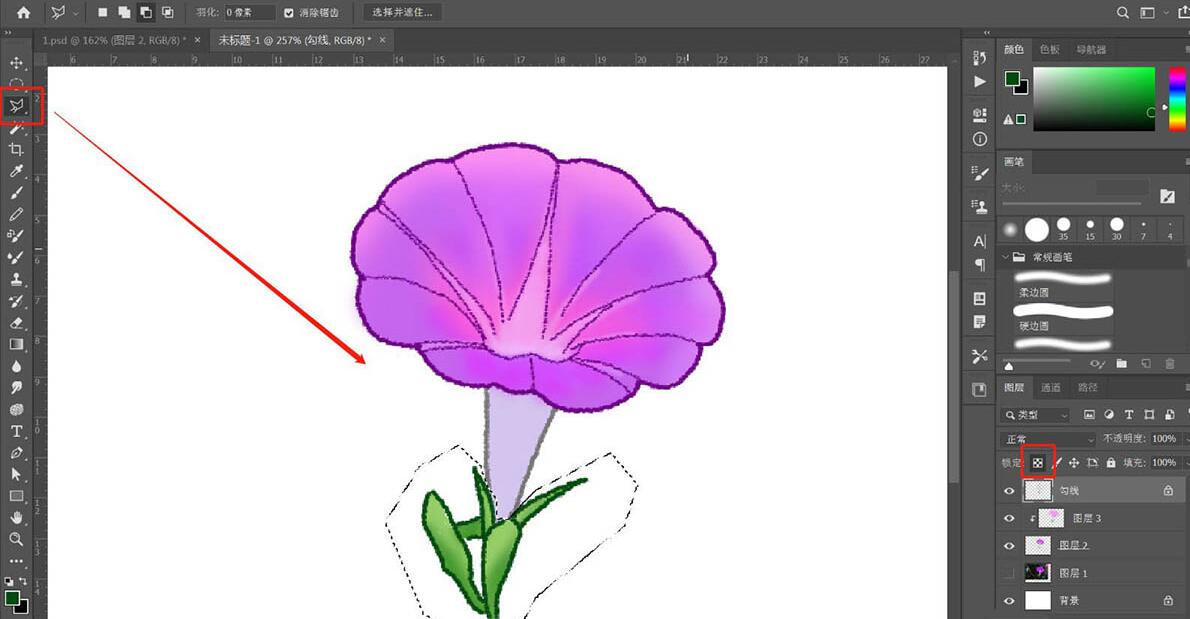
7、锁定勾线图层的透明像素,使用多边形套索工具,分别对叶子、花身、花朵进行选取,将勾线颜色变为各自同色系较深的颜色,效果完成如图
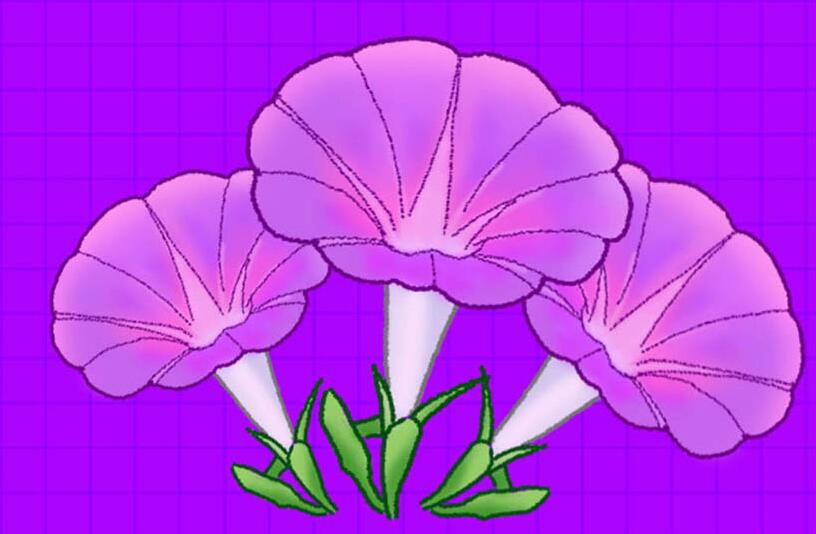
8、复制2个,调整位置和大小,效果完成。
以上这里为各位分享了photoshop设计逼真的牵牛花插画的操作教程。有需要的朋友赶快来看看本篇文章吧。