


亲们想知道wps怎样利用两张图片排版封面图的操作吗?下面就是小编整理的wps利用两张图片排版封面图的操作方法,赶紧来看看吧,希望能帮助到大家哦!
wps利用两张图片排版封面图的操作方法

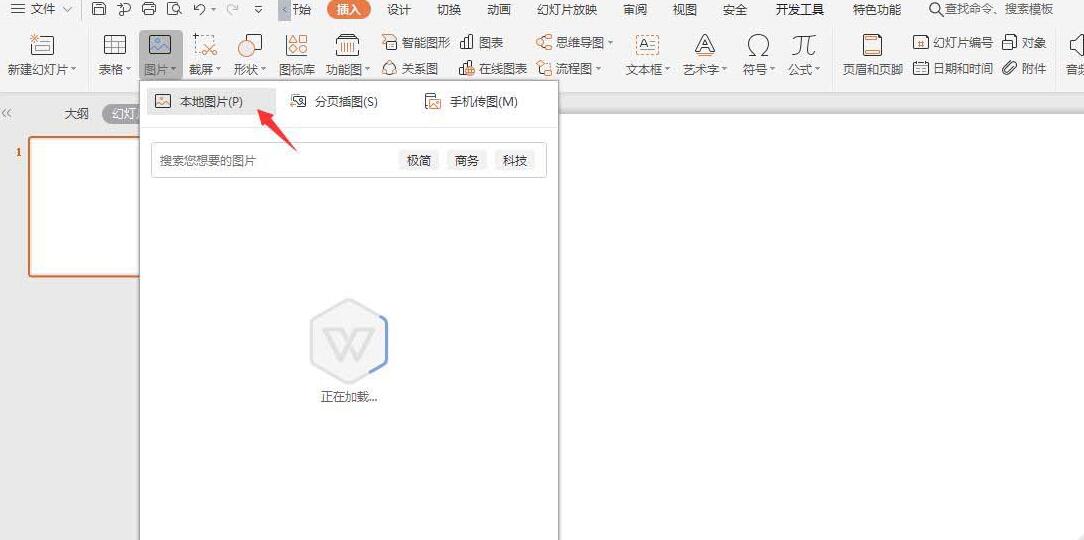
1、在插入选项卡中点击图片,选择其中的本地图片,插入要进行制作的两张图片。
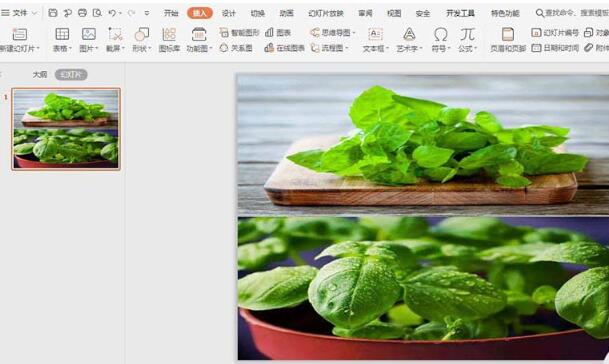
2、调整图片的大小,摆放至如图所示的位置。
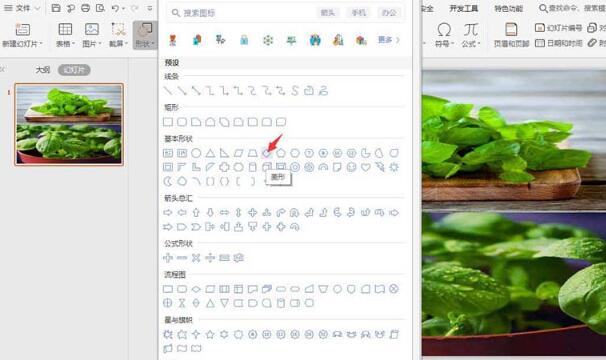
3、在插入选项卡中点击形状,选择其中的菱形,在页面上绘制出形状。
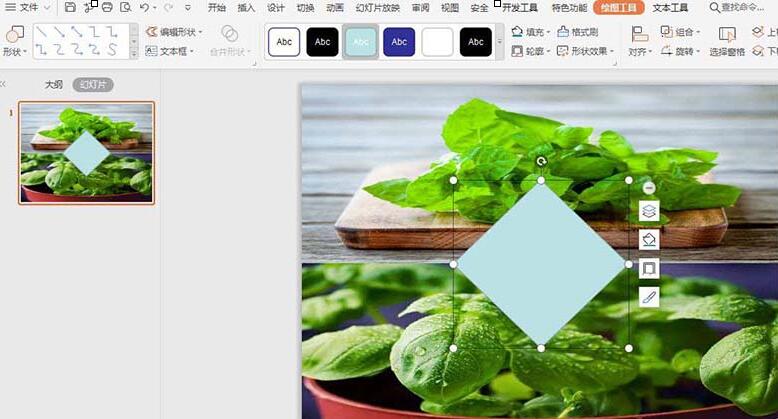
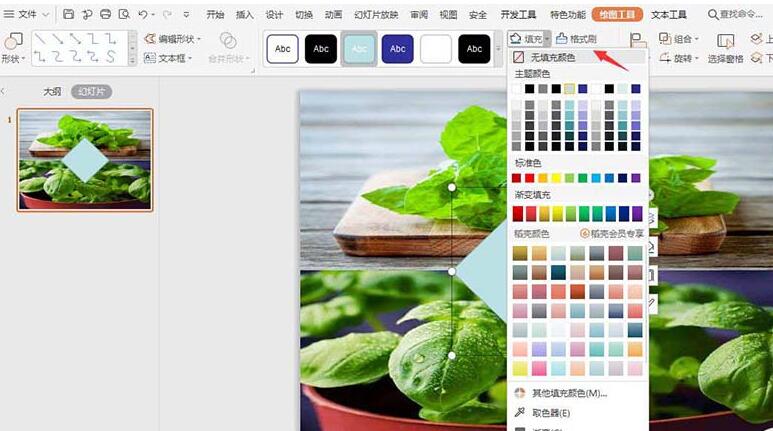
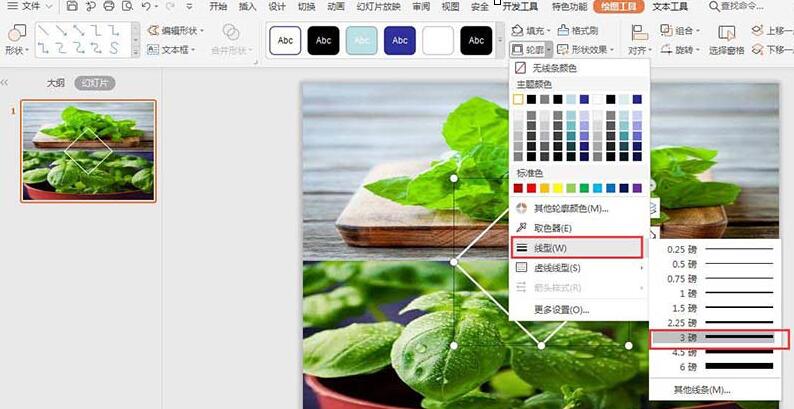
4、选中菱形,在绘图工具中点击填充,选择其中的“无填充颜色”,点击轮廓,线条颜色填充为白色,线条宽度设置为3磅。
5、接着在插入一个小菱形,放置在大菱形的中间,颜色填充为白色,设置为无线条。
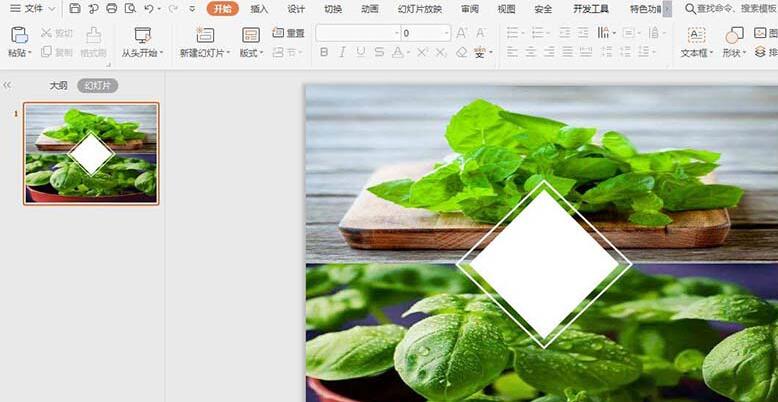
6、最后,在菱形中输入标题,这样封面就只做好了。

以上这里为各位分享了wps利用两张图片排版封面图的操作方法。有需要的朋友赶快来看看本篇文章吧。