


想知道如何借助Axure RP设计饼图吗?其实在Axure RP中操作起来是非常简单的,那么下面就分享一下Axure RP设计饼图的操作方法吧,大家可以参考操作。
Axure RP设计饼图的操作方法

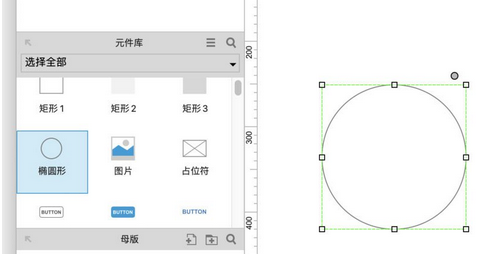
1、首先我们打开软件在元件库中选择“椭圆形元件”并拖入到画布中(如图)。
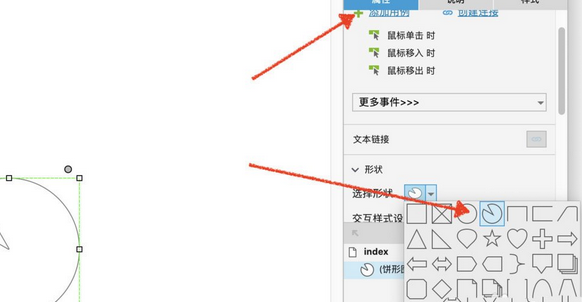
2、绘制好矩形后在属性栏“选择形状”中选择饼图(如图)。
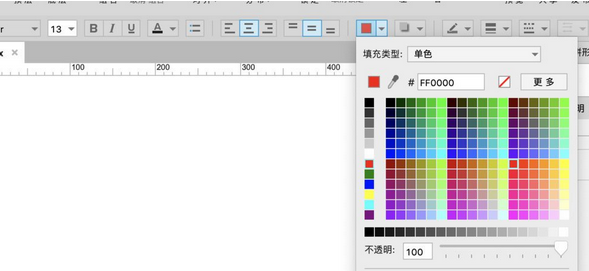
3、给椭圆形添加填充颜色为红色(如图)。
4、选择椭圆形工具绘制一个同等大小的椭圆绘制边框,鼠标右键吧绘制好的椭圆至于红色饼图的下面(如图)。
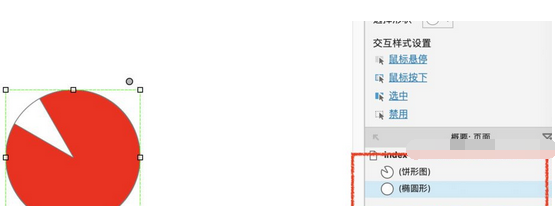
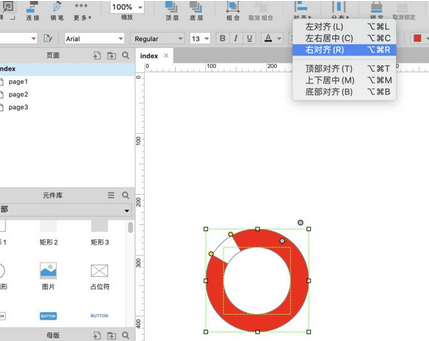
5、再次选择一个椭圆形工具,绘制中心区域,在椭圆中间绘制一个椭圆,全部选择后,在属性栏中选择居中对齐(如图)。
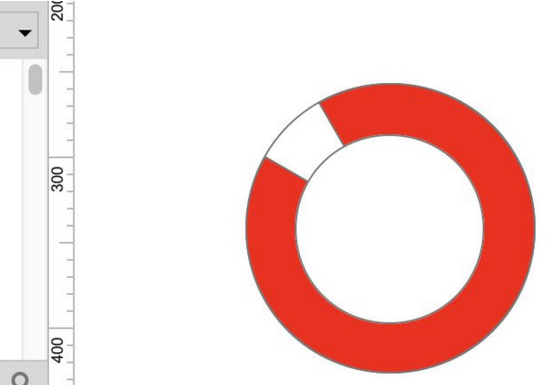
6、完成查看效果(如图)。
上文为大家分享的Axure RP设计饼图的操作方法,大家学会后可以去试试哦。