


使用word文章文字排版成波浪效果呢?想必有的网友还不太了解的,为此,今日小编带来的这篇文章就为大伙分享了word文章文字排版成波浪效果的详细教程,一起来看看吧。
word文章文字排版成波浪效果的操作教程

1、打开word,建立空白文档。
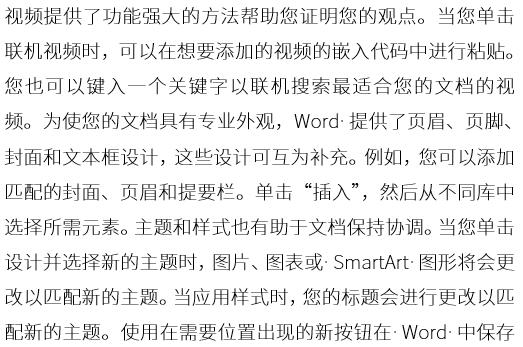
2、插入默认样式的文本框,并输入文字。
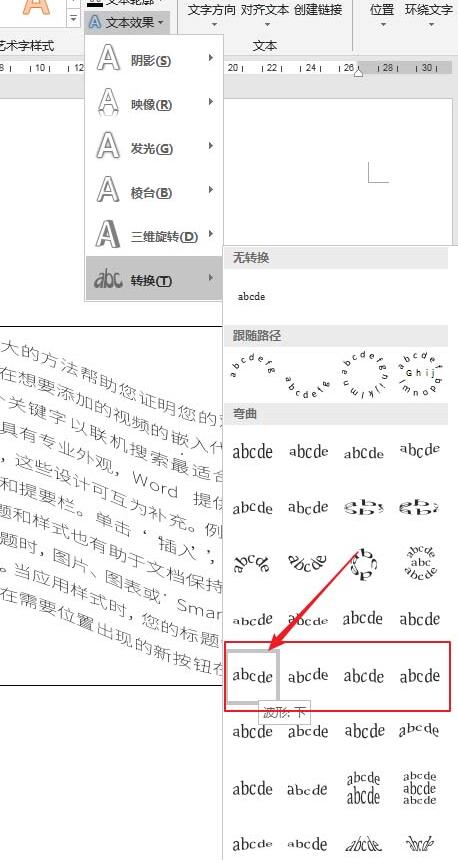
3、选中文本框,点击【绘图工具】—【格式】—【文本效果】—【转换】—【波形】。
4、这样,文本框中的文字就变成了波浪形。
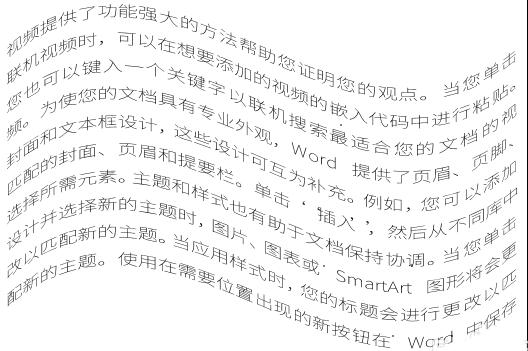
5、去掉文本框边框,拖动文本框上的两个黄色控制点。

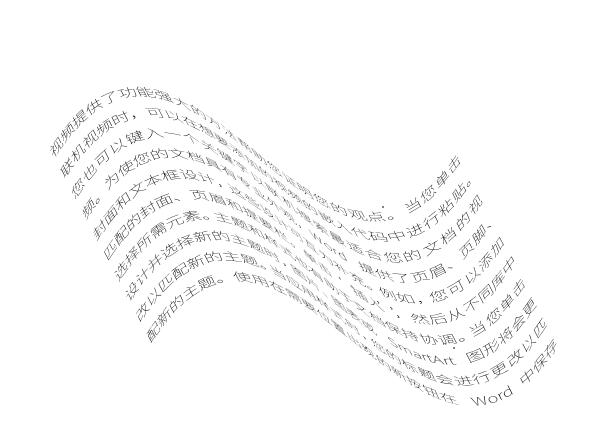
6、这样,就得到了具有波浪效果,而且带有一定立体感的文字,可以作为文档排版使用的素材。
上面就是小编为大家讲解的word文章文字排版成波浪效果的操作方法,一起来学习学习吧。相信是可以帮助到一些新用户的。