


今天小编讲解了PPT怎样创建图形剪影操作步骤,下文就是关于在PPT创建图形剪影的操作流程,一起来学习吧!
PPT创建图形剪影的操作流程

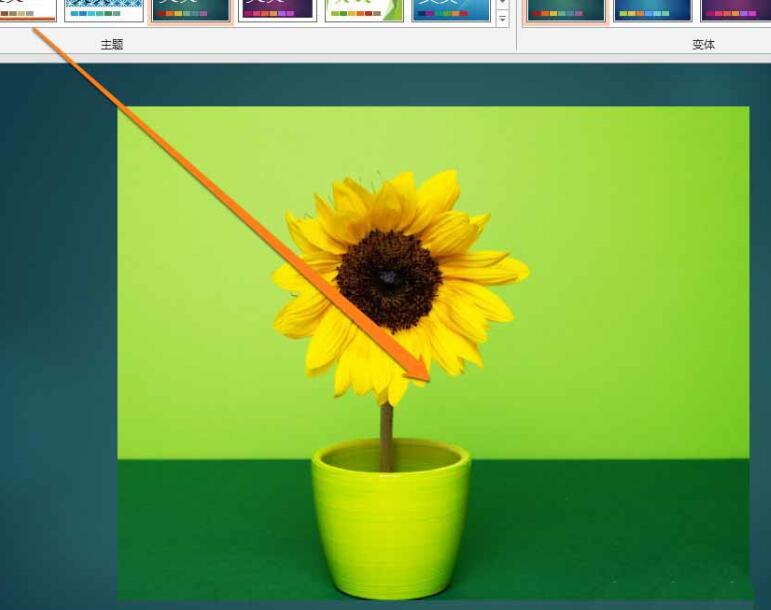
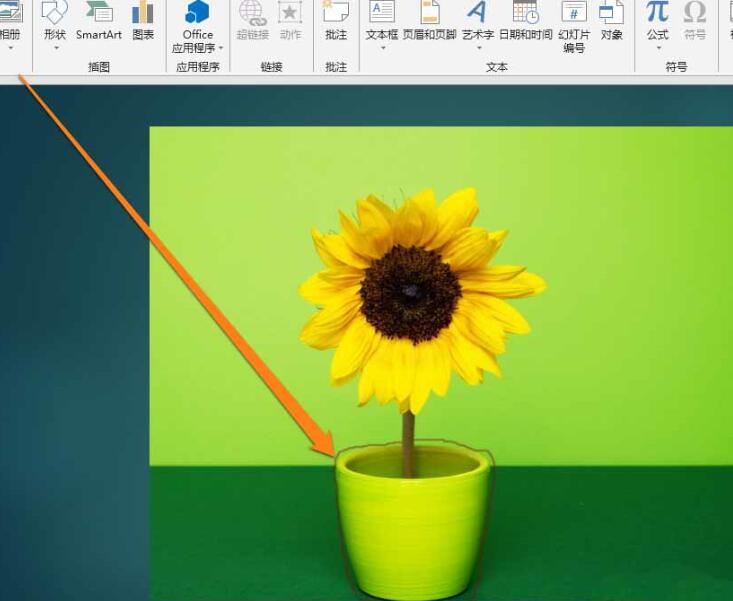
1、把一张选择好的图片,插入到PPT页面内。
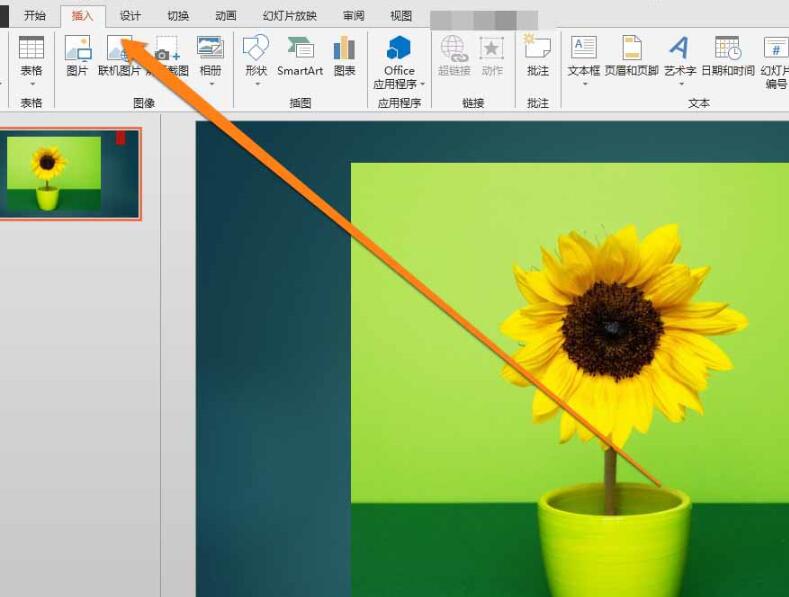
2、图片插入好以后,点击工具中的插入按钮。
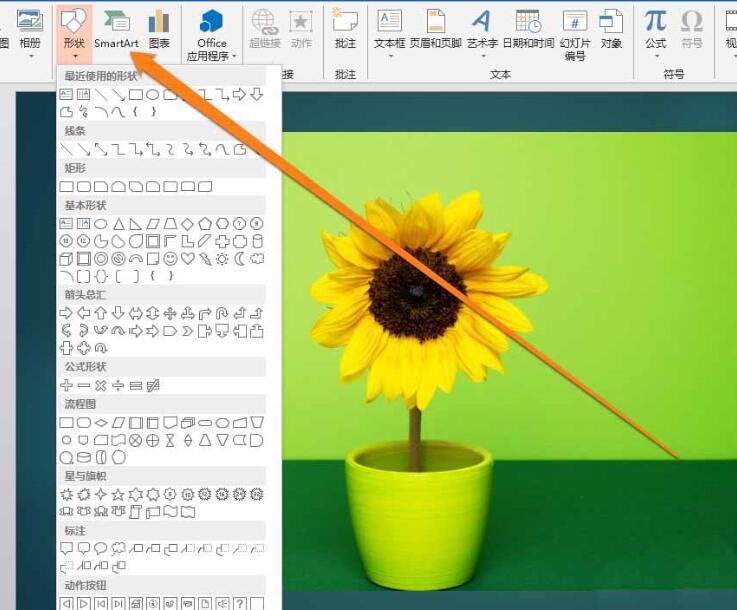
3、点击工具中的插入按钮后,找到插入的形状按钮。
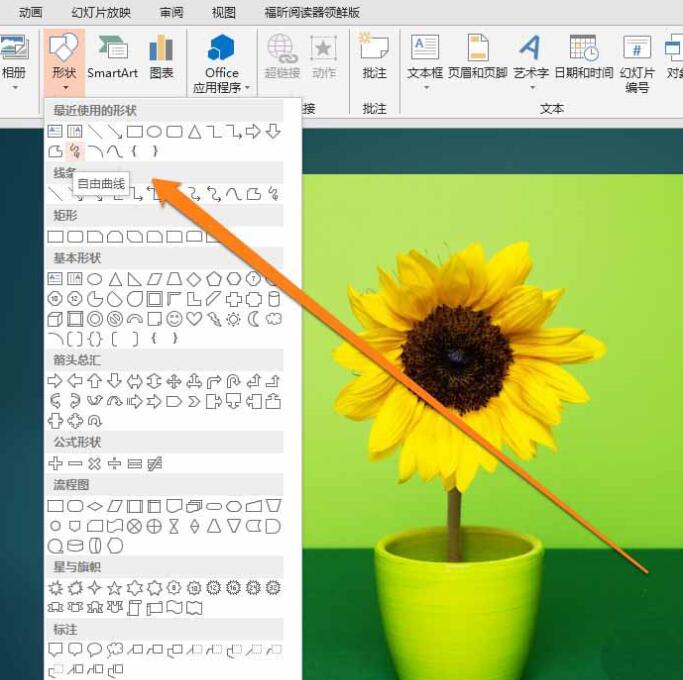
4、在插入按钮的形状工具中,找到自由曲线的图标。
5、点击自由曲线的图标,这时鼠标变成一支铅笔,在图片上进行描绘。
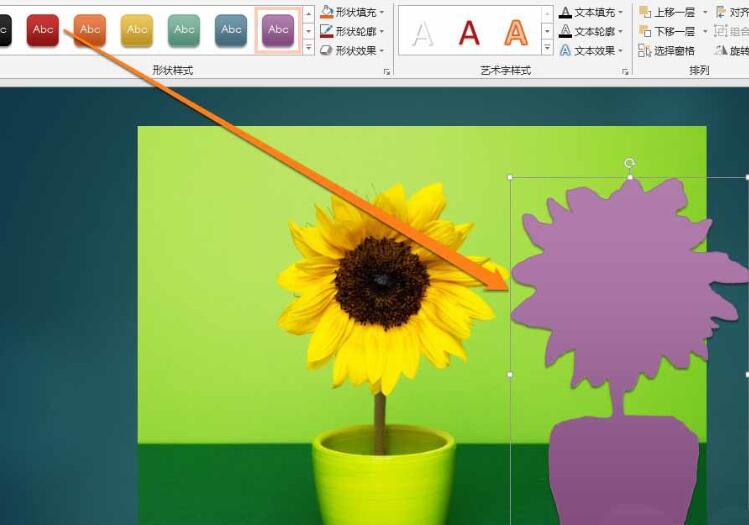
6、当轮廓描绘完成时,需将笔触图案,从开始到结尾进行闭合图形。
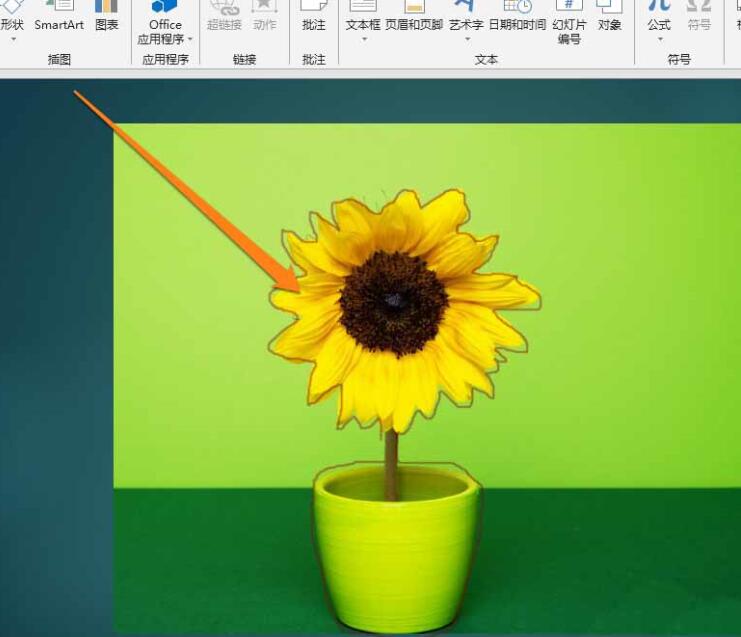
7、这时就得到了图片中图形的轮廓。
上文就讲解了PPT创建图形剪影的操作流程,希望有需要的朋友都来学习哦。