


今天小编讲解了MyEclipse如何整合自己安装的tomcat操作步骤,下文就是关于在MyEclipse整合自己安装的tomcat的详细方法,一起来学习吧!
MyEclipse整合自己安装的tomcat的详细方法

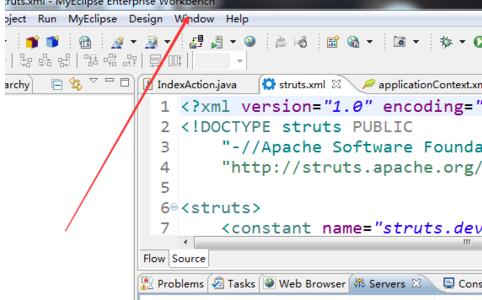
打开MyEclipse,点击上方的window窗口。
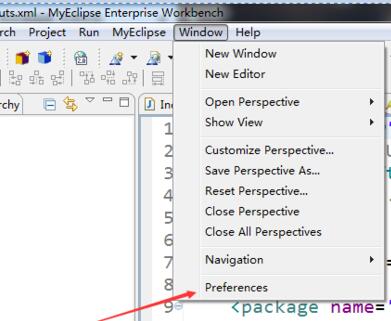
在它的列表项中选择preferences
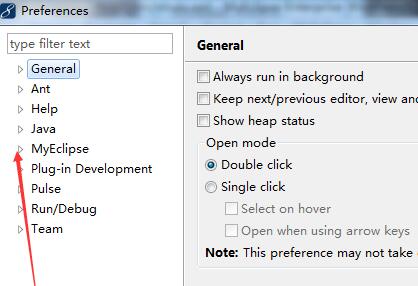
如图所示,展开myeclipse .
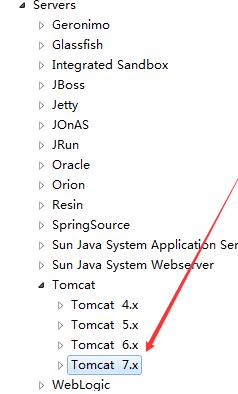
展开myeclipse下的Servers。
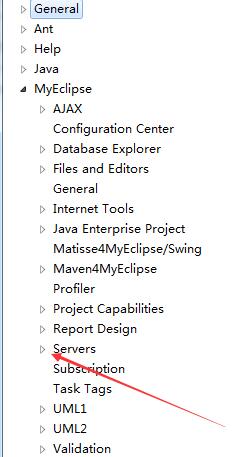
打到并且展开tomcat,在下方选择你所安装的tomcat版本。
找到你所安装的tomcat的目录,再点apply即可。

以上这里为各位分享了MyEclipse整合自己安装的tomcat的详细步骤。有需要的朋友赶快来看看本篇文章吧。