


今天小编讲解了Photoshop如何设计卡通棒棒糖操作步骤,下文就是关于在Photoshop设计卡通棒棒糖的操作方法,一起来学习吧!
Photoshop设计卡通棒棒糖的操作方法

打开Photoshop,进入到Photoshop操作界面,
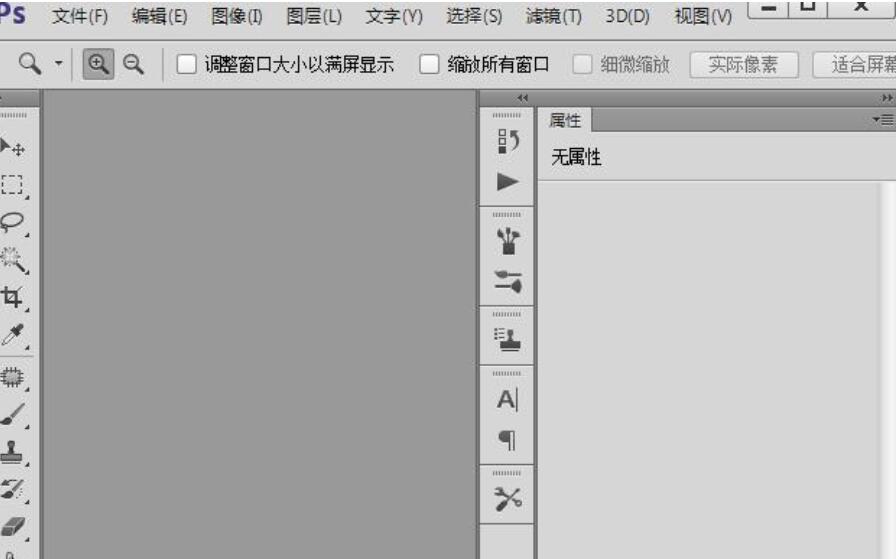
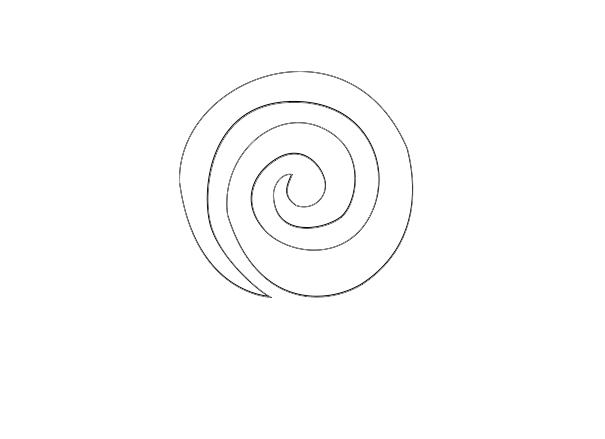
在该界面内按下Ctrl+N键,新建一个文件,在工具箱内找到钢笔工具,
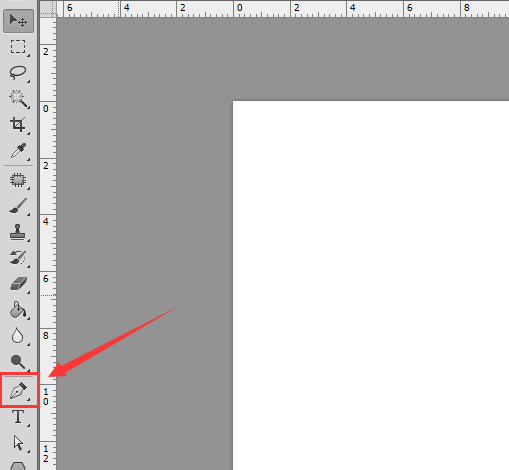
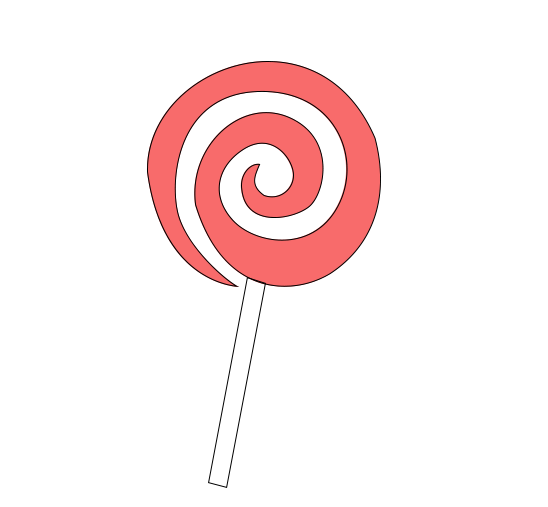
用钢笔工具绘制一个螺旋形作为棒棒糖的主体部分,
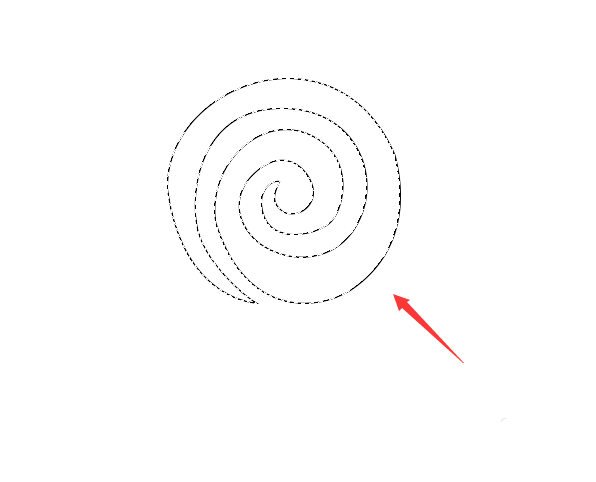
此时按下Ctrl+ENTER键将其转换为选区,
在工具箱内找到前景与背景选项,将前景色设为粉红色,
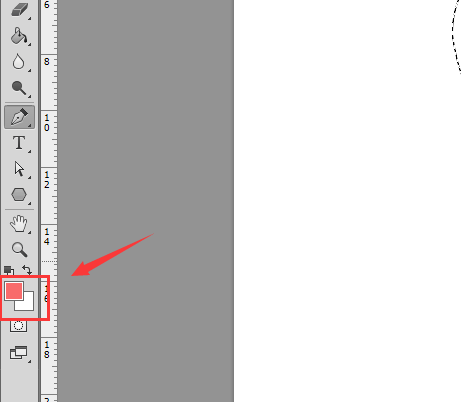
按下alt+delete键,将其填充为该颜色,
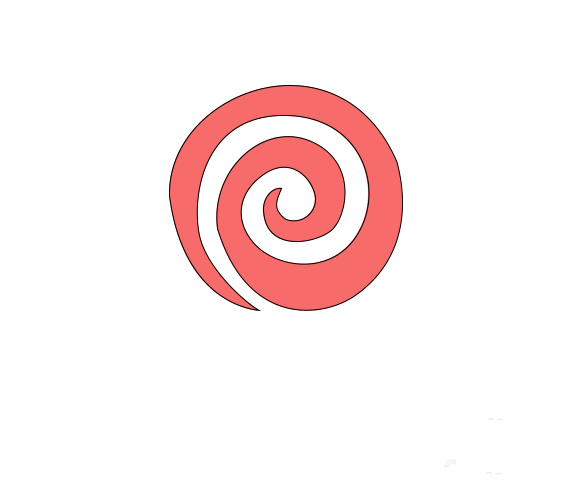
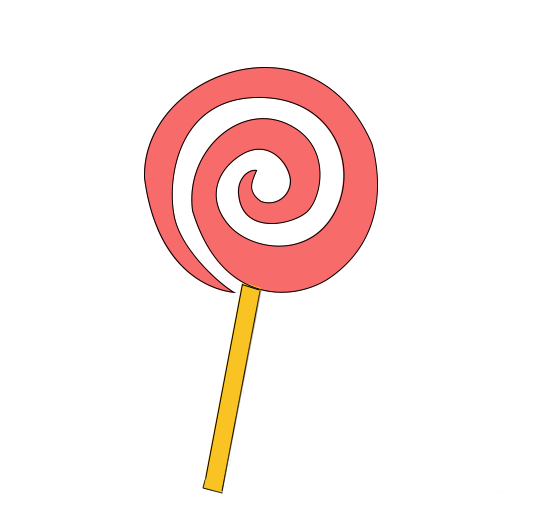
在使用钢笔工具绘制一个矩形,作为棒棒糖下面的把,
按下Ctrl+ENTER键转换为选区,将前景色设为棕黄色,按下alt键+delete键将其填充为该颜色,这样我们的棒棒糖就画好了。
快来学习学习Photoshop设计卡通棒棒糖的操作步骤吧,一定会帮到大家的。