


有的网友还不太了解金士顿u盘修复工具2012如何使用,接下来就讲解关于金士顿u盘修复工具2012使用的操作方法,感兴趣的小伙伴们一起学习一下吧!
金士顿u盘修复工具2012使用操作教程
把移动存储设备插入到电脑主机的USB口,双击打开修复工具。
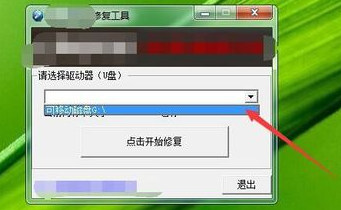
点击请选择驱动器下的下拉三角。

选择刚插入的移动存储设备盘符。
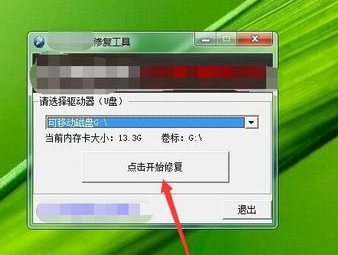
盘符的选择完成后,点击开始修复。
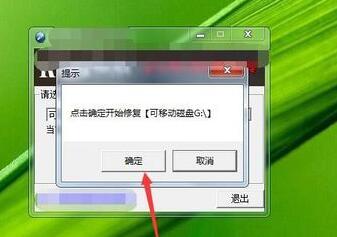
弹出提示点击确定。
修复完成后弹出窗口提示,点击确定。

返回到修复工具主窗口,点击退出即可。

还不了解金士顿u盘修复工具2012使用操作的朋友们,不要错过小编带来的这篇文章哦。