


刚学习Python的朋友,可能不清楚设置环境变量,今天小编就讲解Python设置环境变量的操作方法,相信大家通过学习,在以后的操作中一定会得心应手。
Python设置环境变量的操作方法

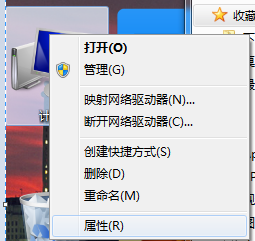
本文以win7系统为例,计算机--右键--属性
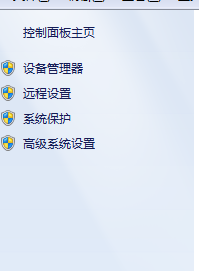
在左栏找到“高级系统设置”
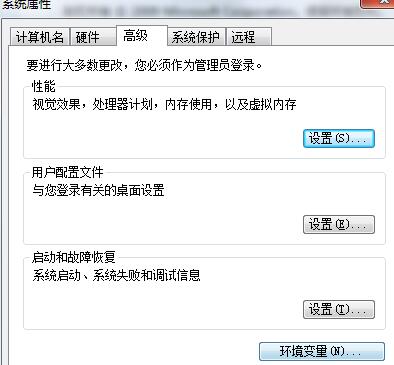
点击“环境变量”
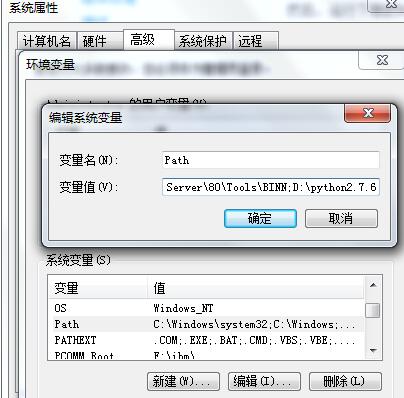
在系统变量里,找到Path,双击
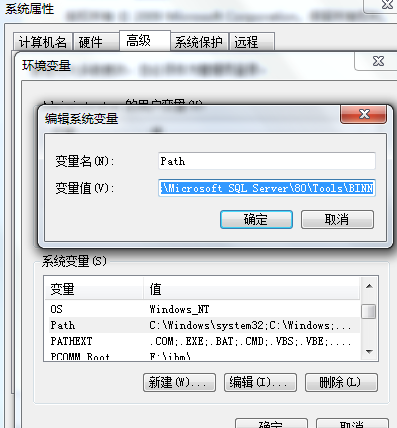
在字符串的末尾,加一个分号;然后再输入自己安装Python的路径,如图
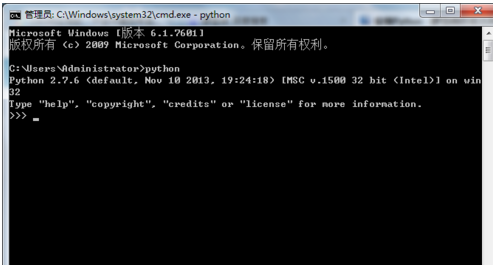
一路点确定,确定,直到设置完成。打开命令行,输入python,出现以下提示即为配置成功。
上面就是小编为大家带来的Python设置环境变量的操作教程,一起来学习学习吧。相信是可以帮助到一些新用户的。