


有很多新手小白会被UltraISO软碟通制作u盘启动盘的问题困惑住,所以小编就带来了UltraISO软碟通制作u盘启动盘的处理教程,感兴趣的朋友就跟小编一起来学习一下吧。
UltraISO软碟通制作u盘启动盘的详细步骤

进入UltraISO;
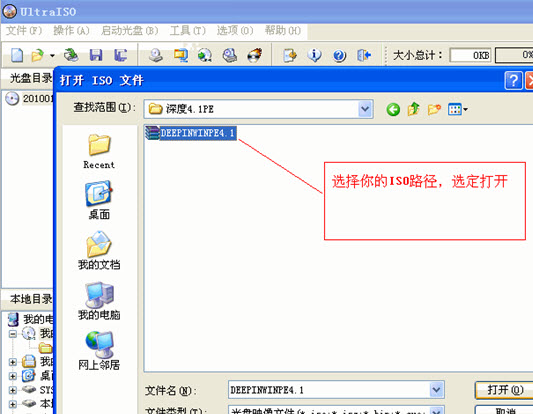
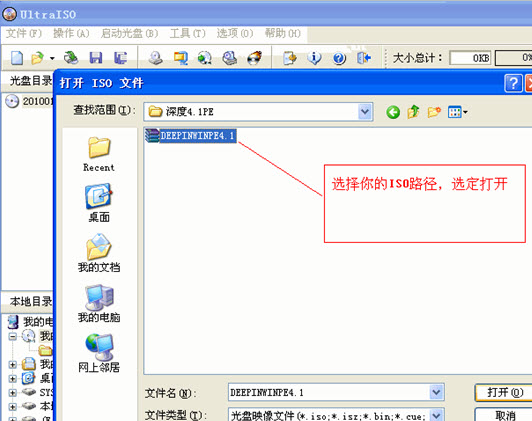
点击菜单【文件】-----打开,选择你的ISO路径,选定打开;
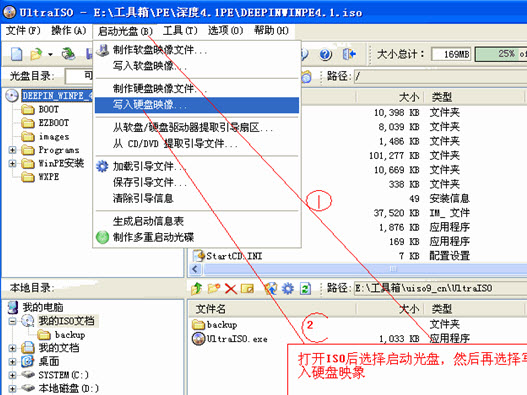
点击菜单【启动光盘】----写入硬盘映像,打开ISO后选择启动光盘,再选择写入硬盘映像;
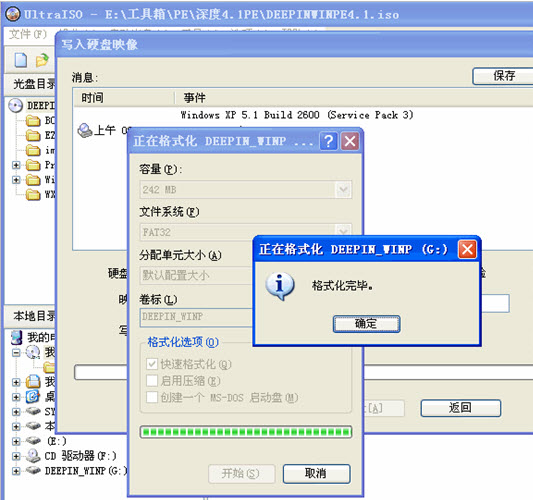
选择硬盘驱动器(就是你的U盘盘符);点击【格式化】,格式化一下U盘
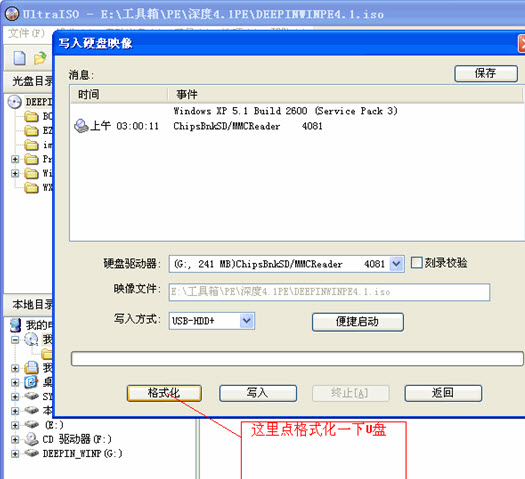
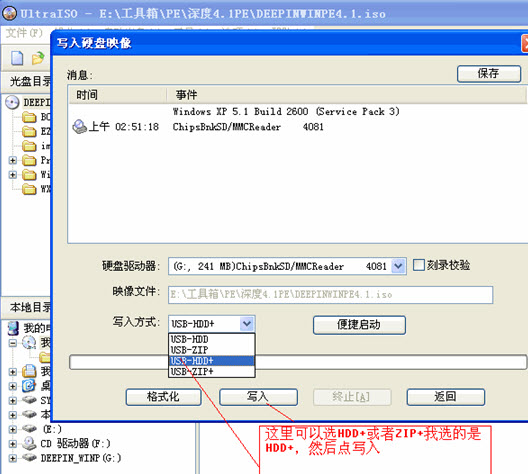
格式化完成后,选择【写入方式】,可选择:USB-HDD/USB-ZIP/USB-HDD+/USB-ZIP+ (这里选的是HDD+,接着点击写入);
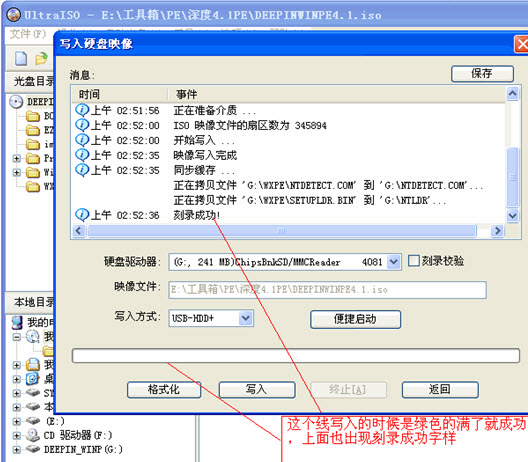
当程序提示刻录成功!的信息,就表示制作成功了。
上面就是小编为大家带来的UltraISO软碟通制作u盘启动盘的详细教程,一起来学习学习吧。相信是可以帮助到一些新用户的。