


今天我们来学习一下快压挂载镜像文件的详细流程,有不清楚的小伙伴,一起来学习一下吧。
快压挂载镜像文件的详细流程

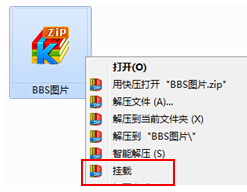
一、使用右键挂载
右击需要挂载的文件,选择”挂载”。
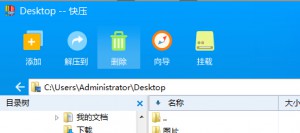
二、使用主界面挂载
1.打开快压软件的主界面,在工具栏点击”挂载”按钮,
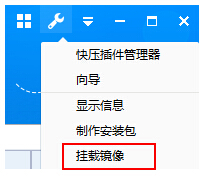
或在工具菜单点击”挂载镜像”。
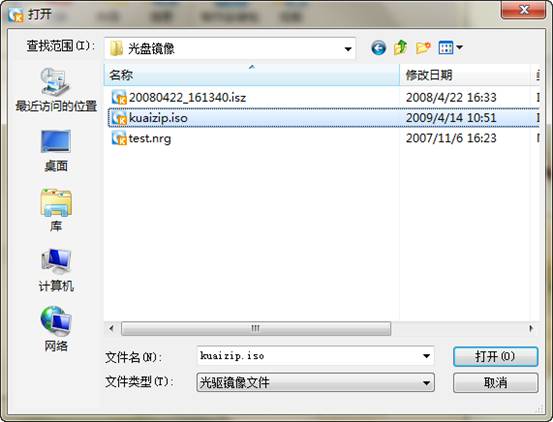
2.弹出选择镜像文件的对话框,选择一个镜像文件。
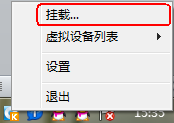
三、使用托盘菜单挂载
1.在桌面右下角点击快压挂载程序托盘图标(点击主界面工具栏”挂载”可生成此托盘图标,见”二、使用主界面挂载”)。

2.在弹出菜单中选择”挂载…”。
上文就是快压挂载镜像文件的详细流程,一起来看看吧。