


说起Adobe Illustrator CS6伙伴们都很熟悉吧,接着,小编就为你们带来Adobe Illustrator CS6设计出漂亮图案的操作过程,希望大家喜欢。
Adobe Illustrator CS6设计出漂亮图案的操作过程
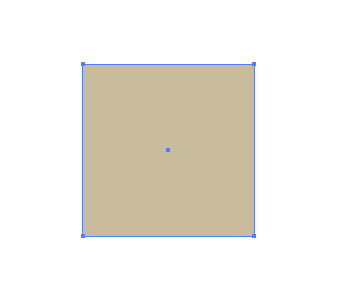
收缩与膨胀工具,选中一个矩形.
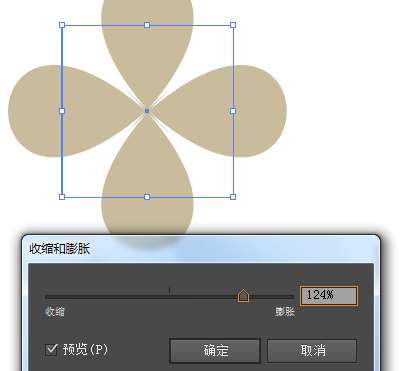
然后我们选择效果-扭曲和变换-收缩和膨胀,参数如图变成一朵花
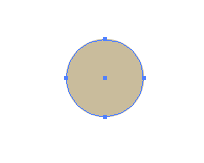
接着随意画个圆,然后选中它
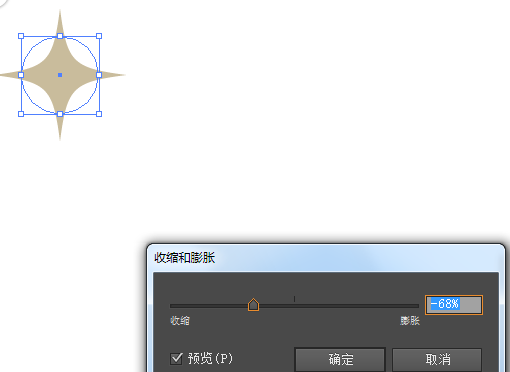
参数如图变成了四角星
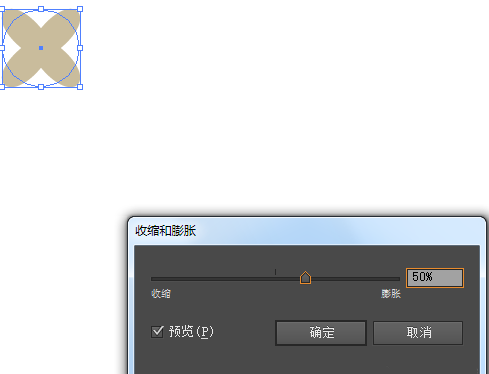
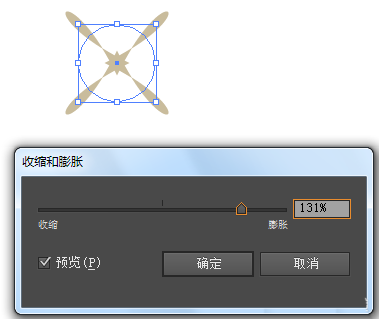
然后我们继续改变参数,得到如下系列图形
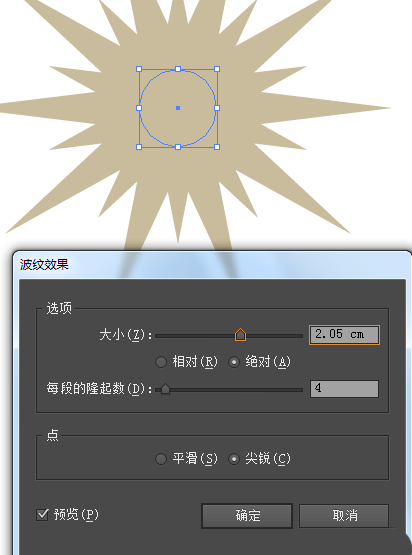
再选中圆形,选择效果-扭曲和变换-波纹效果,参数如图
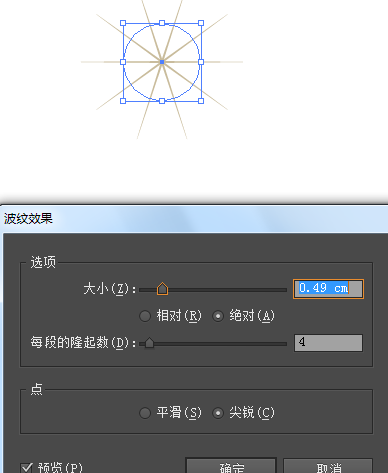
继续修改参数得到如下:
接着我们选中圆形,选择效果-扭曲和变换-粗糙化,参数如图

波纹效果:可以创造不规则图案,随意画个矩形,选择矩形――效果-扭曲和变换-波纹效果

上文讲解的Adobe Illustrator CS6设计出漂亮图案的操作过程,你们是不是都学会了呀!