


本期为各位带来的文章是与Blender软件相关的,你们晓得Blender中是怎么样输入中文字体的吗?下文这篇教程内小编就为各位带来了Blender输入中文字体的具体步骤介绍。
Blender输入中文字体的具体步骤介绍

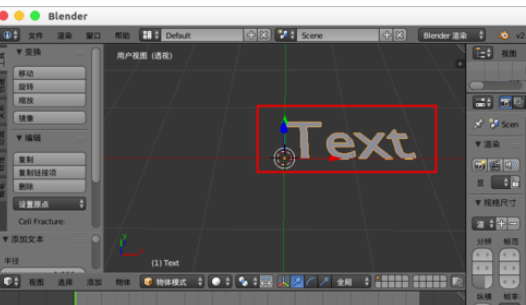
首先我们先打开blender,然后shift+a选择“文本”创建文字。

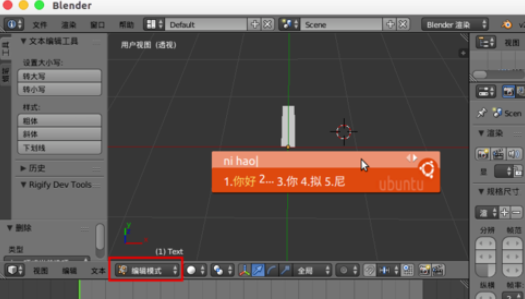
接着我们进入“编辑模式”编辑文字,我们发现无法输入中文。
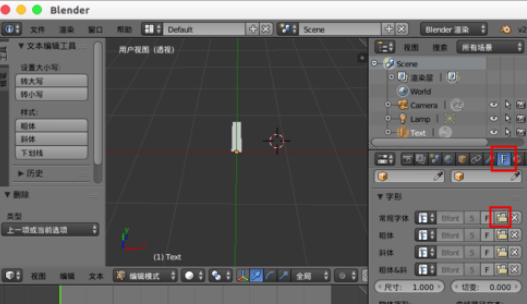
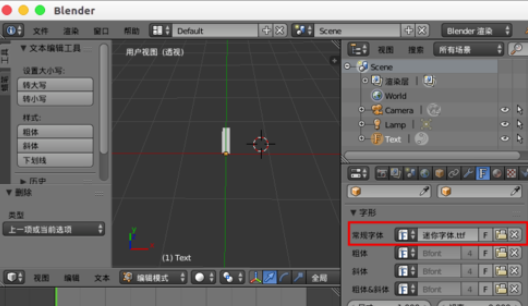
这时右边属性中选择“文本”,在“字形”中打开“常规字体”。
下载ttf格式字体,选择字体文件,选择“打开字体文件”。
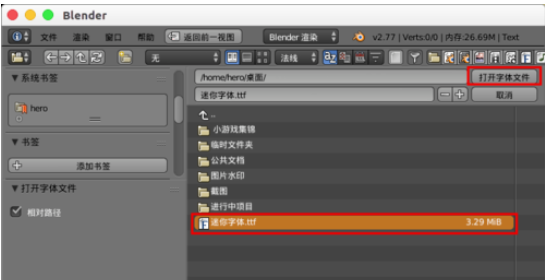
最后我们完成后,在“常规字体”中会列出字体名字。
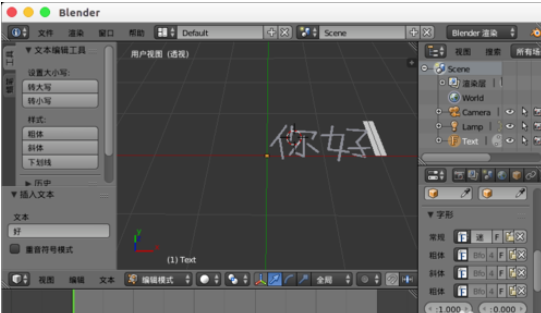
现在我们进入编辑模式,就可以输入中文了。
最后我们修改“几何数据”中的,“偏移量”、“挤出”、等,可以设置文字为立体模型效果。

看完了上文所述的Blender输入中文字体的具体步骤介绍,自己也赶紧动手去试试吧!