


说到Google Picasa软件,相信在座的伙伴应该都不陌生,不过你们知道Google Picasa是怎么更改图片日期和时间的吗?以下文章内就描述了Google Picasa更改图片日期和时间的详细步骤介绍。
Google Picasa更改图片日期和时间的详细步骤介绍
第一次使用Picasa会搜索计算机中原有的图片。
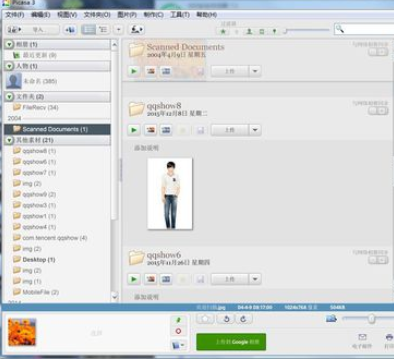
我们点击“文件”-“将文件添加到Picasa”,导入需要处理的图片。
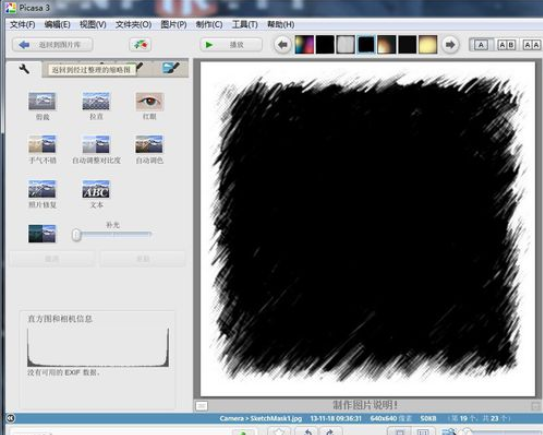
接下来我们点击“工具”-“调整日期和时间”,打开对话框。
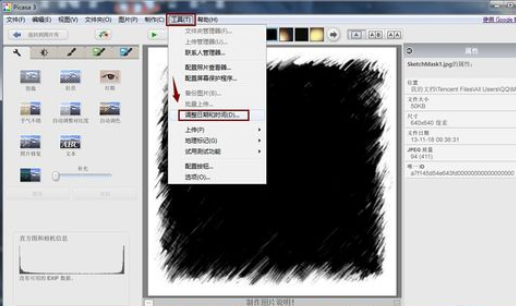
这个时候我们在对话框中,我们能看见图片的日期和时间信息,也即使该图片的制作日期和时间。
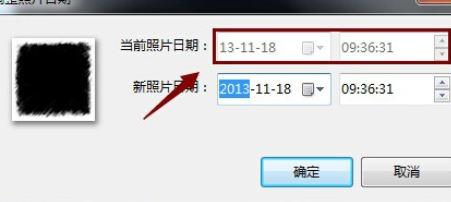
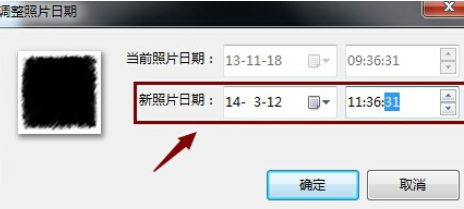
最后我们填写你需要的任何日期和时间,单击确定即可。
看完上文为你们描述的Google Picasa更改图片日期和时间的详细步骤介绍,你们是不是都学会了呀!