


估计有的用户还不了解UG10.0设置十字光标满屏的操作,下文小编就分享UG10.0设置十字光标满屏的操作教程,希望对你们有所帮助哦。
UG10.0设置十字光标满屏的操作教程

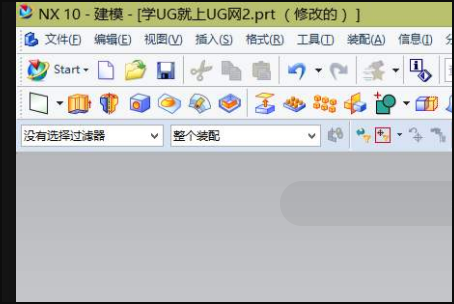
打开UG10.0应用程序,进入到编辑页面中,打开需编辑的文件。
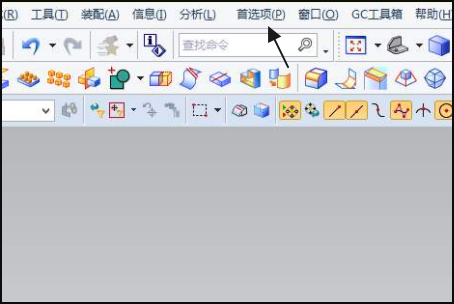
在编辑的窗口中点击打开主菜单栏中的“首选项”,在弹出来的菜单栏中,选择打开“选择”设置。
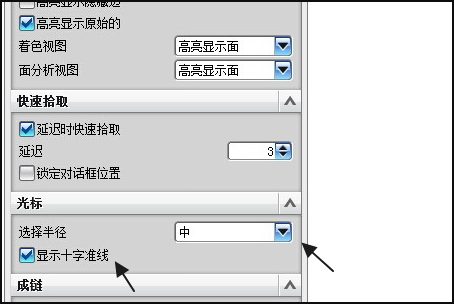
在弹出来的窗口中点击打勾“显示狮子准线”选项,回车确定。
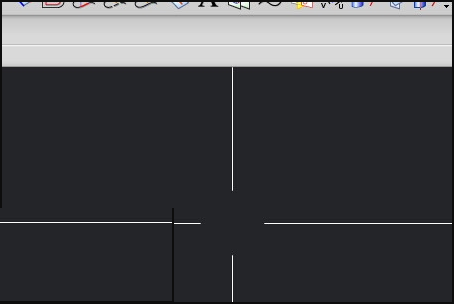
然后就能看到满屏的十字光标了。
学完本文UG10.0设置十字光标满屏的方法,是不是觉得以后操作起来会更容易一点呢?