


相信许多伙伴还不了解Adobe Illustrator cc2018如何新建画布的简单操作,不过没关系,下面就分享了Adobe Illustrator cc2018新建画布的操作方法,希望感兴趣的朋友都来共同学习哦。
Adobe Illustrator cc2018新建画布的图文方法

打开Adobe Illustrator cc2018,首先要学习的是怎么新建一个画布,和新建画布时的一些参数设置
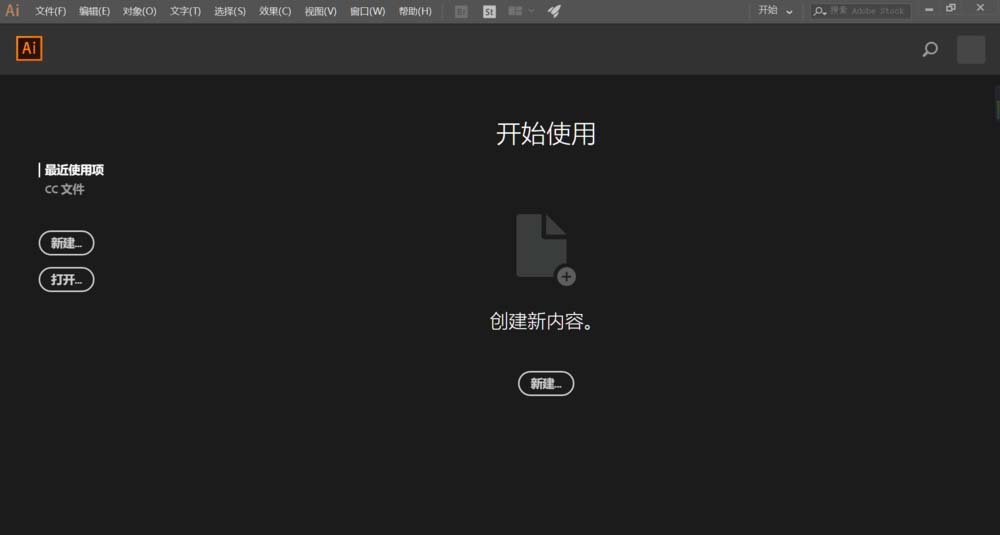
小编的这个版本是cc 2018,所以刚开始打开的页面和有些版本是不一样的,但里边参数设置一样,点击【新建】会出现另外一个弹框,可以在上方点击自己们需要的设置,这个版本的设置主要集中在右边,
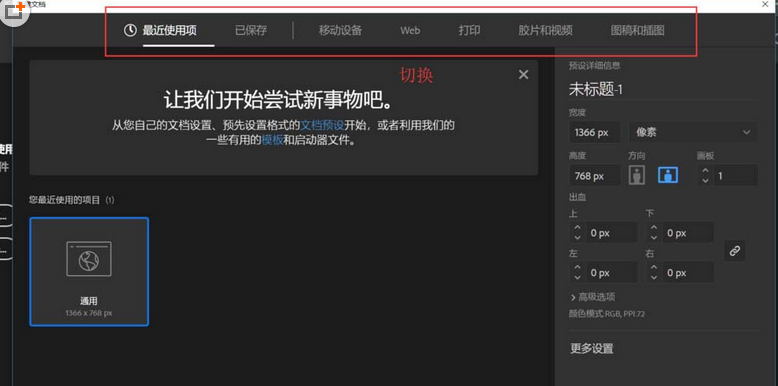
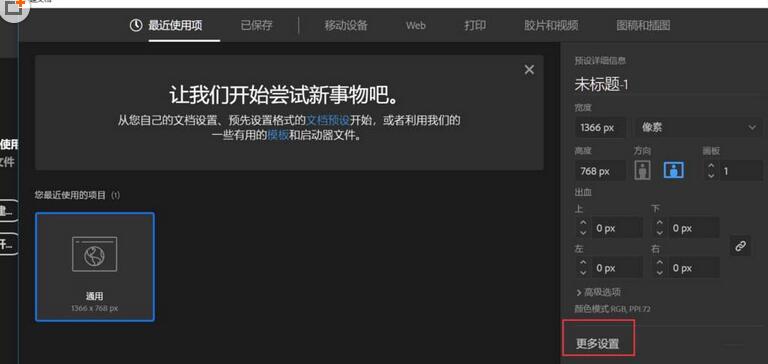
想看以前的设置面板?点击右下方的【更多设置】,这样的界面是不是就熟悉了
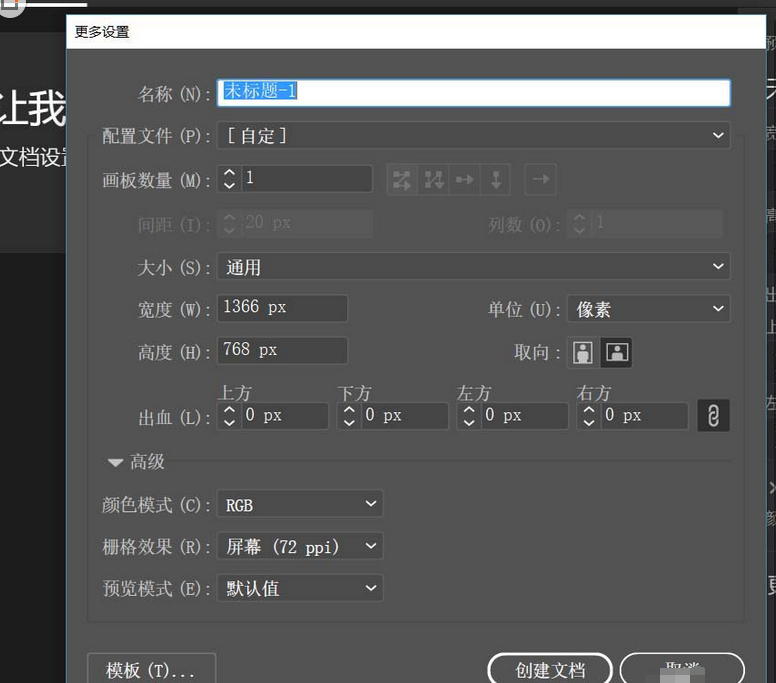
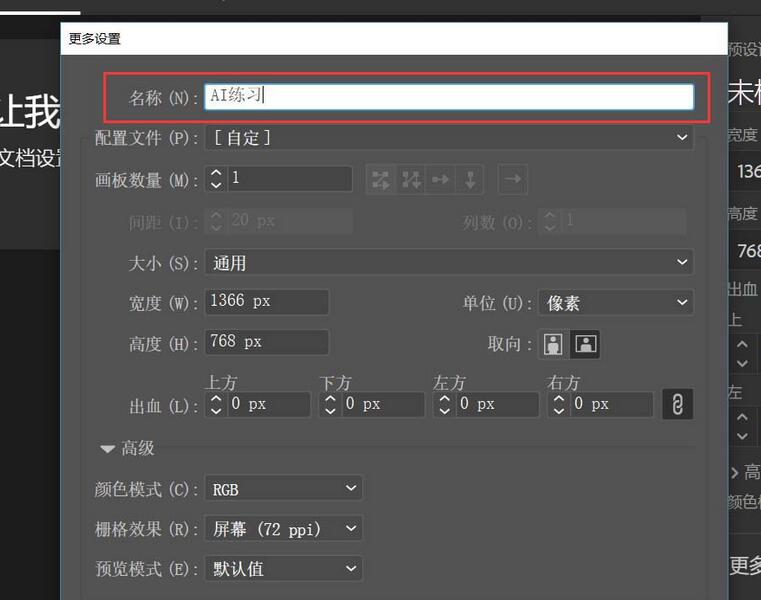
首先要输入的是文件名称,
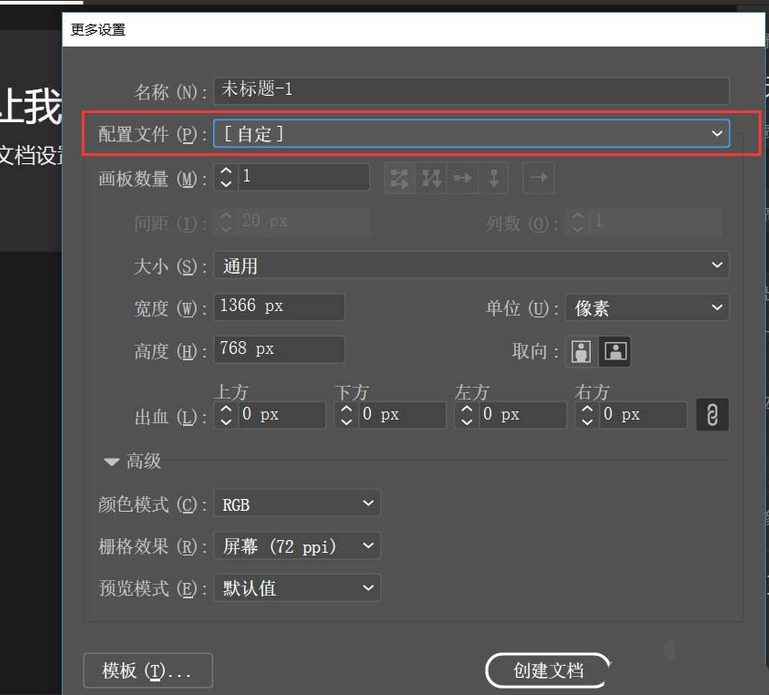
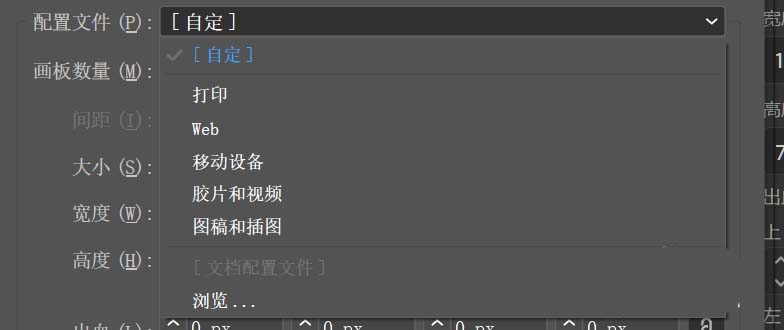
第二个是配置文件,这个默认的是自定,也可选择是打印的还是web的等等
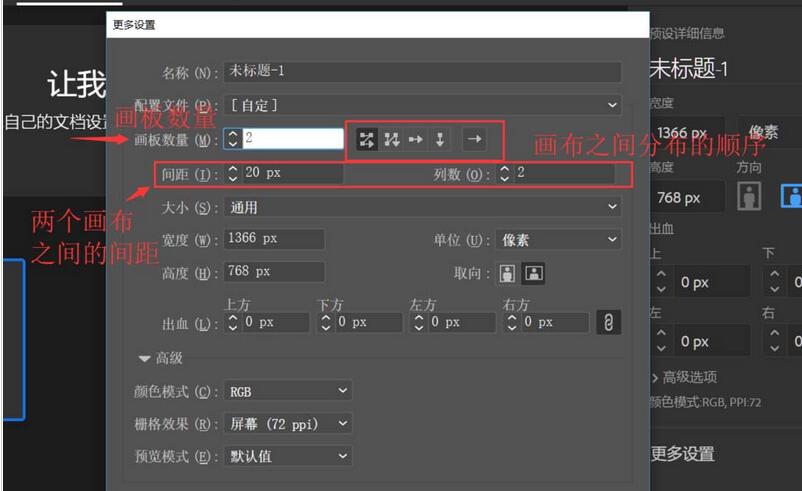
第三个是画布的数量,AI不同于ps,AI里可建几个画布,如果选的是两个,
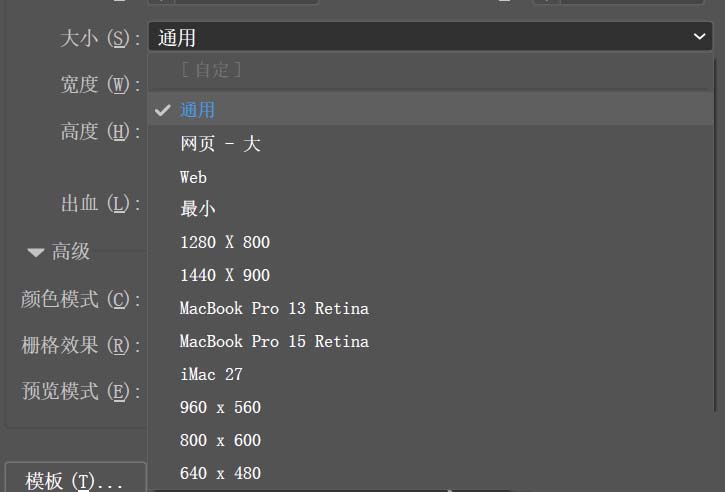
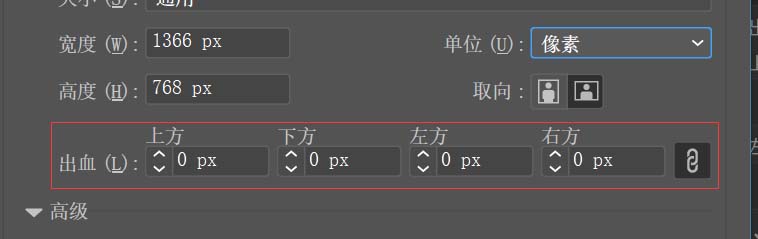
第四个是画布的大小,在这可以选择画布的大小
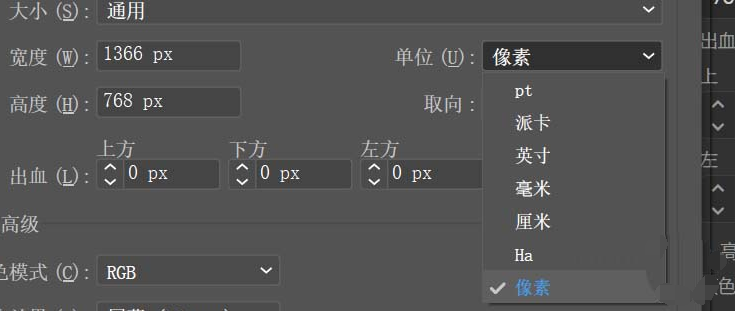
在大小的下边有画布的宽高,有些人就会问为什么我已经选了画布的大小怎么又设置画布的宽高呢?其实在工作中有些画布的大小是要根据实际情况来定的,要注意的是,在设置的时候一定要设置好画布的‘单位’
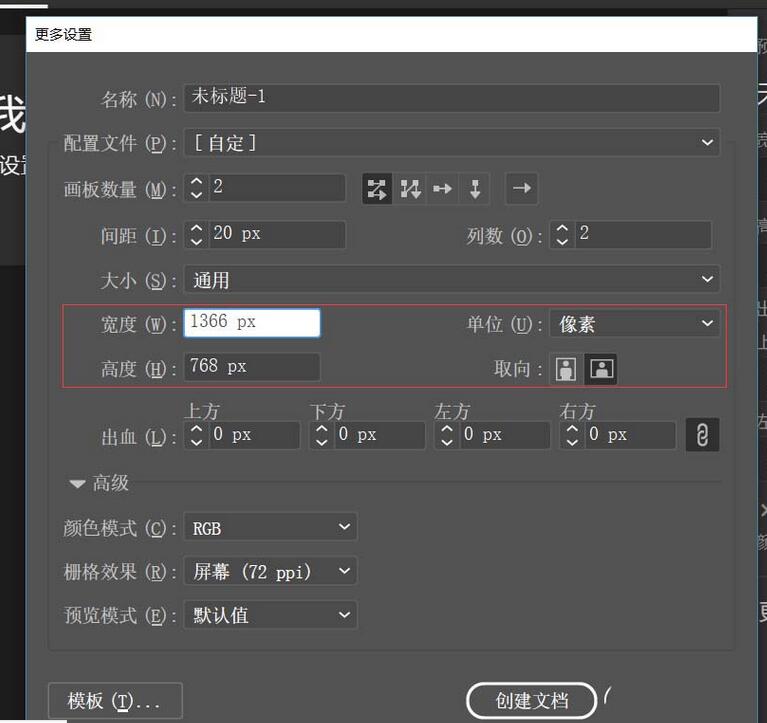
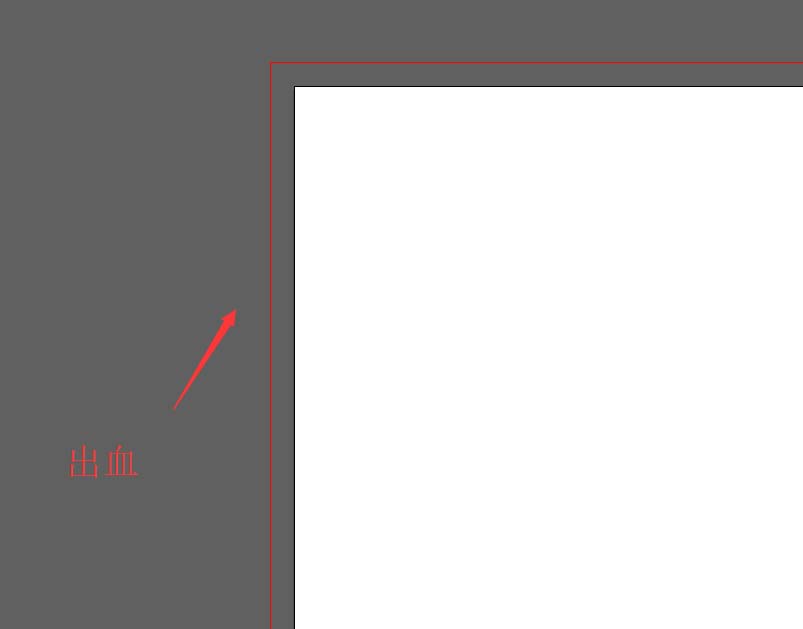
接下来讲的是‘出血’,什么是出血?出血就是在印刷时为了保证画面的完整而做的出血
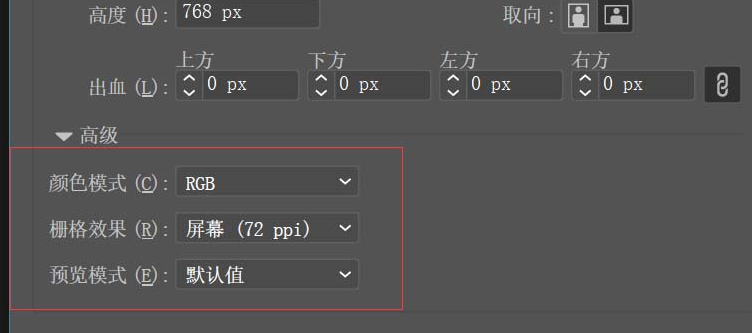
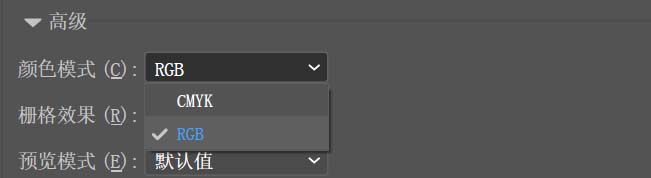
剩下的3个,需修改的是颜色模式,剩下的两个默认设置就好了
之后点击创建文档,到这就得到了一个画布

上面就是小编为大家带来的Adobe Illustrator cc2018新建画布的图文教程,一起来学习学习吧。相信是可以帮助到一些新用户的。