


今天给大家讲的是按键精灵中找图的设置方法,对按键精灵中找图感兴趣的同学们就一起学习下具体方法吧!
按键精灵中找图的操作教程

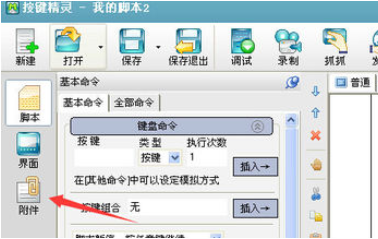
首先打开按键精灵,新建一个脚本文件
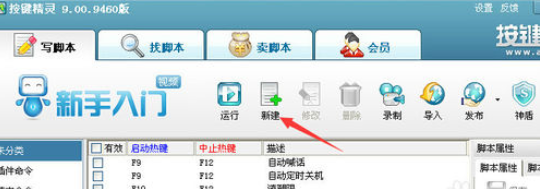
然后点击脚本中的抓抓,会弹出抓抓辅助工具

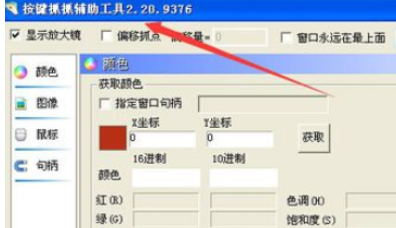
接着我们切换到想要找图的页面,近下prtscr sysrq按键全屏截图(键盘F12的右边)
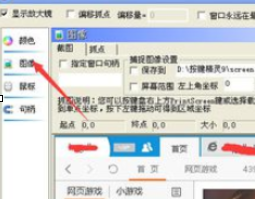
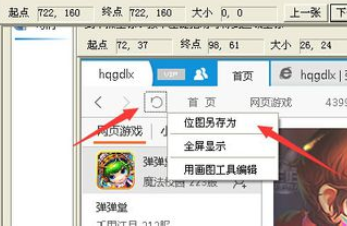
回到抓抓辅助工具界面,点击图像,就会出现刚才截的图片,框选要找图的位置,点右键—位图另存为(存到你想存放的地方,方便查找)
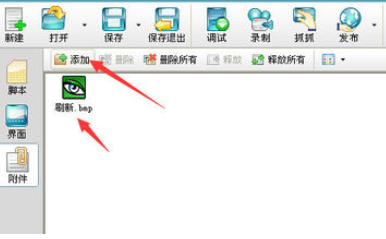
这时我们回到按键精灵脚本,在左上角找到附件,点击打开,然后点击添加,将刚保存的图片添加到里面
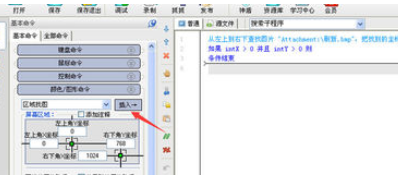
回到脚本代码窗口,选择颜色/图形命令,在下拉框中选择“区域找图“
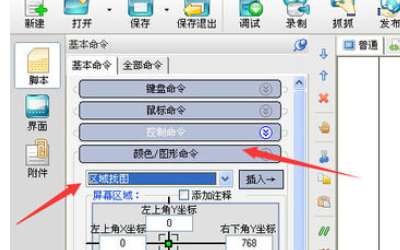
在屏幕区域输入你查找目标区域的坐标,点击路径选择需要查找的图片(刚存的图片)(此步不能弄错,要不引用位置不对,会找不到的)
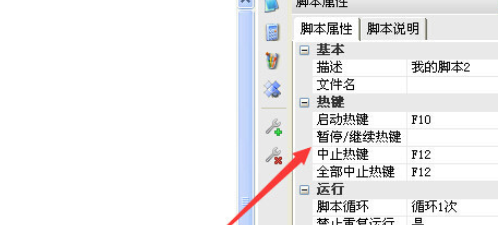
然后点击区域找图旁边 的插入按钮,就会插入一段代码,打开源代码,在下面添加弹出对话框(MsgBox "找到了"),设置启动和终止键,保存,退出。
再回到找图区域,按下启动键,当找到图形就出弹出“找到了”对话框,找图也就完成了。
看完了上文为各位讲述的按键精灵中找图的详细操作步骤,你们是不是都学会了呀!