


当前有部份朋友还不清楚ppt2013如何添加开发工具选项卡的操作,所以下面小编就带来了ppt2013添加开发工具选项卡的操作教程,一起来看看吧!
ppt2013添加开发工具选项卡的操作教程

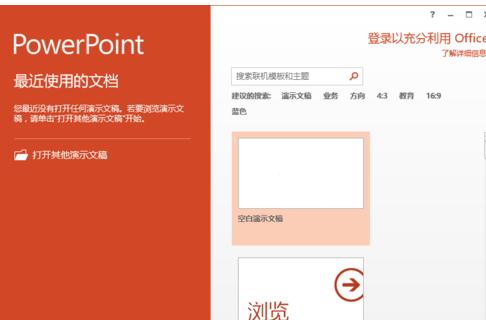
一、将ppt2013打开运行。点击“空白演示文稿”,新建一个空白演示文稿文件。
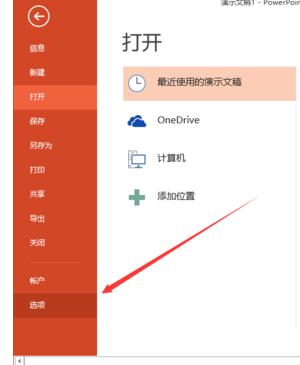
二、在ppt2013程序窗口,点击左上角的“文件”命令选项。
三、在打开的“文件”命令窗口中,点击“选项”命令选项。
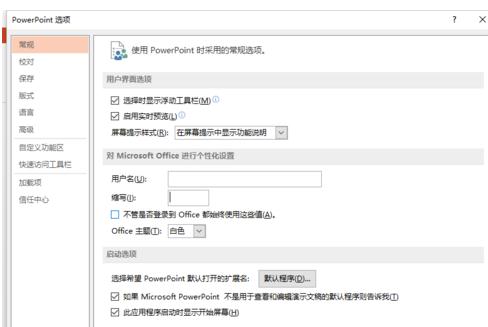
四、点击“选项”命令选项后,这个时候会打开“PowerPoint选项”对话框。
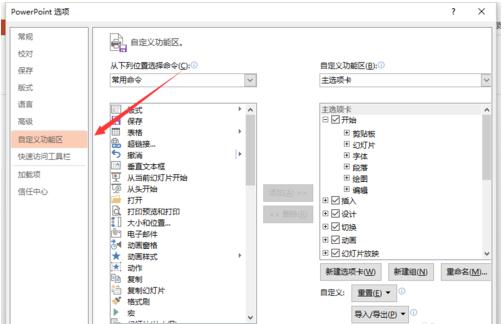
五、在“PowerPoint选项”对话框中,将选项卡切换到“自定义功能区”选项卡栏。
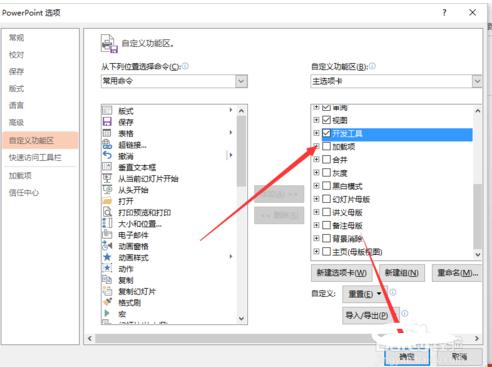
六、在“自定义功能区”选项卡栏的右侧窗格中,找到“自定义功能区”区域下的“开发工具”选项,将其选择勾选,再点击“确定”按钮即可。
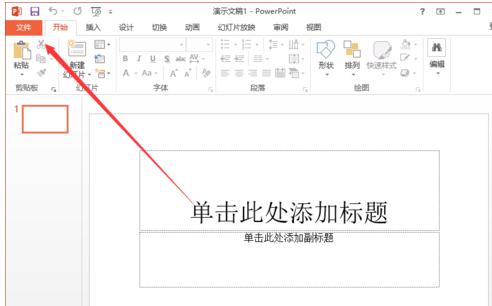
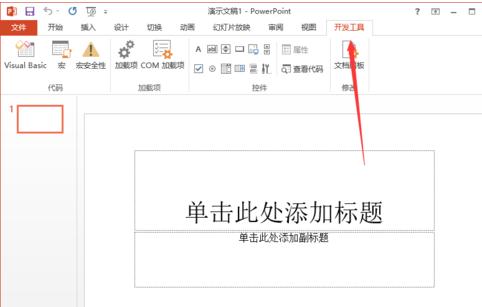
七、返回到程序中,在菜单选项卡栏中就可以看到添加的“开发工具”选项卡。
上面就是小编为大家带来的ppt2013添加开发工具选项卡的操作流程,一起来学习学习吧。相信是可以帮助到一些新用户的。