


小伙伴们你们知道在UG10.0如何快速建模金属V型块呢?今天小编很乐意与大家分享UG10.0快速建模金属V型块的技巧,感兴趣的可以来了解了解哦。
UG10.0快速建模金属V型块的操作步骤

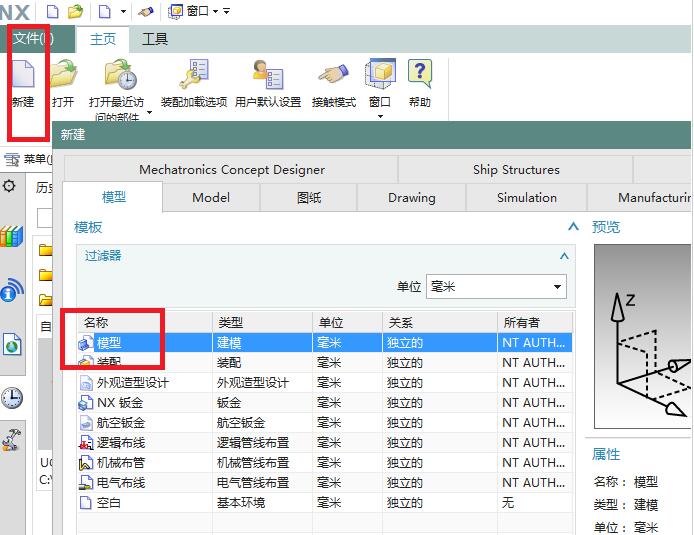
1、打开UG10.0软件,新建一个空白的模型文件。
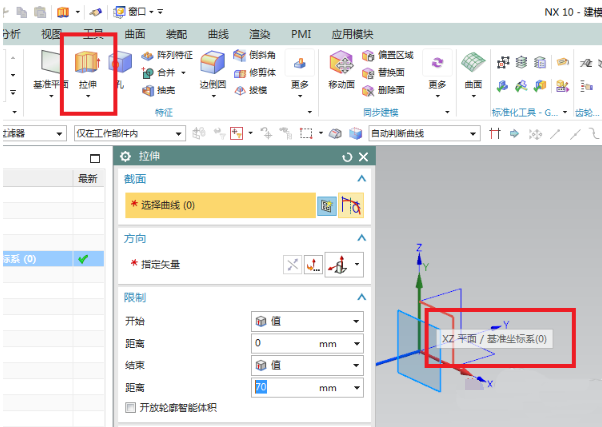
2、点击工具栏中的拉伸图标,激活拉伸命令,然后点击基准坐标系中的XZ平面,直接进入到草图环境。
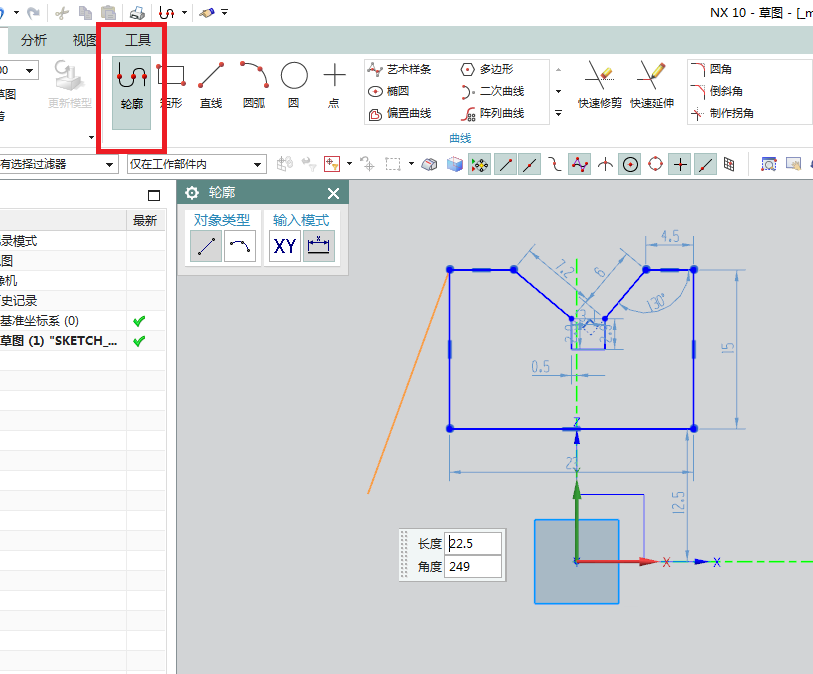
3、进入草图,自动激活轮廓命令,然后按照下图所示画出大致轮廓,尺寸可以先不管,有形状就行。
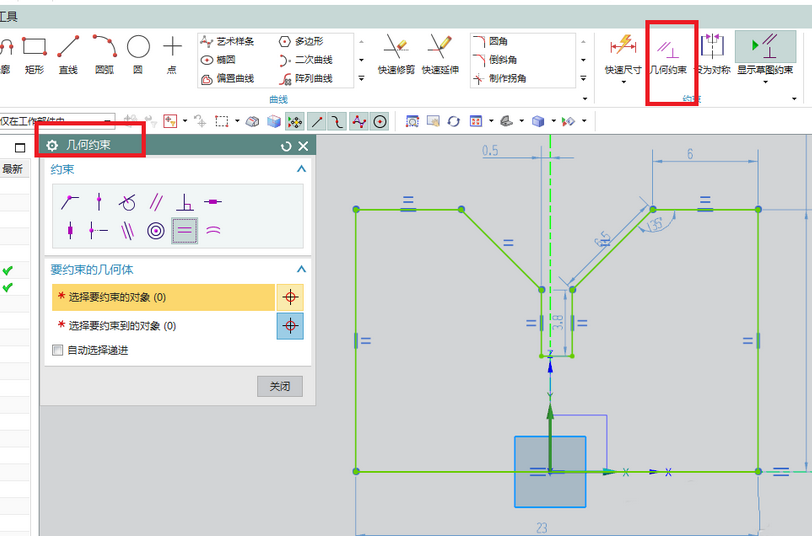
4、点击工具栏中的“几何约束”图标,激活“几何约束”命令,按照下图所示添加约束,重合的重合,相等的相等。
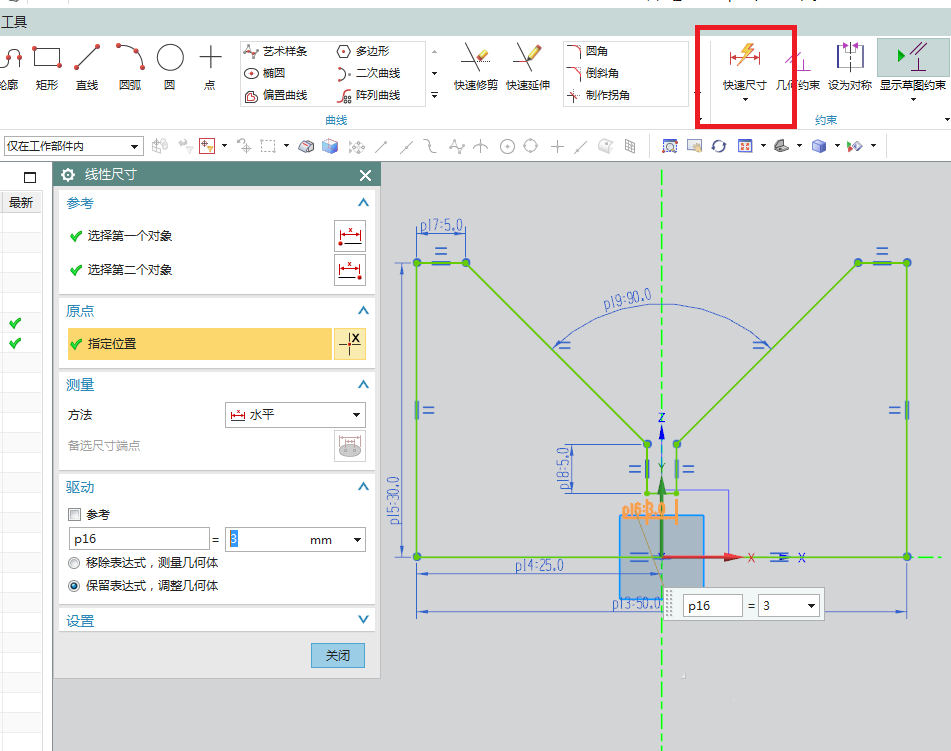
5、点击工具栏中的“快速尺寸”图标,激活“快速尺寸”命令,安装下图所示标注具体尺寸,根据形状,调整尺寸,最后点击完成,退出草图。
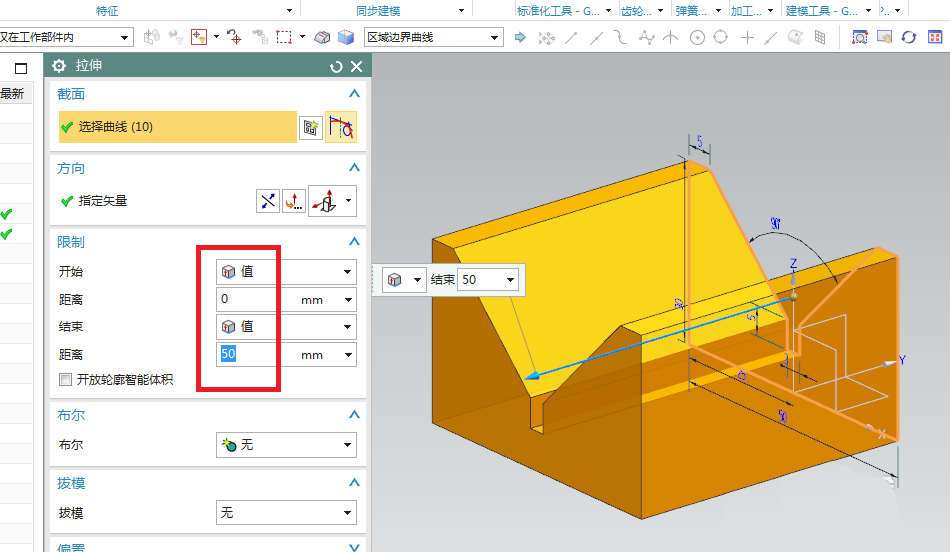
6、退出草图之后,回到拉伸对话框,设置限制为:从0开始,50结束,点击确定。
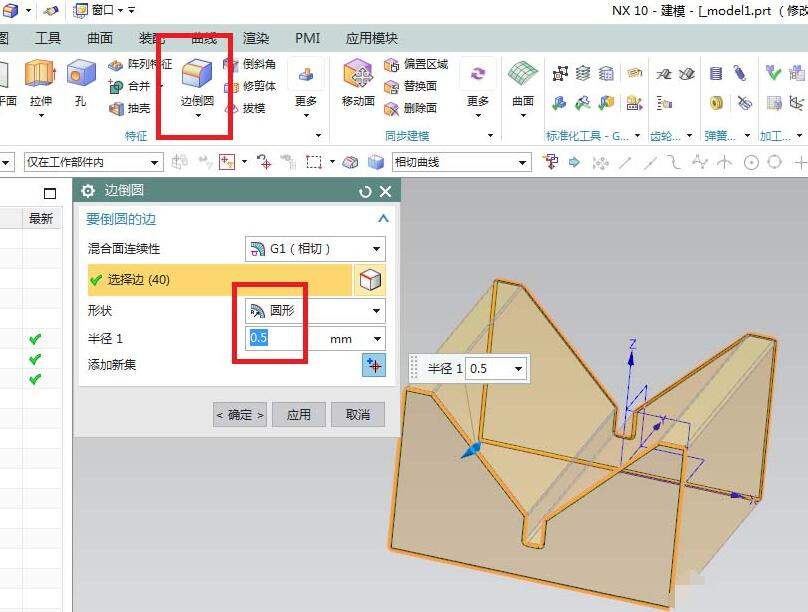
7、点击工具栏中的边倒圆命令,设置半径R0.5,选择实体中的边线,这些边线都是平行的,然后点击“应用”。
8、继续边倒圆操作,这次选择的实体边线与上一步中的实体边线是垂直的,半径R0.5,点击确定,结束边倒圆操作。
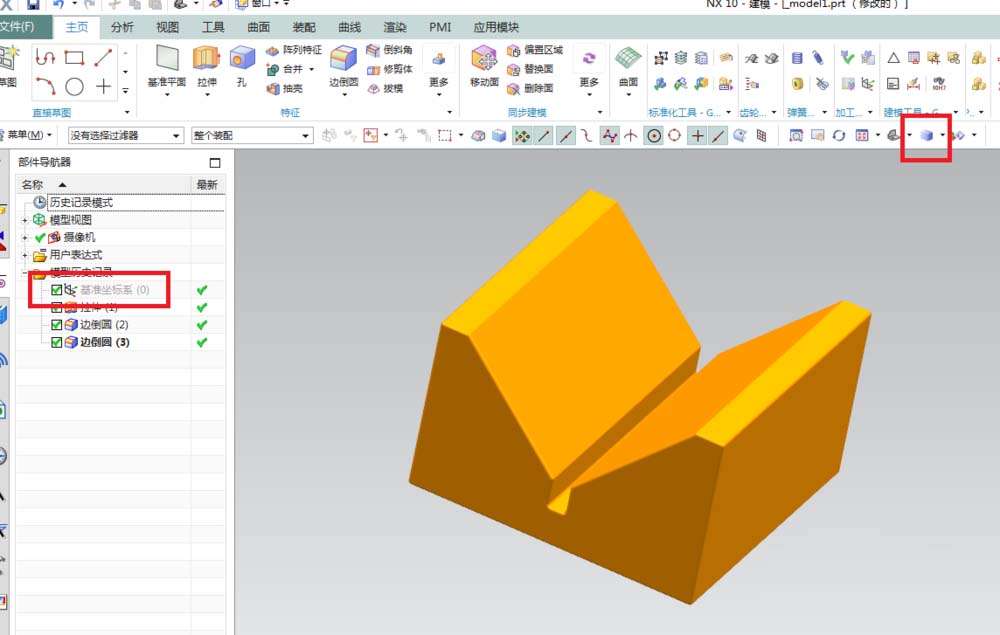
9、软件左边的部件导航器中隐藏基准坐标系,工具栏中将显示改成“着色”。
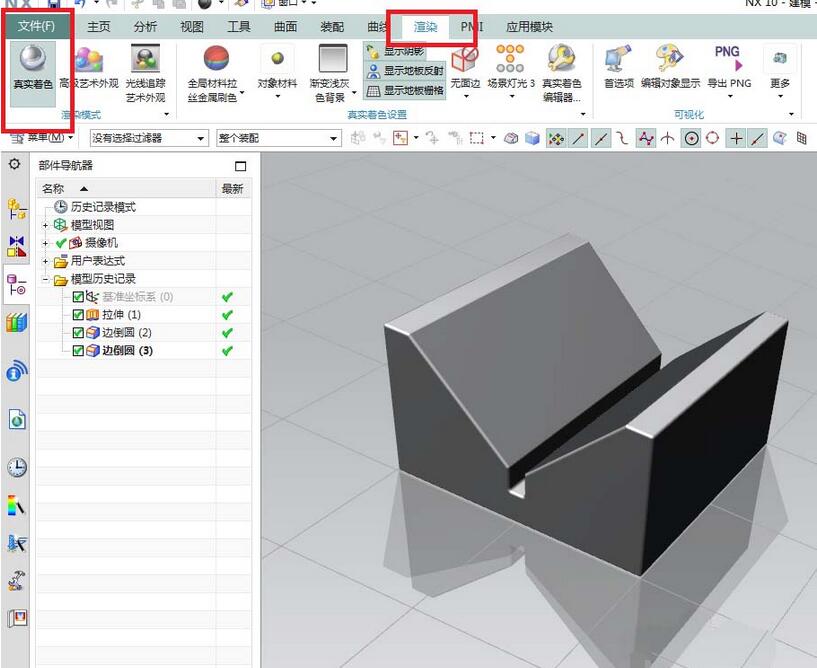
10、标题栏中点击“渲染”,工具栏中点击“真实着色”,选中实体,对象材料为钢,最后的效果就是下图中所示的了。
以上这里为各位分享了UG10.0快速建模金属V型块的操作教程。有需要的朋友赶快来看看本篇文章吧。