


小伙伴们你们知道在Vray3.4怎样添加材质呢?今天小编很乐意与大家分享在Vray3.4添加材质的操作方法,感兴趣的可以来了解了解哦。
Vray3.4添加材质的操作方法

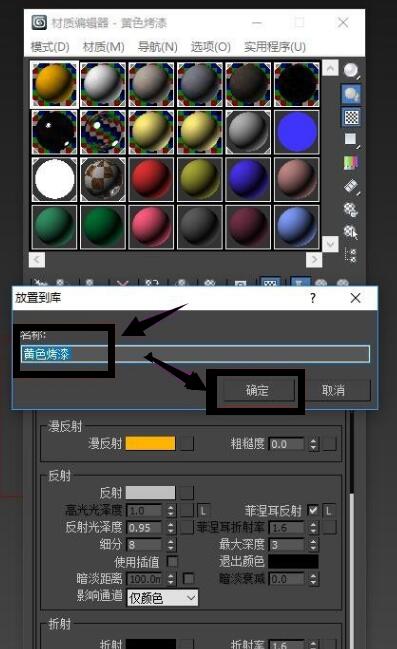
首先打开Vray3.4软件,然后选择需要添加的材质,放置到库——确定,这样就把材质添加到材质库里了,其它的材质添加方法也一样。
如图,可以发现材质库前面有个星星,说明这个材质库还没有保存,所以需要对材质库进行保存。

如图,刚刚材质库前面的星星已经消失了,说明已保存完成。

上文就讲解了Vray3.4添加材质的操作过程,希望有需要的朋友都来学习哦。