


一些刚刚下载使用Multisim14.0的朋友们,可能还不是很熟悉其中进行基本电路仿真?下面这篇内容就为你们带来了Multisim14.0进行基本电路仿真的操作方法。
Multisim14.0进行基本电路仿真的操作方法

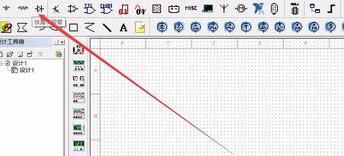
开启Multisim14.0软件,放置自己所需要的电容、电阻、等元器件,如图所示;
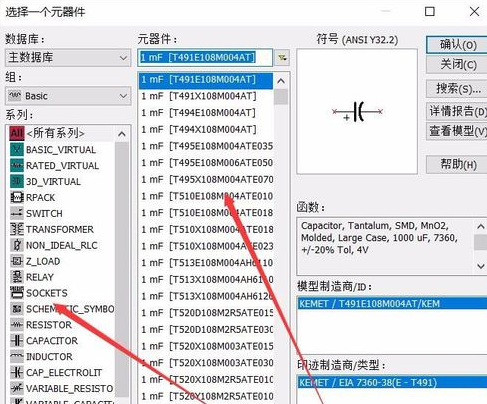
选中后跳出如图中的窗口,选择自己需要的器件类型的具体型号,如图所示;
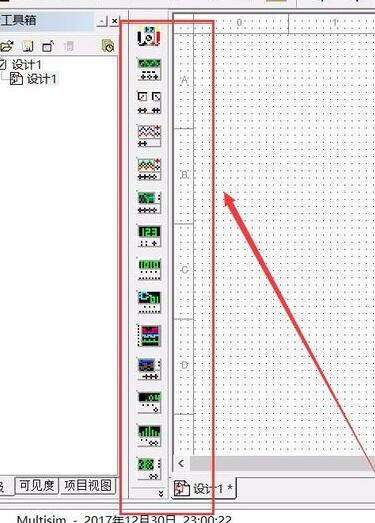
这儿放置了一个电阻元件,并选择自己需要的电表,如图所示;
绘制好后,发现没有电源,那电路该如何运行呢,需要放置电源,选择图中箭头所指的选项,如图所示;
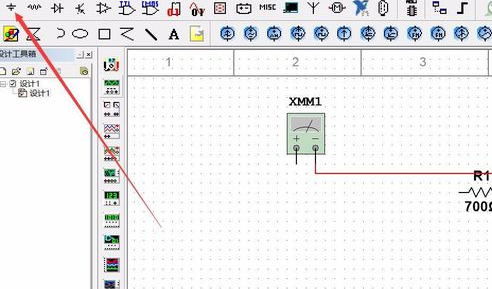
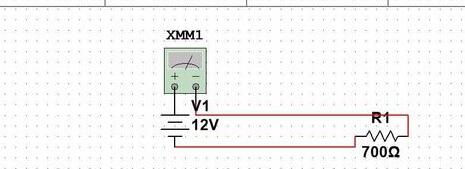
放置好后我们的基本的电路回路就完成啦,如图所示;
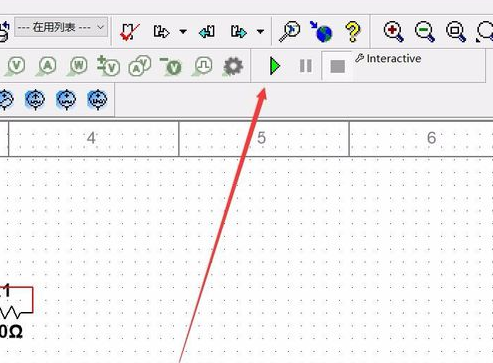
到这,发现说好的仿真呢,这儿点击图中箭头所指的运行选项,如图所示。这样电路图就完成啦。
还不了解Multisim14.0进行基本电路仿真的操作方法的朋友们,不要错过小编带来的这篇文章哦。