


有很多朋友会被win7系统提示无法验证发布者的问题困惑住,所以小编就带来了win7系统提示无法验证发布者的解决教程,感兴趣的朋友就跟小编一起来学习一下吧。
win7系统提示无法验证发布者的解决技巧

1、首先打开IE浏览器,,点击上方的齿轮图标或者“工具”打开菜单,选择“Internet选项”;如图所示:

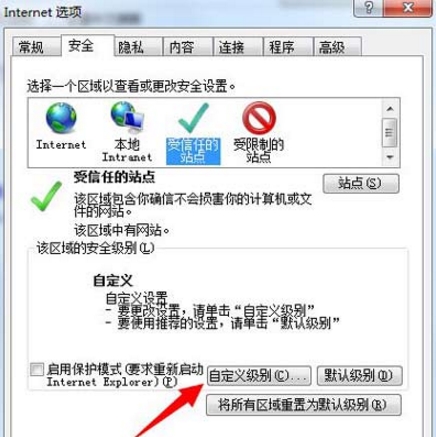
2、进入Internet选项后,点击上方标签切换到“安全”选项卡;如图所示:

3、点击“受信任的站点”,然后点击下方的“自定义安全级别”按钮;如图所示:
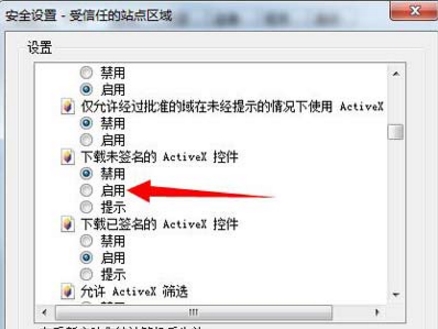
4、来到“安全设置-受信任的站点区域”窗口后,找到“下载未签名的ActiveX控件”,选择“启用”,点击确定;如图所示:
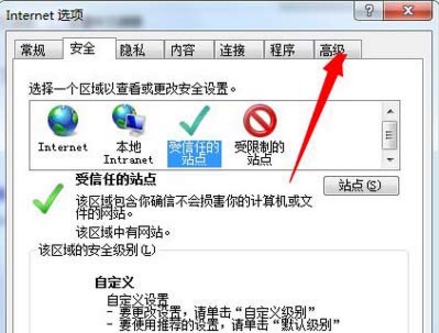
5、回到“Internet选项”窗口后,切换到“高级”选项卡;如图所示:
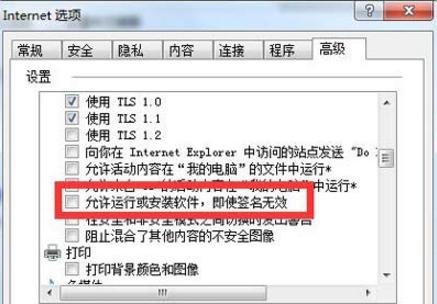
6、在设置中找到“允许运行和安装软件,即使签名无效”并将其勾选,点击确定,然后重启浏览器。如图所示:
上文就讲解了win7系统提示无法验证发布者的解决技巧,希望有需要的朋友都来学习哦。