


最近有一些在使用Google Picasa的用户们,问小编其中是怎样把照片转化为褐色色调?下文这篇教程就描述了Google Picasa把照片转化为褐色色调的操作步骤。
Google Picasa把照片转化为褐色色调的操作步骤

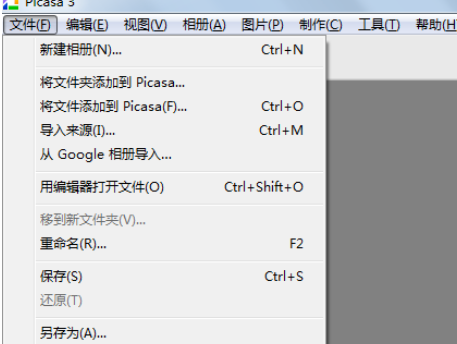
我们先打开Google Picasa软件,点击“文件”-“将文件添加到Picasa”。
然后我们点击“进行有趣而实用性的图片处理”中,选择褐色。
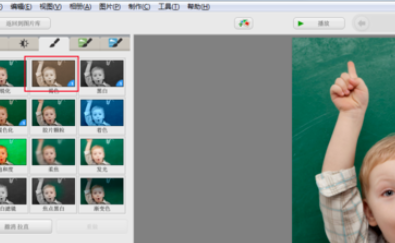
这时照片被更改为褐色调的效果。

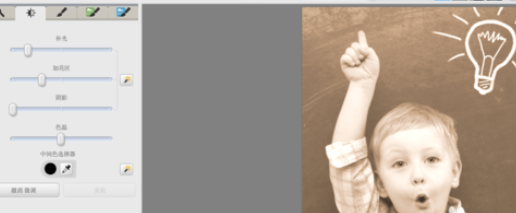
接下来我们点击“精细调整亮度和颜色修正”中,使用鼠标右键拖曳补光和加亮区滑块。
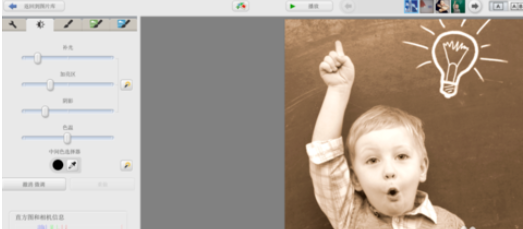
最后一步我们使用鼠标继续向右拖曳阴影滑块,增加阴影调,强调明暗对比度。
根据上文为你们讲解的Google Picasa把照片转化为褐色色调的具体操作流程,你们是不是都学会了呀!