


近段时间有一些在使用驱动精灵的伙伴们,并不是很熟悉其中是怎样还原主板驱动程序的?今日在这篇文章中就带来了驱动精灵还原主板驱动程序的操作教程。
驱动精灵还原主板驱动程序的操作教程

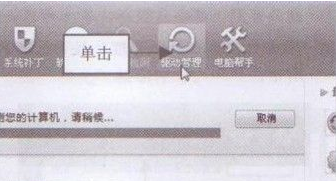
我们先从“开始”菜单中启动驱动精灵应用程序,打开驱动精灵工作界面,在界面上方单击“驱动管理”按钮,如图所示。
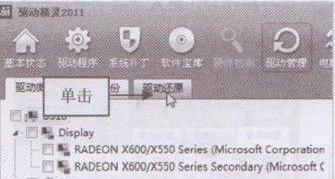
这时执行操作后,进入“驱动管理”界面,单击下方的“驱动还原”标签,如图所示。
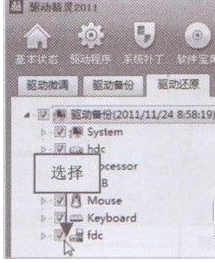
执行操作后,切换至“驱动还原”选项卡在其中选择需要还原的主板驱动程序,如图所示。
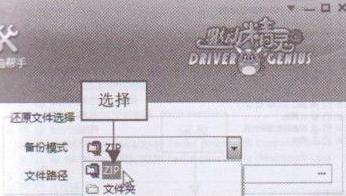
接下来我们在工作界面的右侧单击“备份模式”右侧的下拉按钮,在弹出的列表框中选择ZIP选项,如图所示。
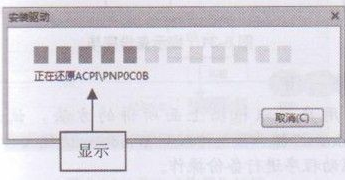
然后我们单击“开始还原”按钮,即可开始还原主板驱动程序,并显示还原进度,如图所示。
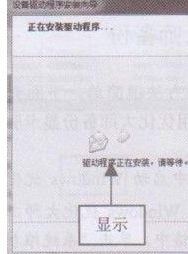
接着在还原主板驱动程序的过程中,会不间断地弹出“设备驱动程序安装向导”对话框,显示驱动程序还原信息,如图所示。
稍等片刻,待驱动程序还原完成后,将弹出提示信息框,提示用户需要重新启动电脑才能应用这些更改,如图所示。
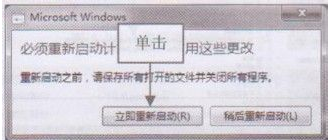
最后我们单击“立即重新启动”按钮,即可完成主板驱动程序的还原操作。
看完了上文描述的驱动精灵还原主板驱动程序的详细操作步骤,你们自己也赶紧去动手试试吧!