


想要使用腾讯电脑管家建立WiFi热点,你们都知道操作的方法吗?下文就为你们带来腾讯电脑管家建立WiFi热点的具体操作方法。
腾讯电脑管家建立WiFi热点的具体使用方法

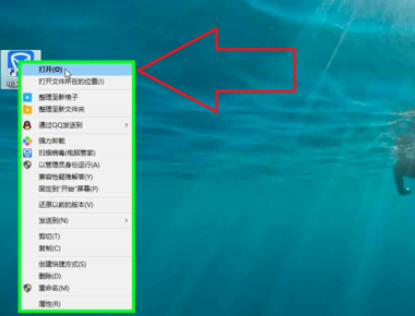
我们需要先在"腾讯电脑管家(窗格)"上右键单击(在"桌面"中)。

然后我们在"打开(O) (菜单项目)"上左键单击。
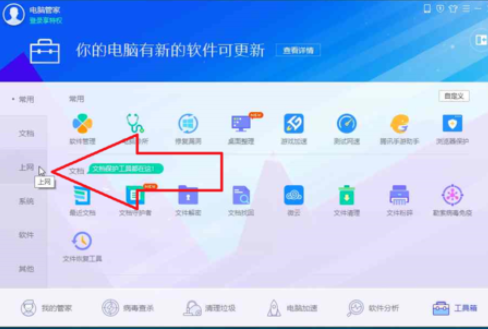
接下来我们在"电脑管家 (窗格)"上左键单击(在"电脑管家"中)。

这个时候我们在"电脑管家 (窗格)的工具箱"上,左键单击(在"电脑管家"中)。
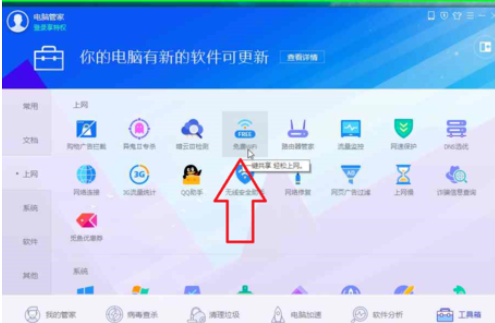
然后我们在"电脑管家 (窗格)的免费wifi"上,左键单击(在"电脑管家"中)。
"免费WiFi"开启,在"免费WiFi (窗格)"上左键单击(在"免费WiFi"中),可关闭WiFi热点。
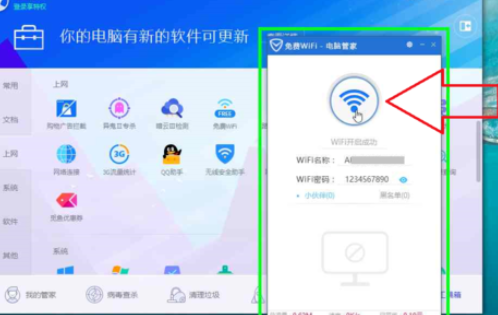
最后一步我们在"免费WiFi (窗格)"上左键单击(在"免费WiFi"中),关闭WiFi热点窗口。

按照上文为你们描述的腾讯电脑管家建立WiFi热点的具体操作流程,你们应该都学会了吧!