


今天小编讲解了草图大师使用图层管理工具操作步骤,下文就是关于在草图大师使用图层管理工具的操作教程,一起来学习吧!
草图大师使用图层管理工具的操作教程

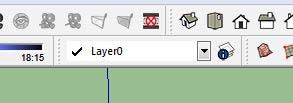
我们先打开SketchUp软件,找到图层管理工具,如下图,点击图片中的倒三名角
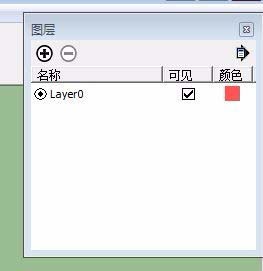
然后我们点击后弹出图层管理器对话框;
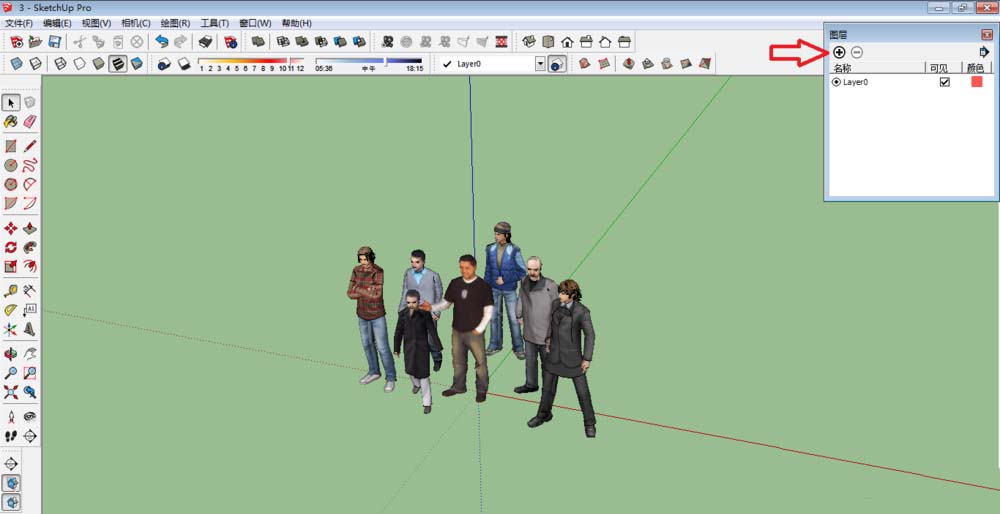
接着添加图层:点击图层管理器里的加号图标,下图箭头所指位置,添加图层;
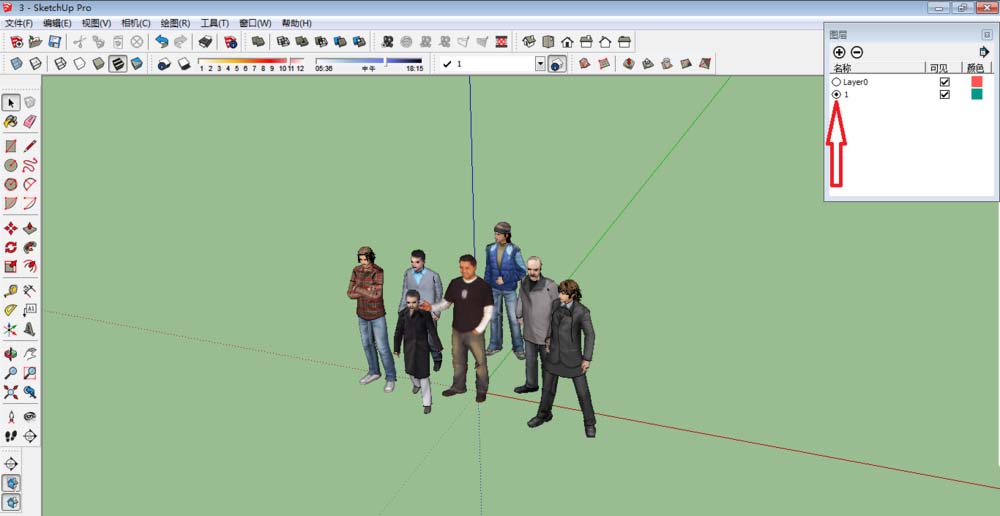
再双击图层名称可以进行对图层名称的编辑,这里我给新建图层命名为图层1;
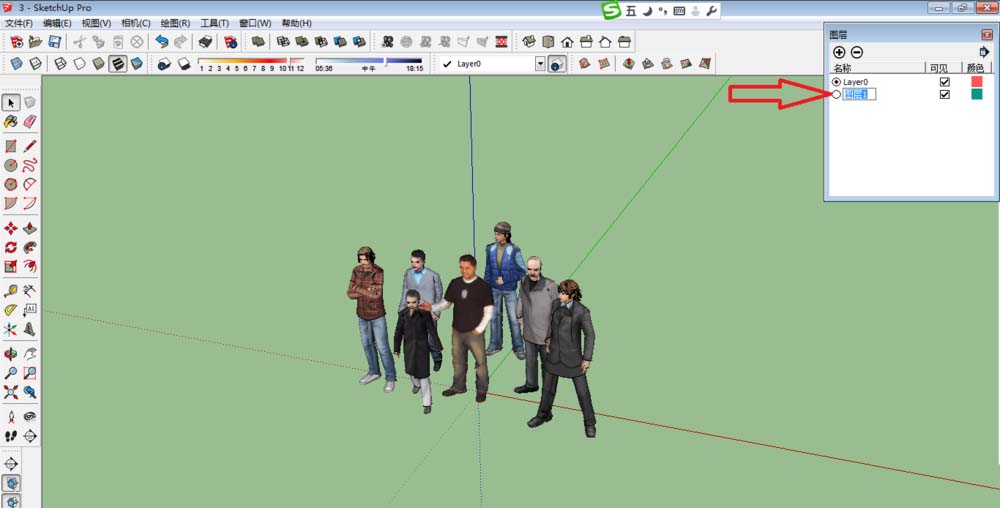
接下来将图层的点移至图层1,意思是在图层1进行编辑(每个图层互不影响);
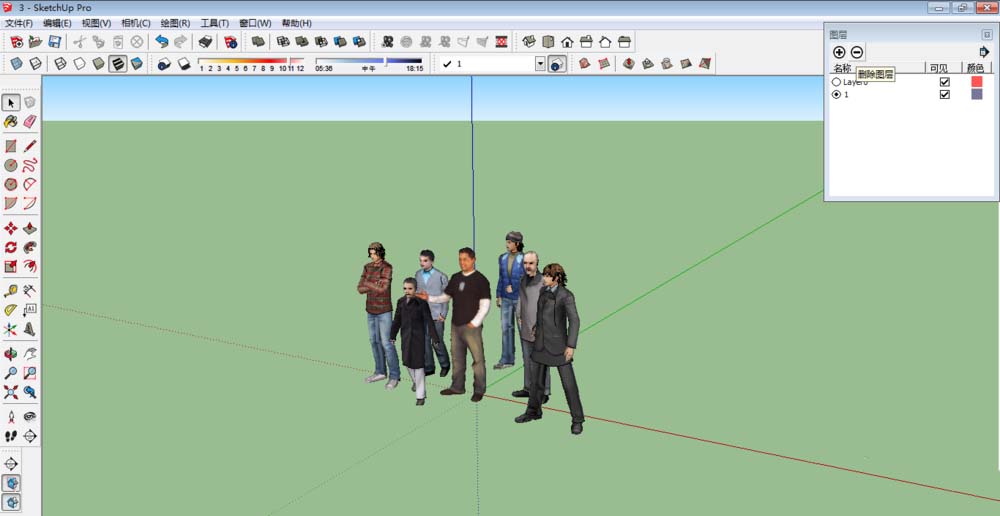
然后删除图层:点击图层管理器里的减号图标,下图箭头所指位置,删除相应图层;
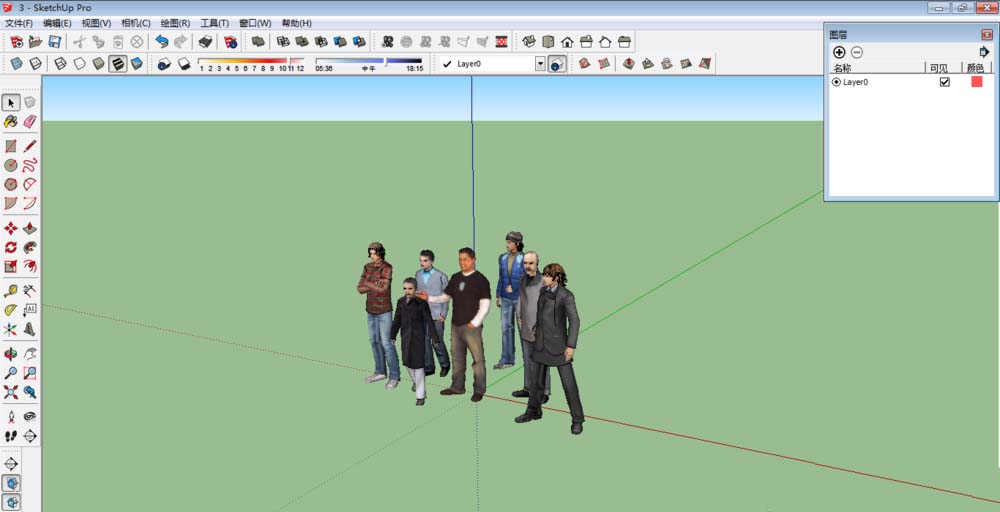
最后删除后又恢复原来的默认图层,显示如下:
根据上文为你们讲述的草图大师(SketchUp)使用图层管理工具的具体操作步骤,你们是不是都学会了呀!