


我们在平时工作中使用PowerPoint Viewer的时候,想设置两个文件合并在一起,各位伙伴们知道怎么操作吗?下文这篇教程就为各位带来了PowerPoint Viewer设置两个文件合并在一起的图文操作。
PowerPoint Viewer设置两个文件合并在一起的图文操作

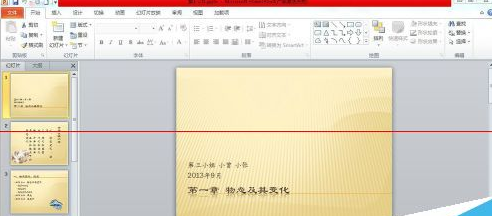
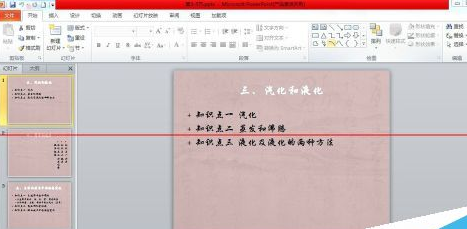
准备好的两个不同文件的PPT都有自己合适的主题。
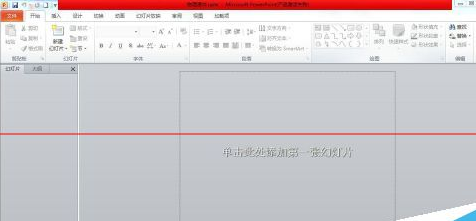
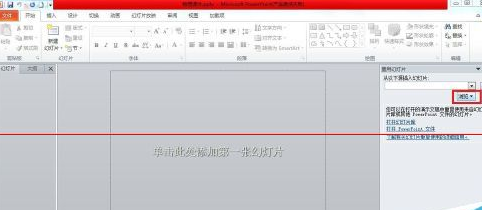
然后我们新建一个PPT。
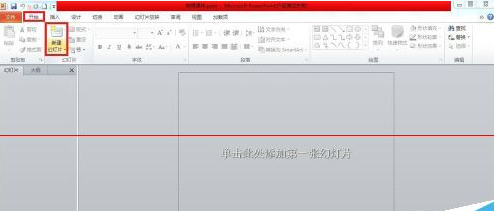
接着我们在“开始“选项卡下”幻灯片“组中单击”新建幻灯片“下拉按钮。
这时从弹出的下拉列表中选择”重用幻灯片“,打开”重用幻灯片“的任务窗口。
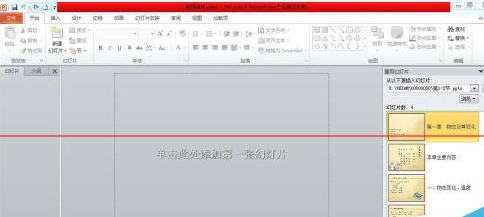
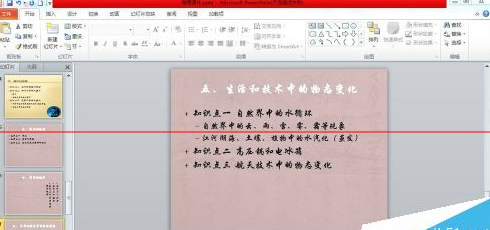
再单击”浏览“按钮,选择”浏览文件“弹出”浏览“对话框,选择第一个文件,勾选下面的”保留源格式“复选框,分别单击里面的幻灯片,效果如图所示。
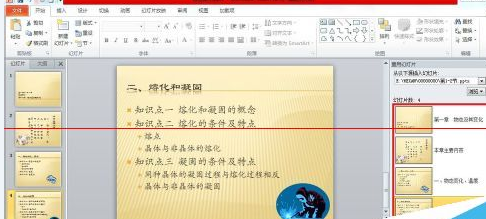
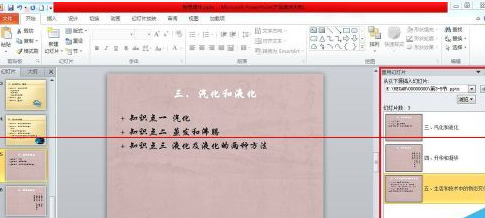
第二个文件重复第一个文件的方法,这个,同一个PPT里就能合并两个文件了,你学会了吗?
根据上文为你们呈现的PowerPoint Viewer设置两个文件合并在一起的具体操作方法,你们是不是都明白了呀!