


想必大家对骑士装机大师软件有所了解吧,今日给大家讲讲云骑士装机大师重装非当前系统的操作步骤吧,希望大家喜欢。
云骑士装机大师重装非当前系统的操作步骤

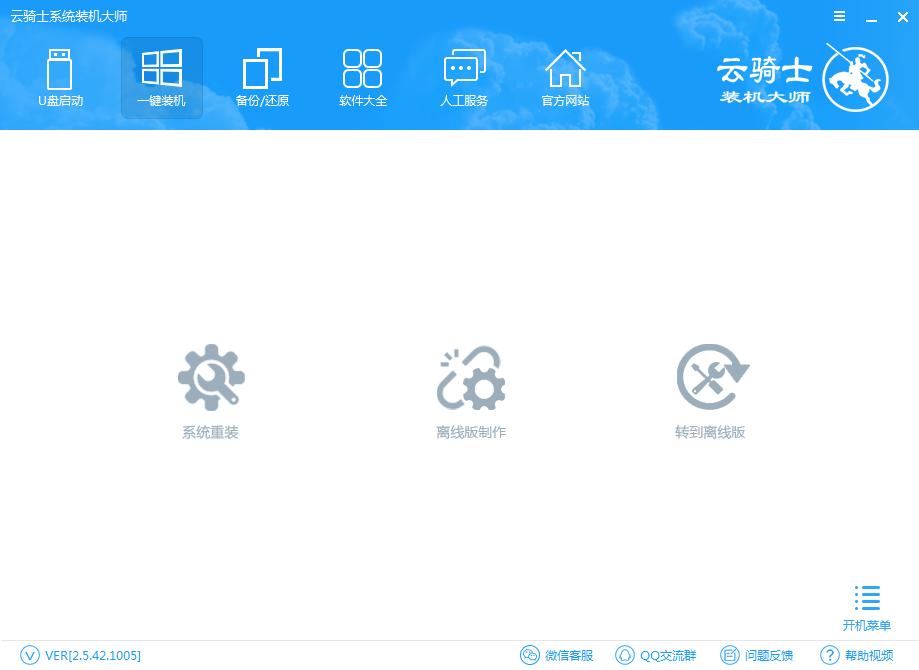
我们先打开云骑士装机大师,在一键装机界面选择系统重装。
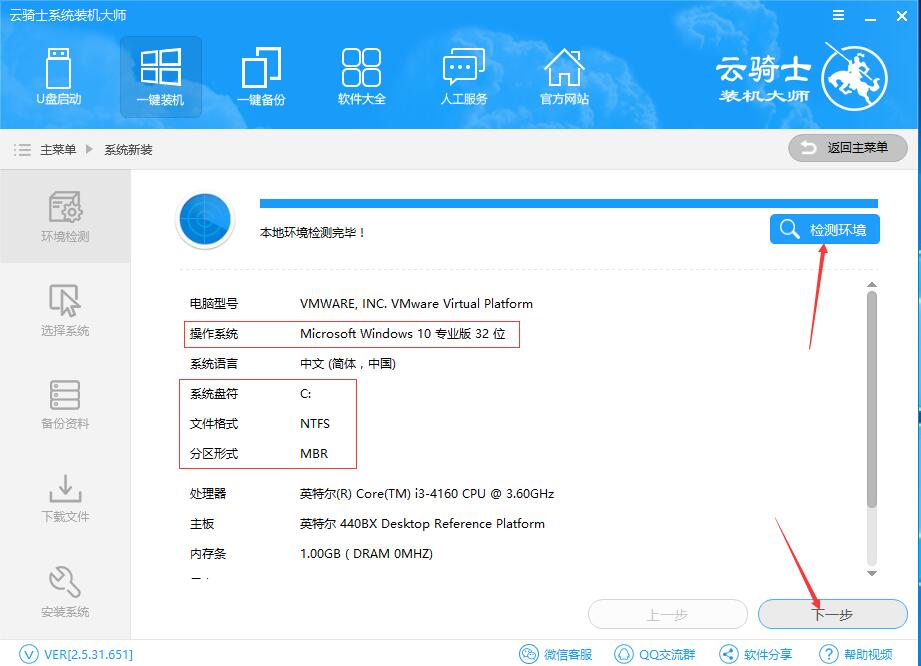
接着软件进入环境检测(软件会注明当前系统版本、文件格式预计分区形式)检测完成后点击下一步。如图:
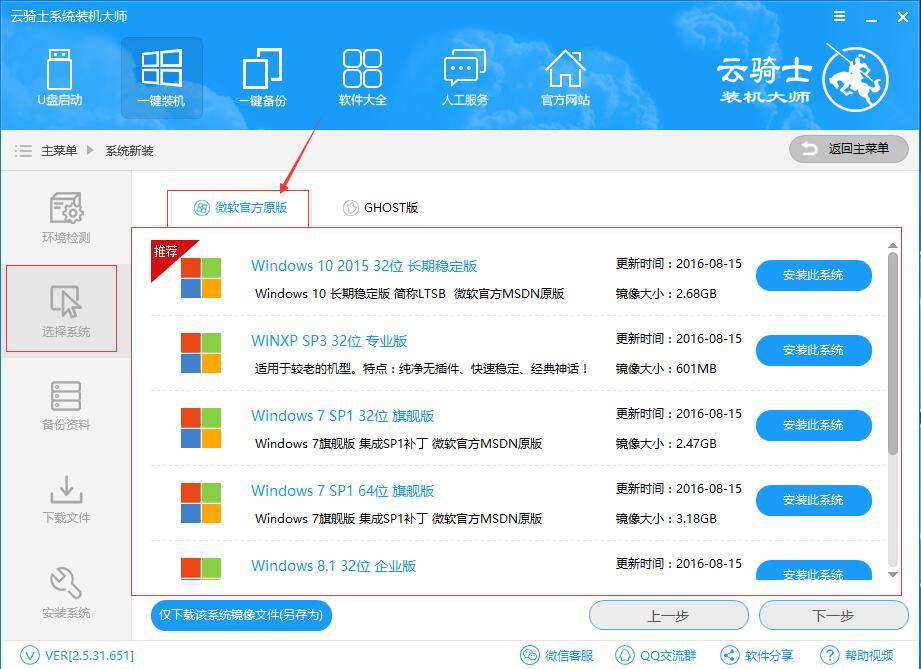
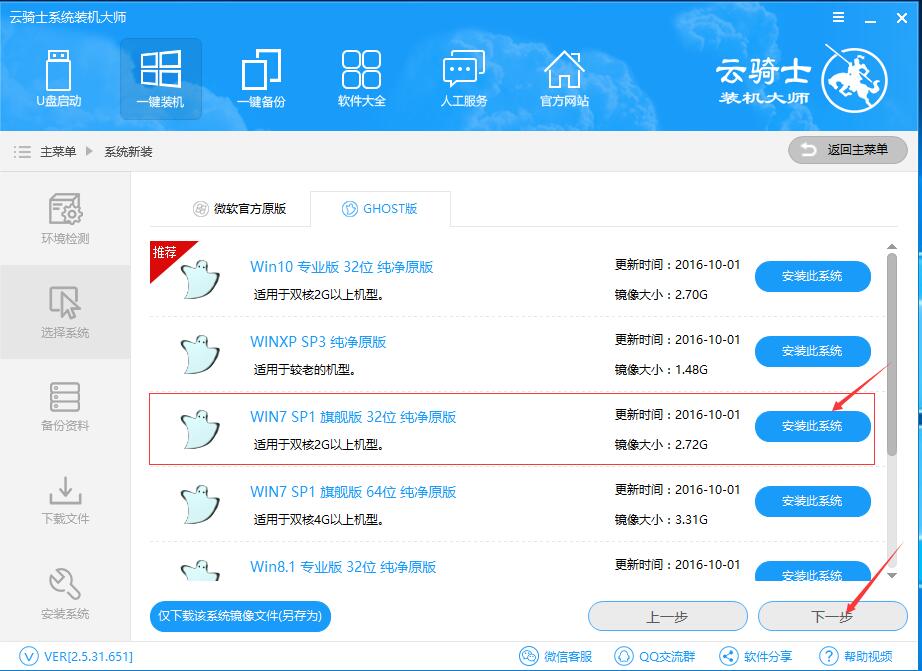
然后我们点击后跳到系统选择画面。(这里可选择微软官方XP、win7、Win8win10,也可以选择ghost版。这里建议选择ghost版系统,免激活!官方正版云骑士暂时无法提供激活渠道)
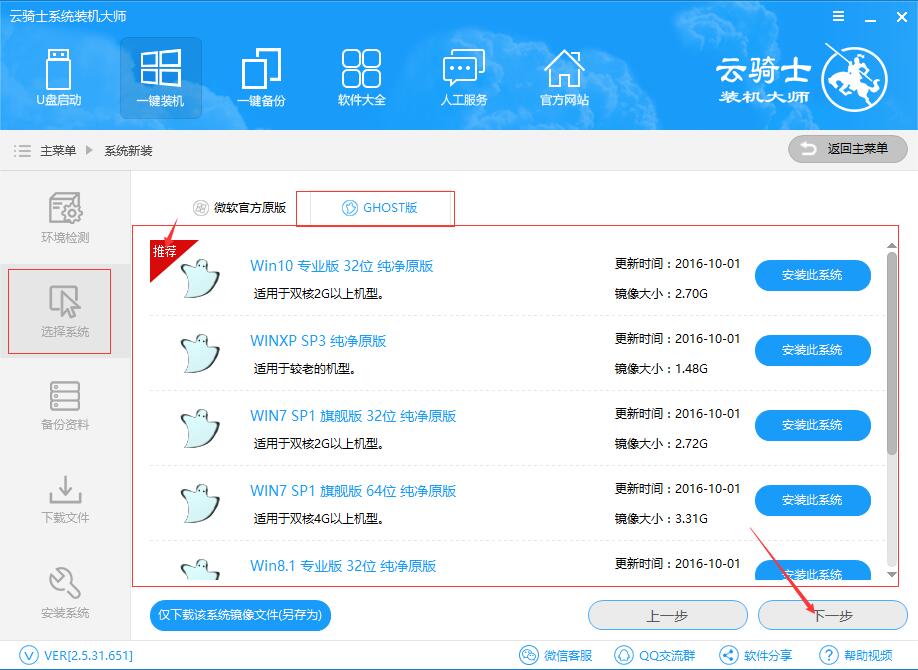
用户根据需求选择(这里小编选择ghost版win7系统作为演示),选择完成后点击下一步。
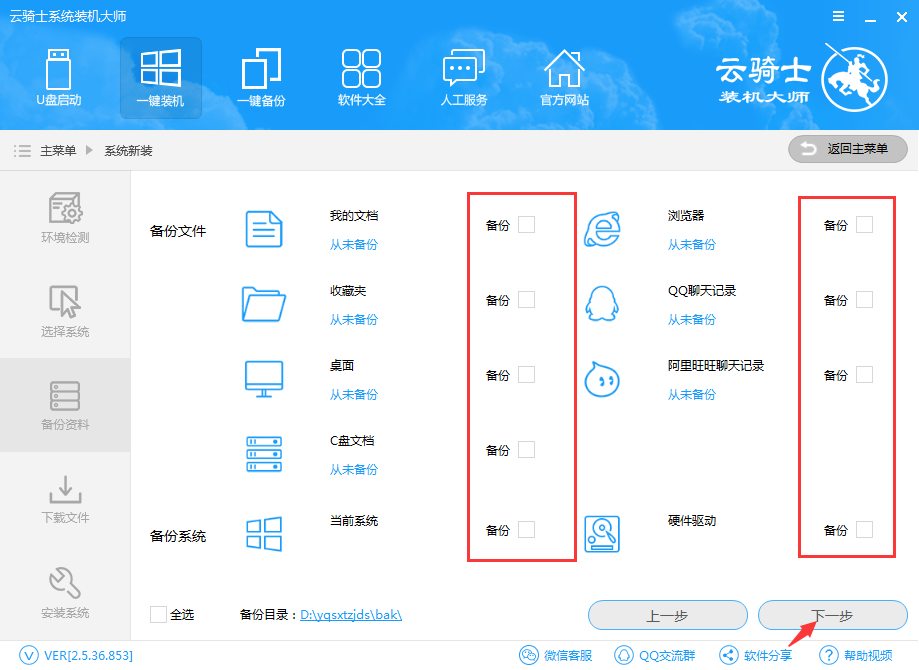
接着我们跳转到资料备份界面。(用户根据需要备份本机的文档文件)选择完成后点击下一步。
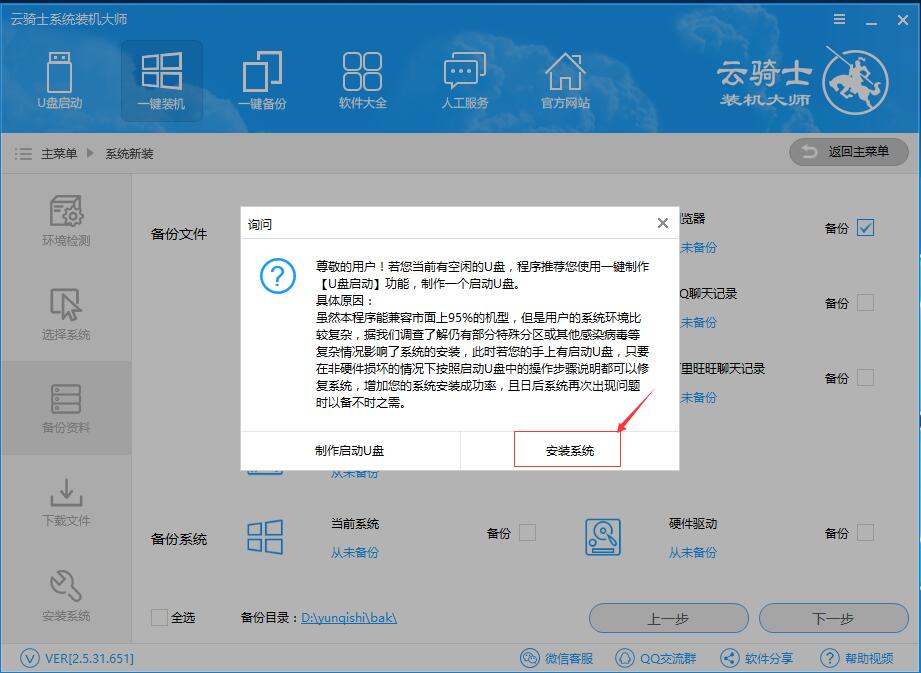
接着会弹出一个提示窗口,询问是否要使用U盘进行装机,用户直接点击安装系统即可
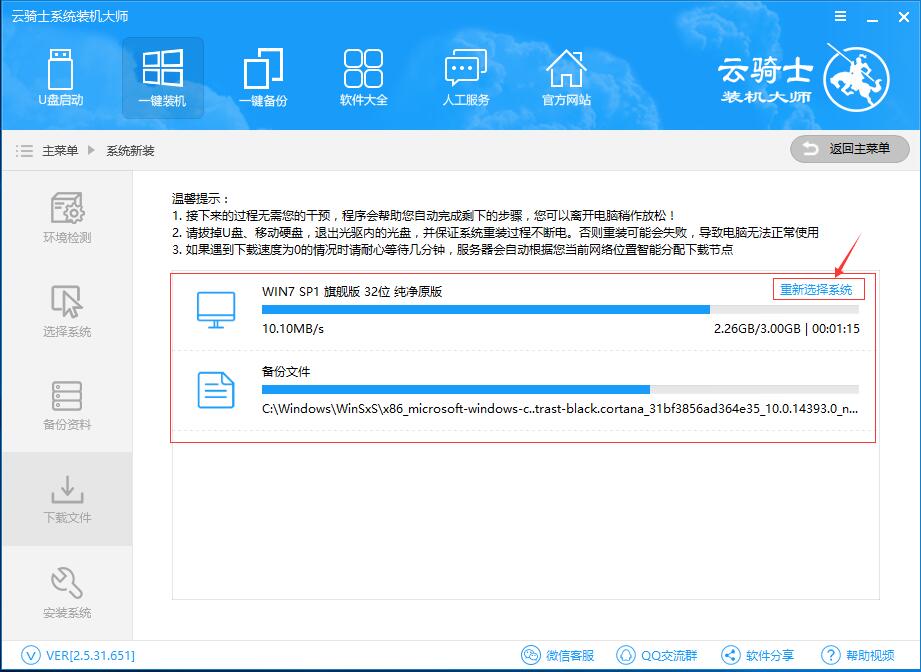
这时我们点击后,进入下载系统镜像跟备份文件。(下载与备份期间请勿在电脑上进行其他操作,耐心等待即可)
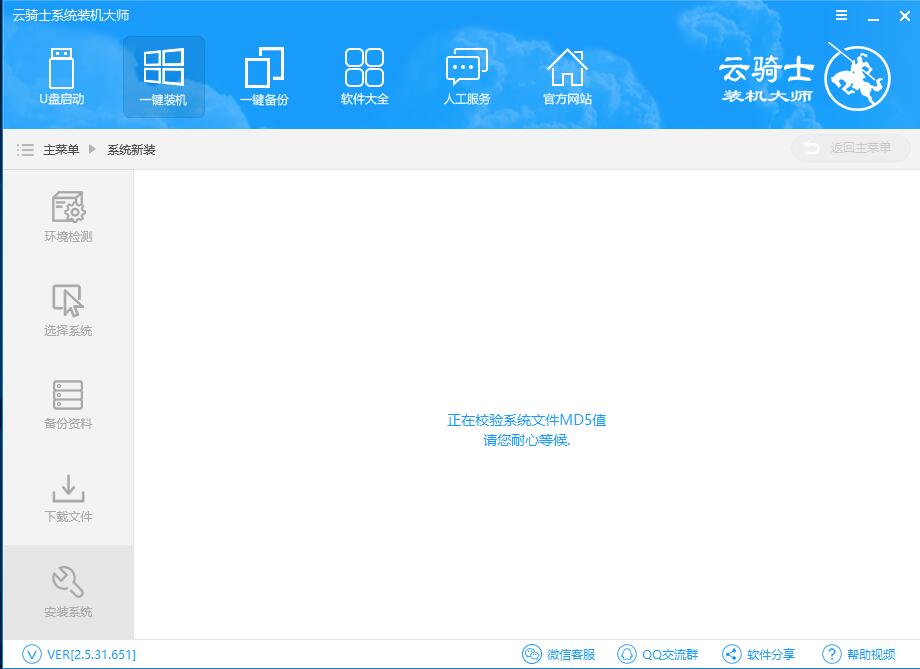
下载完成后软件检验MD5值,耐心等待即可。
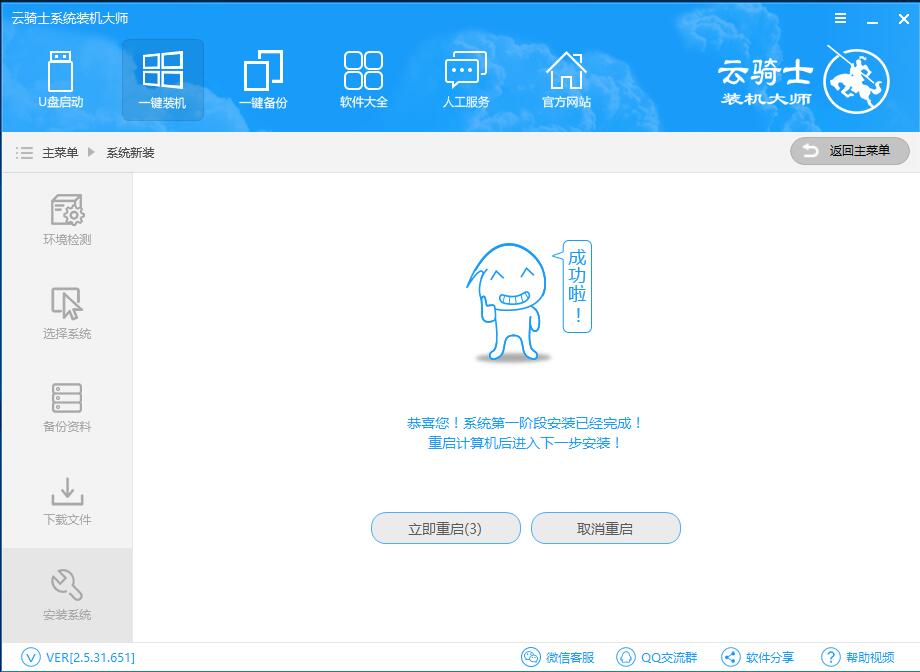
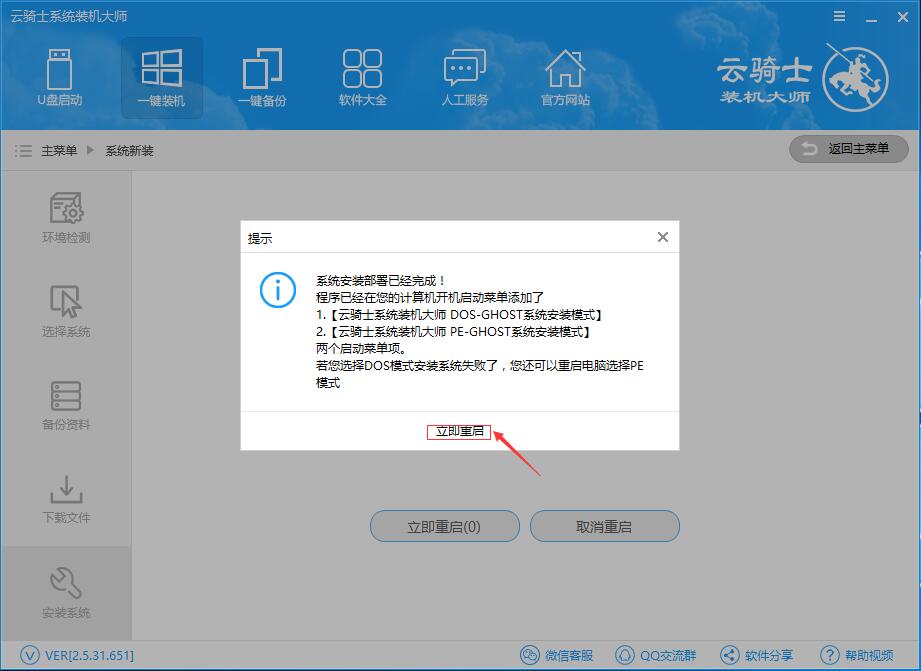
检测完成后弹出重启提示,点击立即重启。
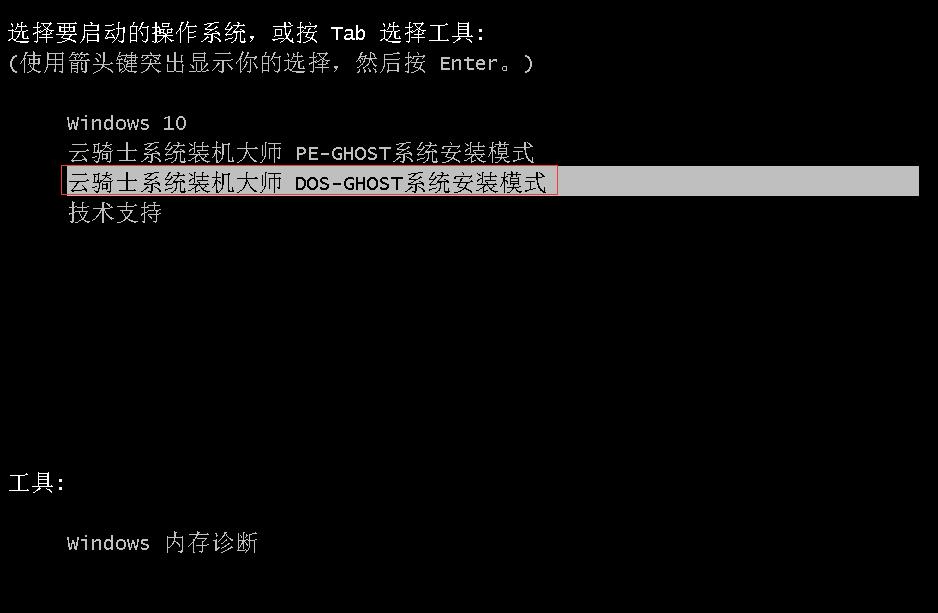
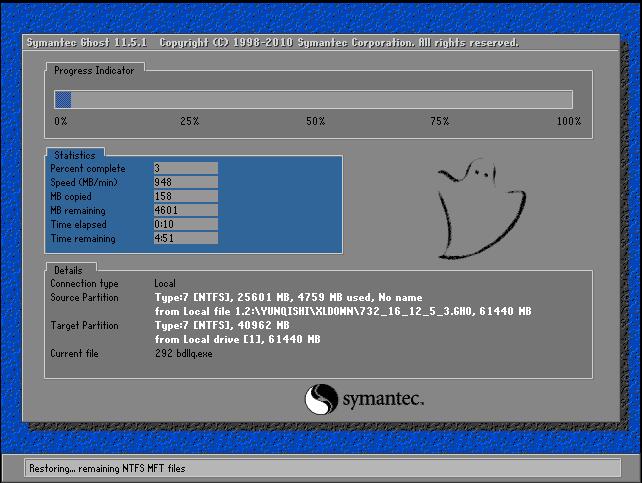
最后重启完成后点击选择“云骑士系统装机大师DOS-GHOST系统安装模式”进入安装
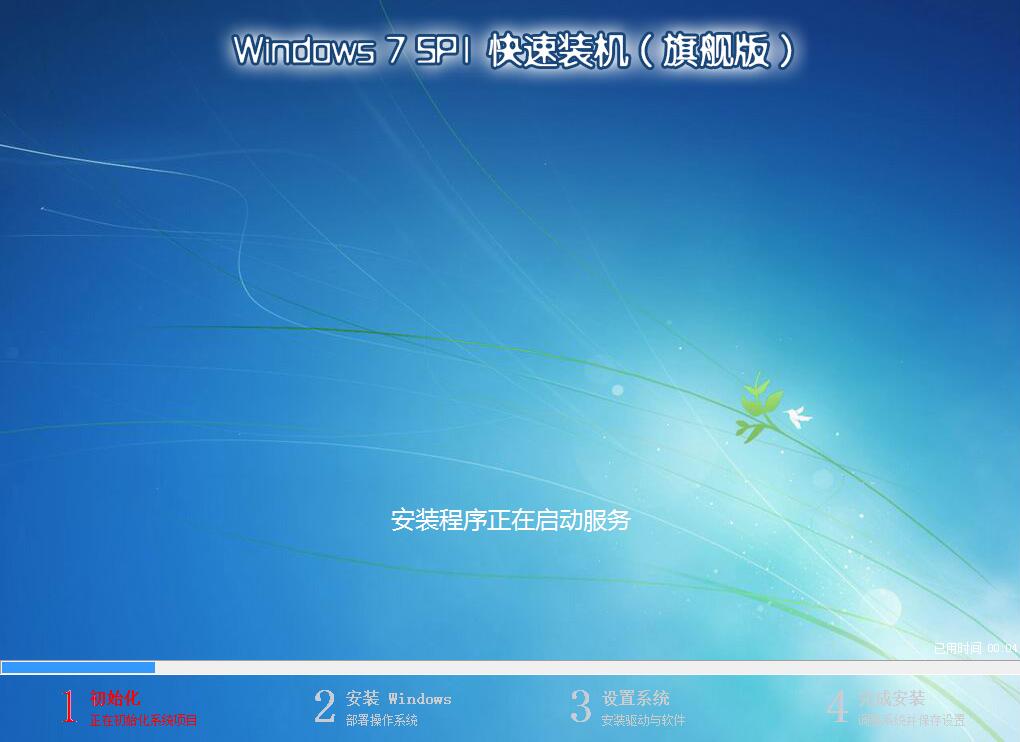
安装进度读条,读完后部署安装
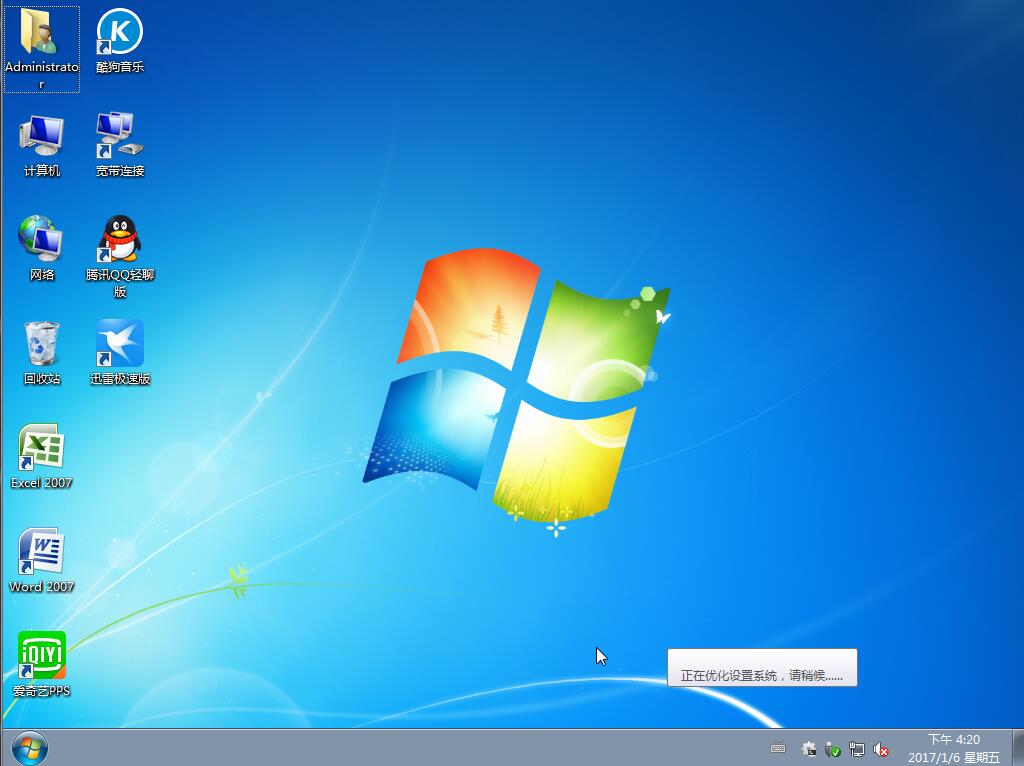
最后安装完成。全新的win7系统
上文骑士装机大师重装非当前系统的操作步骤,你们是不是都学会了呀!