


许多云骑士装机大师的用户,还不了解怎么使用备份和还原功能,下面分享一下云骑士装机大师备份和还原的操作步骤,希望感兴趣的朋友都来共同学习哦。
云骑士装机大师备份和还原的操作步骤

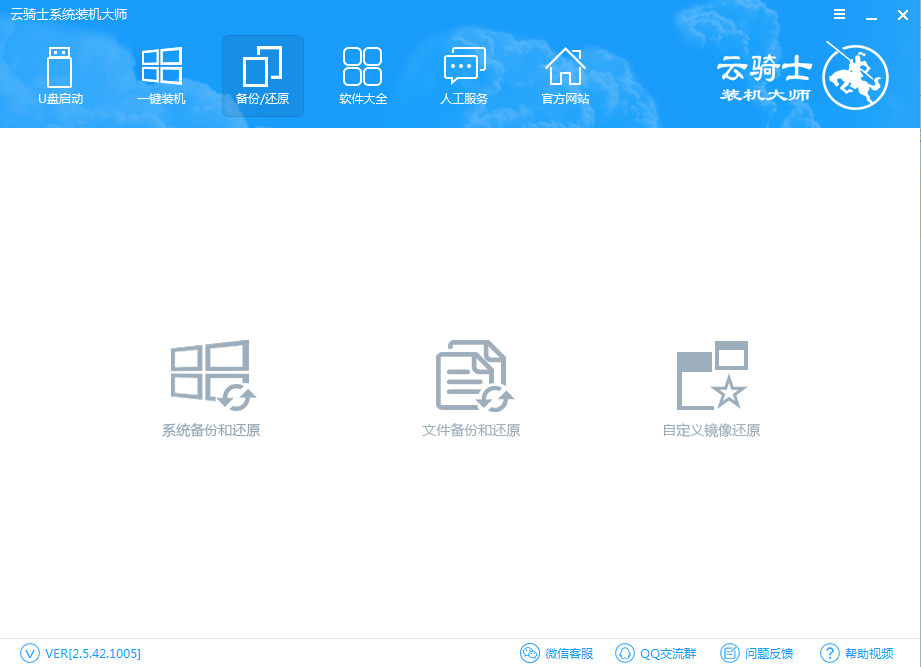
一、系统备份
1.打开云骑士装机大师,点击【备份/还原】,然后点击【系统备份和还原】
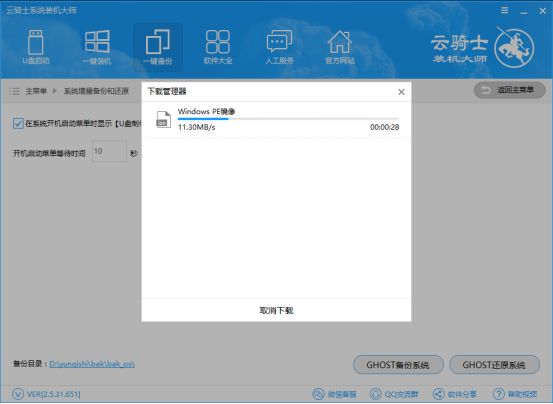
2.选择【Ghost备份和还原】,点击【Ghost备份系统】,选择Ghost压缩率

3.下载Windows PE镜像
4.提示系统备份设置已经完成,点击【立即重启】进行系统备份
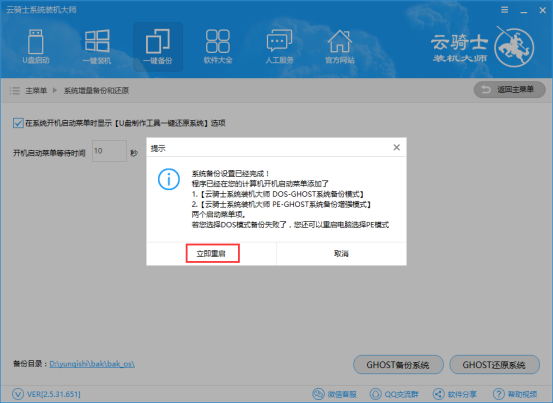
5.选择PE-Ghost或DOS-Ghost系统备份模式

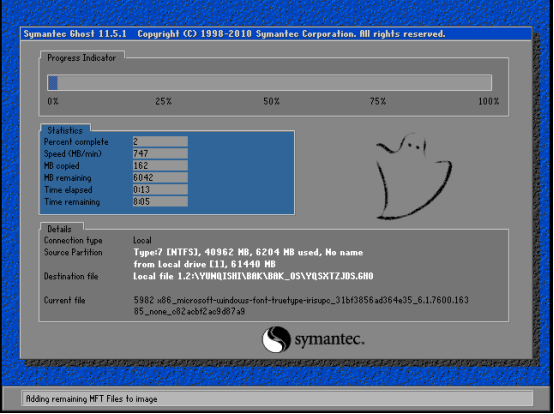
6.进行系统备份,等待备份操作完成即可
二、系统还原
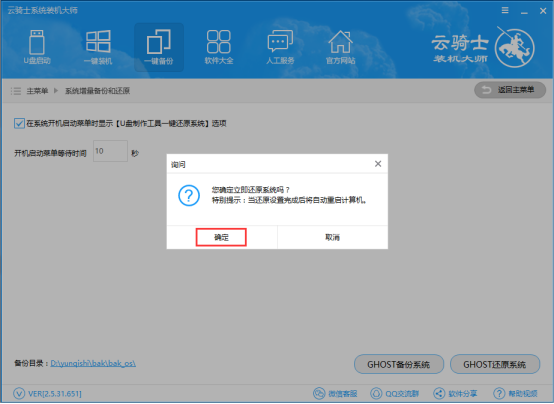
1.系统出现故障时,就可以使用系统还原将电脑还原到尚未故障的时候。打开云骑士装机大师,点击【系统Ghost备份和还原】,然后再点击【Ghost还原系统】,再弹出的提示框中点击【确定】还原系统
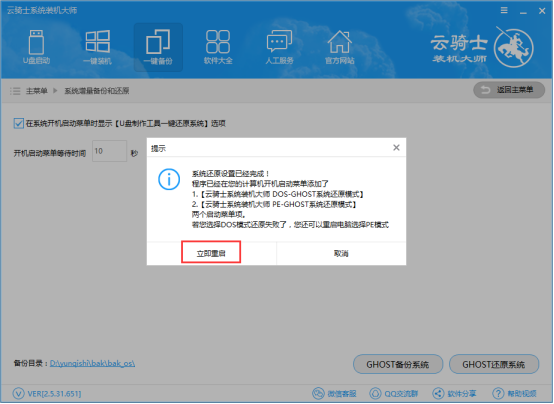
2.提示系统还原设置已经完成,点击【立即重启】进行系统还原
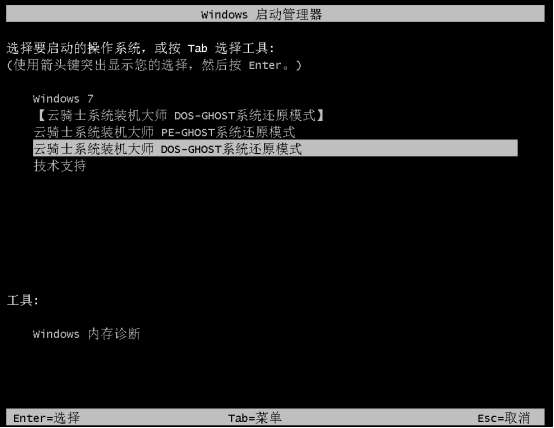
3.选择PE-Ghost或DOS-Ghost系统还原模式
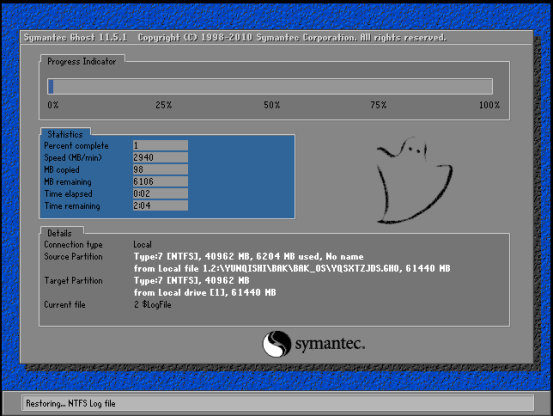
4.进行系统还原,等待还原操作完成即可
相信大伙看完了上文的云骑士装机大师备份和还原的操作步骤,应该都有所了解了吧!