


今天给大家介绍下Altium Designer 13中隐藏栅格的操作方法,不会的网友可以学习一下下文中的具体操作。
Altium Designer 13中隐藏栅格的操作方法
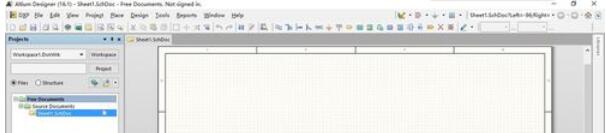
Altium Designer,首先打开Altium Designer软件,然后新建一个原理图工程,现在可以看到原理图是有栅格的
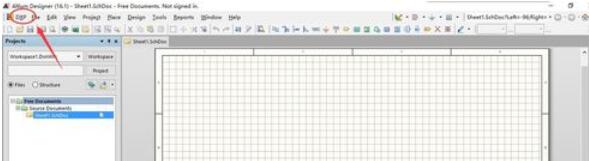
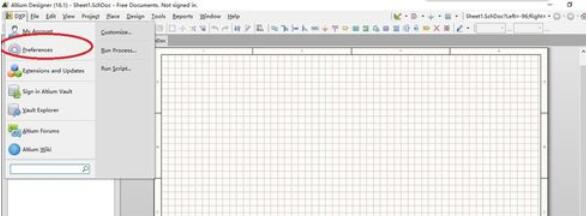
然后在菜单栏找到“DXP”菜单,单击DXP,弹出下拉菜单,找到preferences选项,单击选择preferences,进入设置菜单
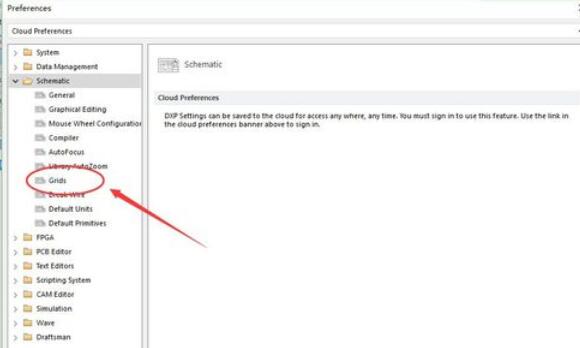
进入设置菜单,弹出设置对话框,在左面栏找到schematic菜单,单击下三角展开子菜单
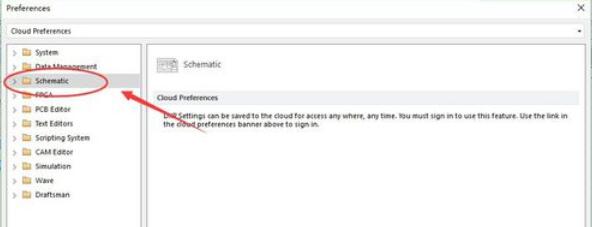
在展开的子菜单找到grids选项,单击打开,就会在右边打开菜单
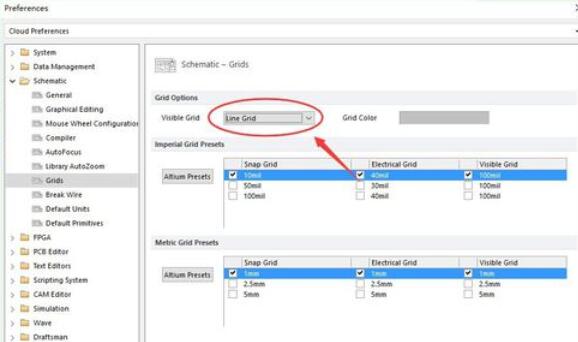
找到Grid options选项。在下面有一个Visible Grid选项,修改这里就可以了
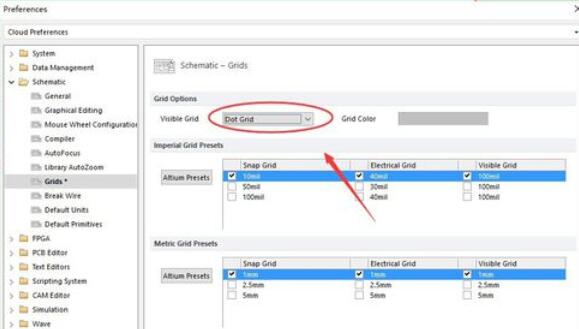
打开下三角将该选项设置成为Dot Grid就可以了,现在就可以隐藏栅格了
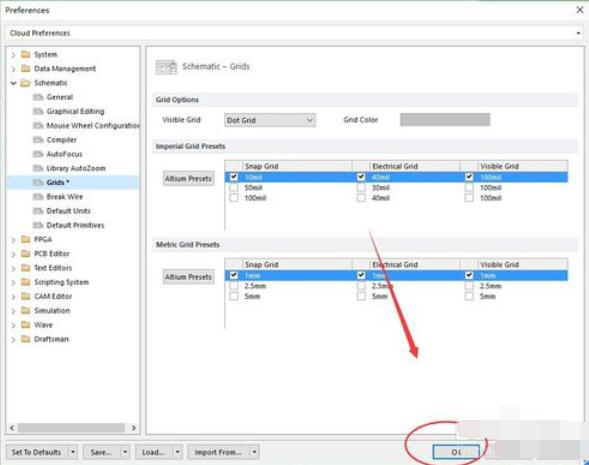
设置完成,单击“确定”
现在回到原理图界面,就可以看到,原理图里面的栅格就被隐藏了。。
上文就是Altium Designer 13中隐藏栅格的操作方法,赶快试试看吧。