


今天讲解的是snippingtool在win7中完成截图的操作步骤,不懂的小伙伴可以去了解了解,相信对大家一定会有所帮助的。
snippingtool在win7中完成截图的操作步骤

点击电脑左下角的windows7图标或者按下键盘的【win】键,调出主程序菜单
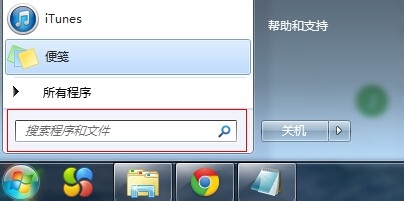
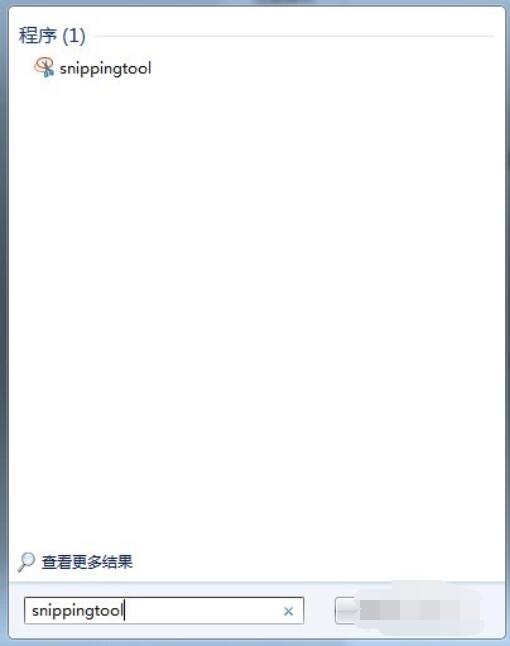
在主程序菜单输入框中输入——SnippingTool
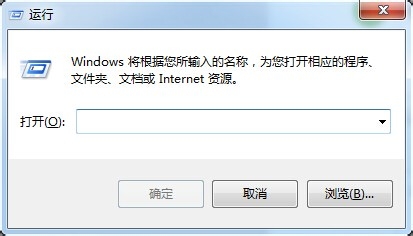
也可以按下【win】+【R】键,调出运行框
在输入框中输入——SnippingTool
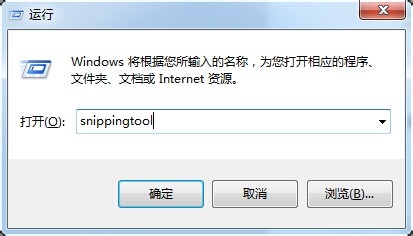
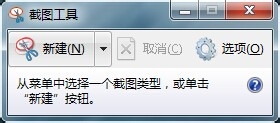
这样就可以调出截图程序
注意:命令不关心大小写。
以上就是snippingtool在win7中完成截图的操作步骤,希望大家喜欢。