


最近一些用户们在使用SQL Server 的时候,不熟悉其中还原数据库如何操作?今日在这里就为你们带来了SQL Server 还原数据库的详细操作教程。
SQL Server 还原数据库的详细操作教程

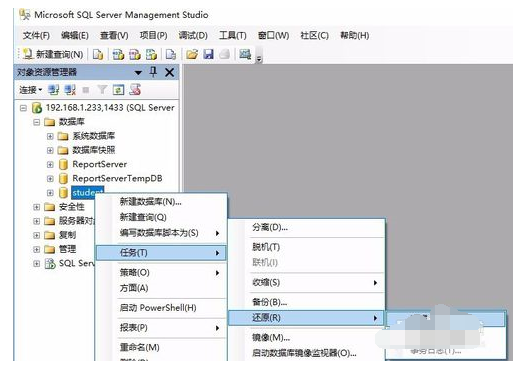
打开 SQL Server Management Studio。

右击要备份的数据库——任务——还原——数据库。
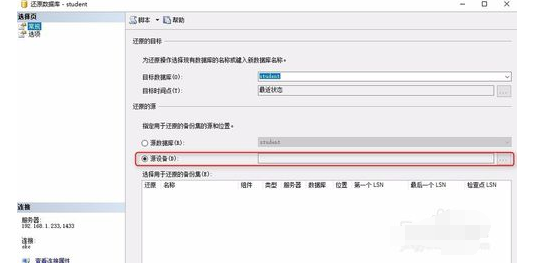
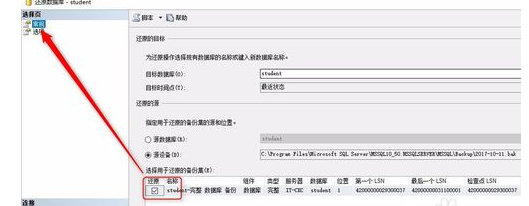
弹出还原数据库界面。选择“源设备”,点击后面对应的“…”。
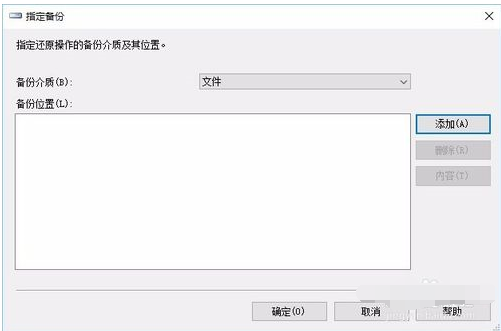
弹出路径选择界面,点击“添加”。
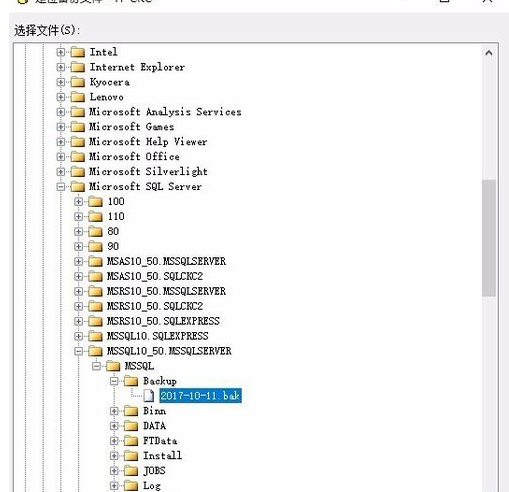
选择要还原的数据库备份文件。点击“确定”,再点击“确定”。
将选好的还原集前打勾(如下图),后点击左上角的“选项”。
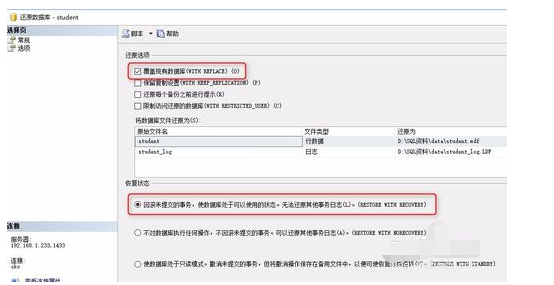
在还原选项中将“覆盖现有数据库”打勾;在恢复状态中,选择“回滚未提交的事务,使数据库处于可以使用的状态”。
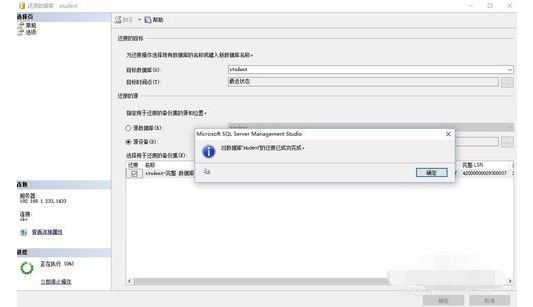
点击左上角的"常规",点击右下角的”确定“,开始数据库还原。
以上就是小编给大家带来的全部内容,大家都学会了吗?