


部分用户在使用PPT2019软件的时候,并不是很熟悉其中如何压缩插入的图片的方法?今日在这里小编就为各位带来了PPT2019压缩插入图片的详细操作流程。
PPT2019压缩插入图片的操作教程

先打开我们电脑上面的ppt2019,然后点击插入;
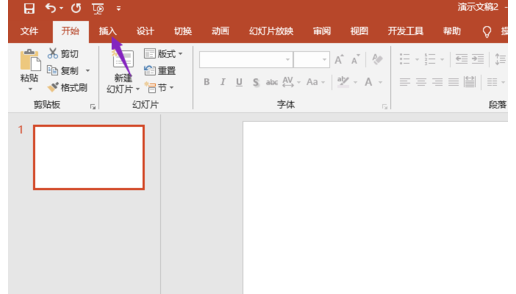
之后选择图片;
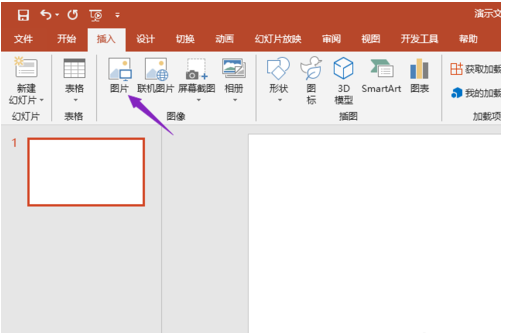
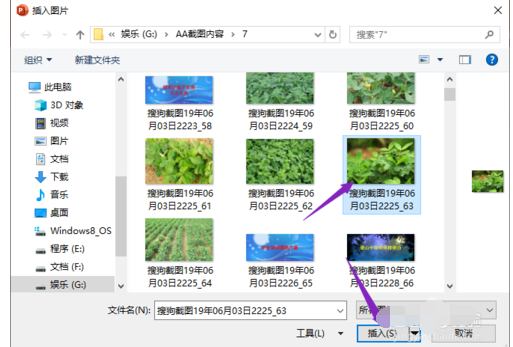
然后选中一张图片,之后点击插入;
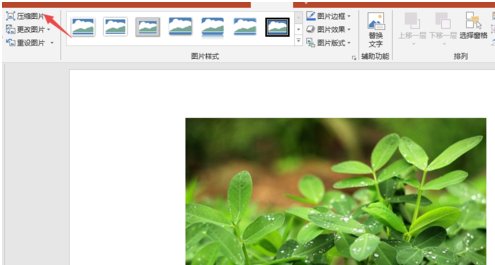
插入图片完成后,我们点击工具栏中的压缩图片;
然后我们选择电子邮箱;
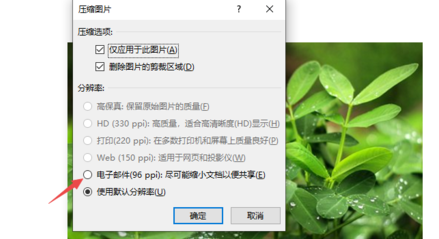
最后点击确定就可以了,这样我们就就压缩了插入的图片了。
以上就是给大家分享的全部教程,更多金彩教程可以关注华军下载哦!
2019-08-07 11:24:44来源:华军下载
部分用户在使用PPT2019软件的时候,并不是很熟悉其中如何压缩插入的图片的方法?今日在这里小编就为各位带来了PPT2019压缩插入图片的详细操作流程。
PPT2019压缩插入图片的操作教程
先打开我们电脑上面的ppt2019,然后点击插入;
之后选择图片;
然后选中一张图片,之后点击插入;
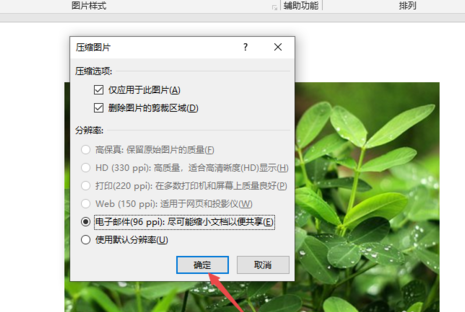
插入图片完成后,我们点击工具栏中的压缩图片;
然后我们选择电子邮箱;
最后点击确定就可以了,这样我们就就压缩了插入的图片了。
以上就是给大家分享的全部教程,更多金彩教程可以关注华军下载哦!