


今天小编给大家讲解RedisDesktopManager如何连接到redis和使用,有需要或者有兴趣的朋友们可以看一看下文,相信对大家会有所帮助的。
RedisDesktopManager连接到redis的使用方法

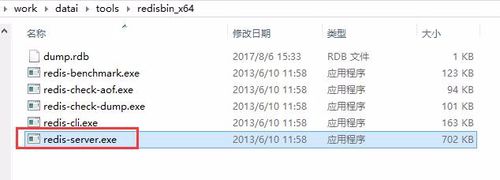
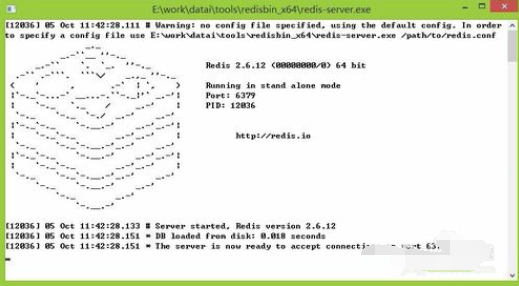
首先启动redis服务,这里为了演示,使用的redis的Windows版本,安装在本地来测试的。平常项目开发中,使用的redis都是在远程服务器上的。但连接和使用方式基本一样。进入redis目录,双击redis-server.exe启动redis服务,出现如果的页面,表示启动成功
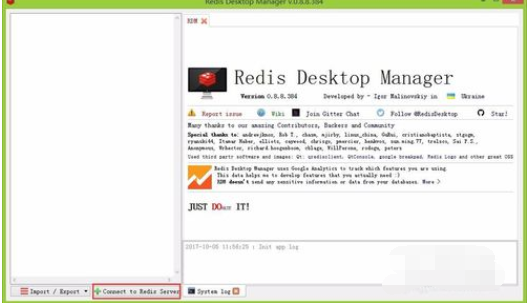
打开RedisDesktopManager客户端软件,首次打开,连接列表都是空白的,可以点击最下方的"Connect to Redis Server"添加新的redis连接
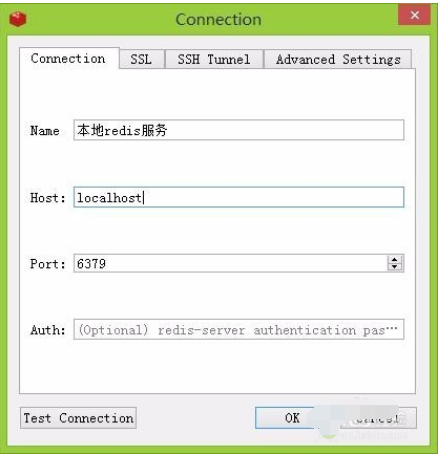
输入连接名称,输入Host主机名称或地址,输入端口号,默认6379端口,Auth是密码字段,如果redis服务器设置了密码验证,则需要填写,没有设置,为空即可
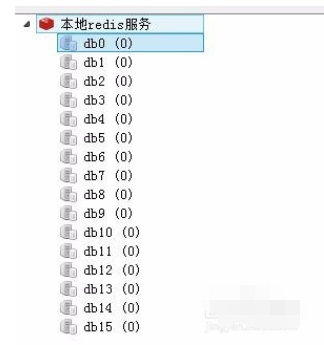
填写完成点击确认,则刚刚添加的连接会出现在左侧列表中,双击打开连接,默认会显示db0-db15
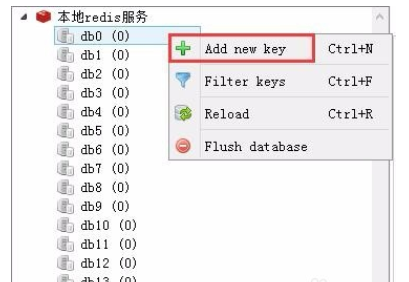
选择其中一个右击添加一个测试的testKey1,值填写testValue1。

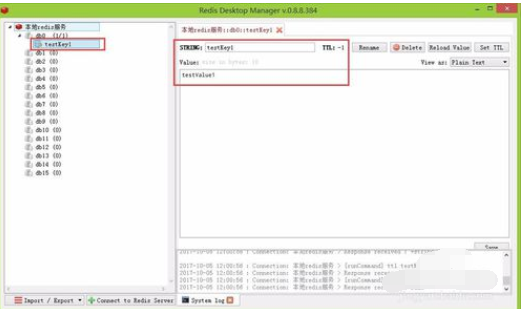
添加完成之后,则可以看到db0下面有个key为testKey1的键,右侧页面可以查看详情
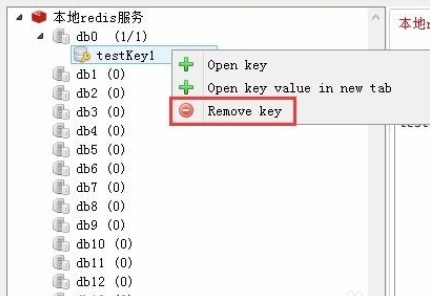
如果不再需要可以右击,选择"Remove key"进行删除。
以上就是小编给大家带来的全部内容,大家都学会了吗?