


最近有朋友咨询Dropbox作为Git服务器的操作步骤,下面就是小编带来的全部内容分享,一起看看吧。
Dropbox作为Git服务器的操作步骤

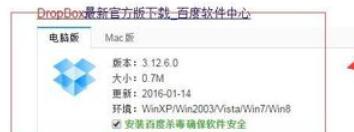
1.百度搜索 Dropbox,进行下载,如下图所示:
2.Dropbox注册并且安装客户端
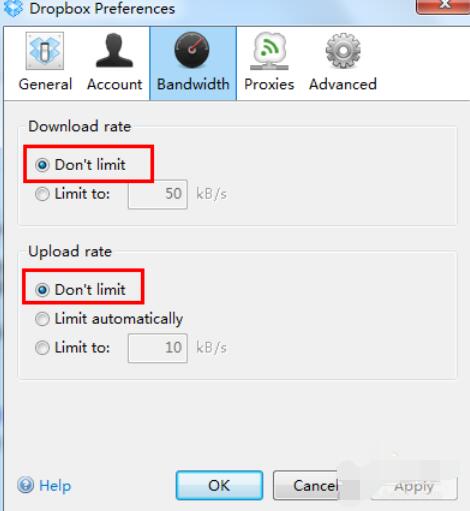
注:如果觉得Dropbox同步比较慢可以在Preference里把上传和下载的速度限制去掉,如下图所示:
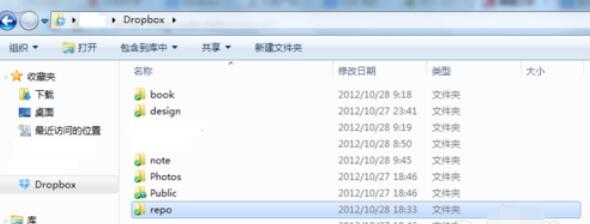
3.在Dropbox目录里建一个目录repo用来存放Git库(这个可选,随便放到Dropbox哪个目录都行,仅仅为了看起来整齐点),如下图所示:
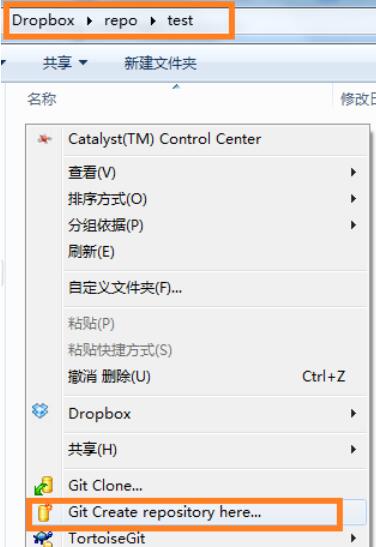
4.(“服务器端”)在Repo里建立一个文件夹test用来存放这个工程的Git库,然后在空白的地方右键创建库,在弹出的对话框里选中“Make It Bare",如下图所示:
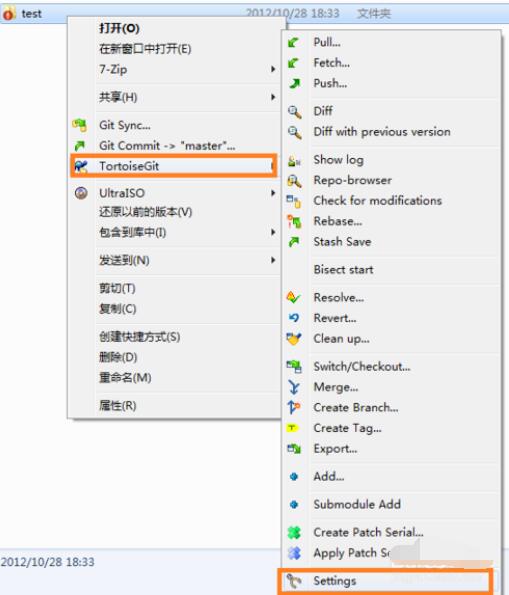
5.(本地源代码)在一个已经用git做版本控制的源码目录上右键,打开Tortoise=>Settings对话框,如下图所示:
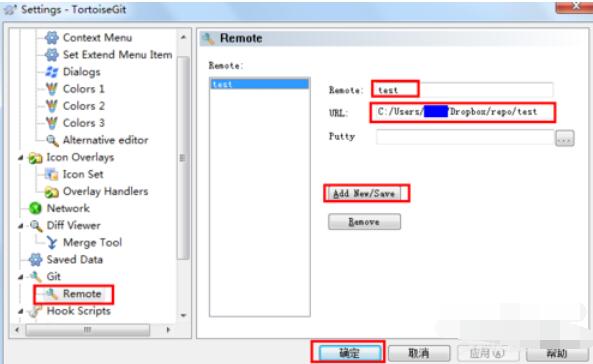
6.(本地源代码)在设置对话框里选中Remote,在右边填上名字和文件夹路径然后Add New/Save,确定即可,如下图所示:
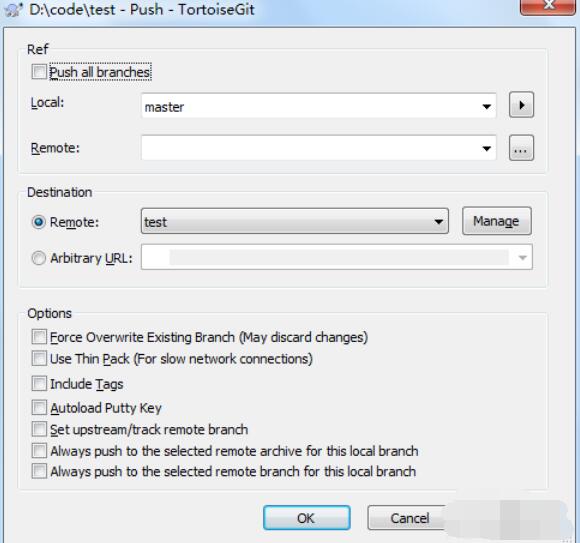
7.(本地源代码)在源码文件夹上右键,Tortoise=>Push弹出下面对话框,如下图所示:
以上就是Dropbox作为Git服务器的操作步骤,希望学习后对你有所帮助。