


最近不少朋友表示还不会虚拟光驱重装win7系统的操作步骤,使用下面小编就带来虚拟光驱重装win7系统的操作方法哦,一起去看看吧。
精灵虚拟光驱重装win7系统的操作教程

下载daemon tools lite并安装;
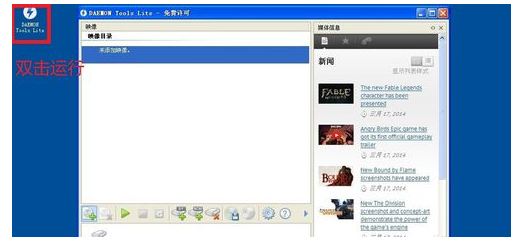
安装后,双击运行daemon tools lite软件
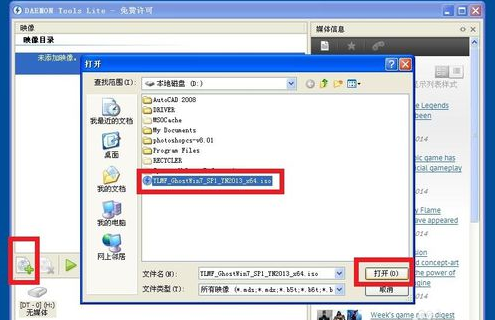
添加映像,在打开窗口中,找到下载的win7系统iso文件,选择iso文件,单击打开
映像添加后,映像目录下,显示加载的iso文件,单击载入按钮
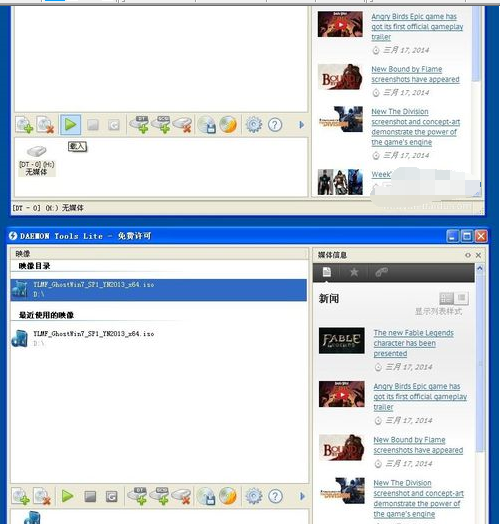
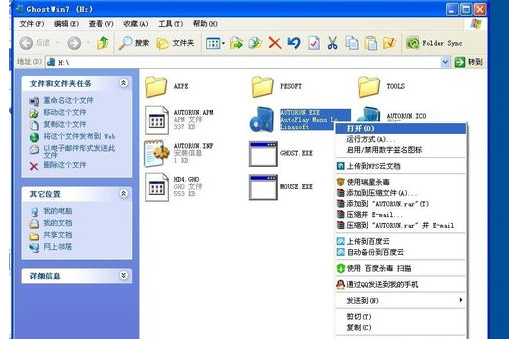
双击载入的映像文件,查看文件
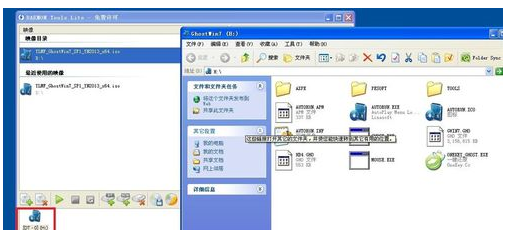
运行autorun.exe
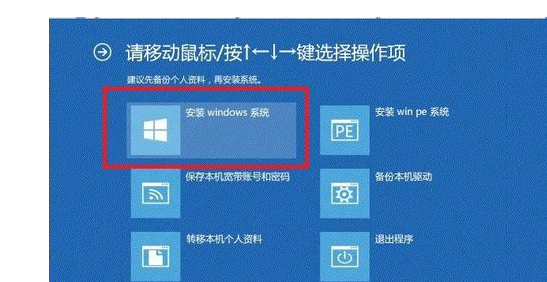
选择安装Windows系统
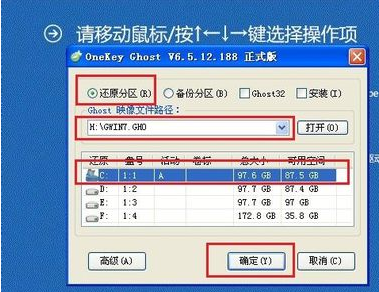
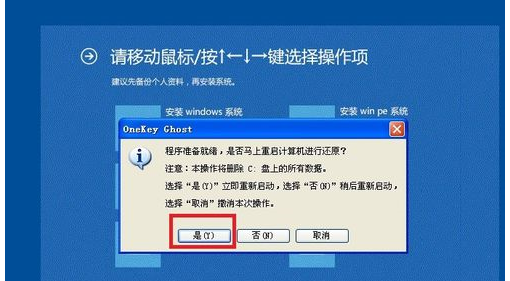
在OneKey Ghost窗口中,选择还原分区,选择映像文件路径,选择还原到C盘
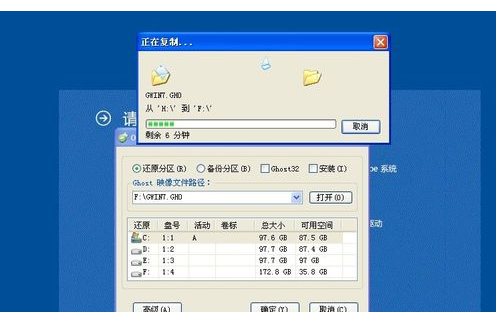
将映像文件复制到F盘
单击是,重启计算机安装系统;
接下来计算机会进入无人值守安装
以上就是小编给大家带来的全部内容,大家都学会了吗?