


想要使用SQL Server 2008数据库进行还原,你们都知道操作的方法吗?下文就为你们带来了数据库还原的具体操作方法。
SQL Server 2008数据库还原的操作教程

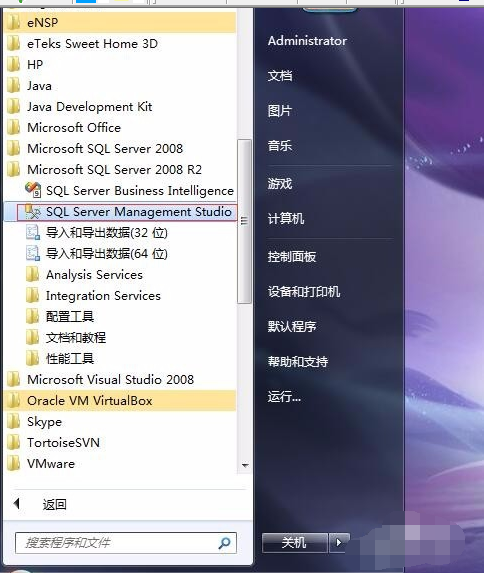
打开数据库软件
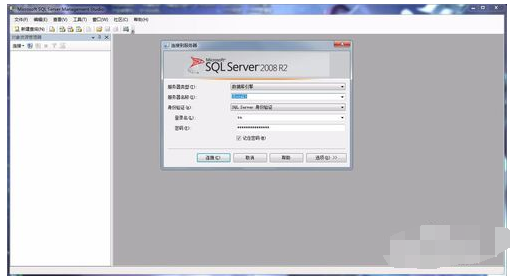
2登录数据库
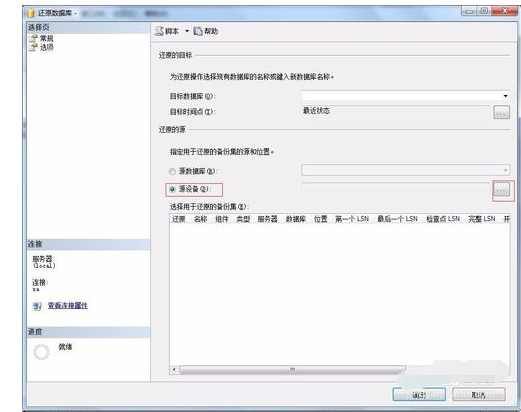
3右击“数据库”,点击“还原数据库”

4选择“源设备”点击浏览按钮,点击“添加”
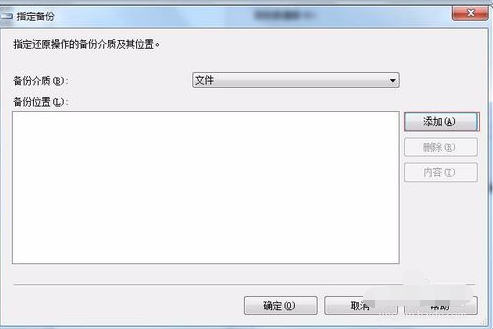
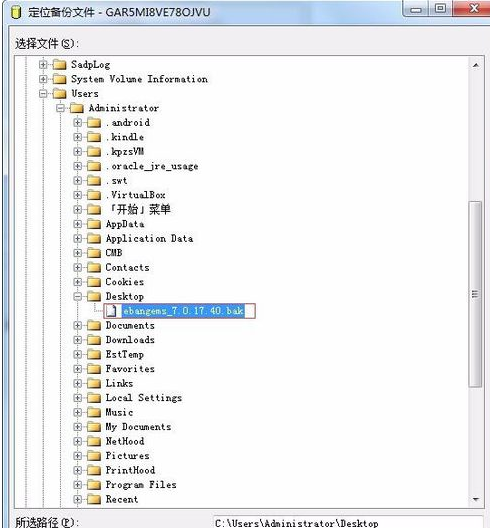
5选择bak数据库所在目录
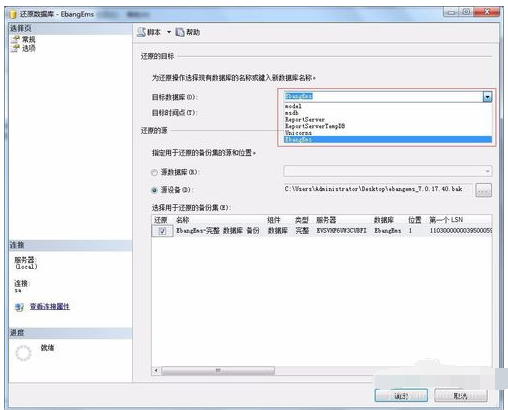
6目标数据库选择对应的名称,勾选需还原的数据库
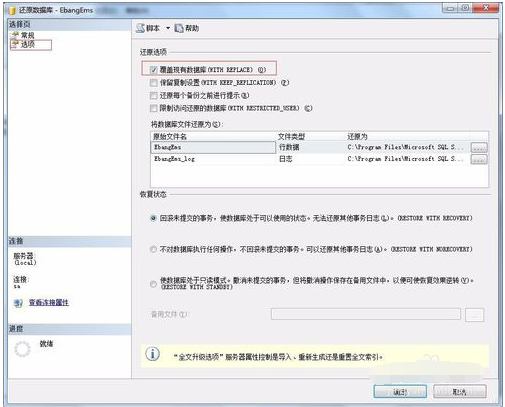
7点击“选项”,勾选“覆盖现有数据库”,点击“确定”
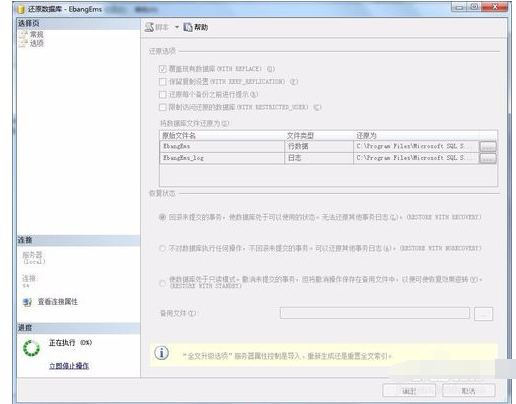
8数据库进入还原状态,等待完成即可

9完成后,就可以发现左侧已经显示了新增加的数据库

以上就是给大家分享的全部教程,更多金财教程可以关注华军下载哦!