


今天我们来学习一下北京精雕中旋转曲面的使用方法,有不清楚的小伙伴,一起来学习一下吧。
北京精雕中旋转曲面的使用方法

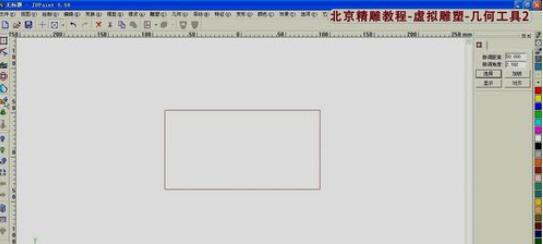
首先打开软件,随便画一个矩形!
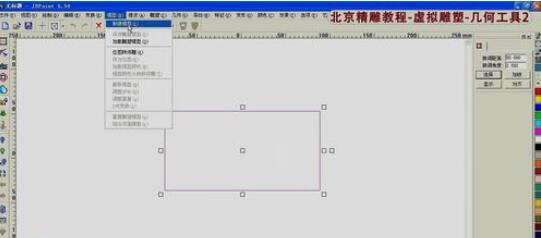
然后进入虚拟雕塑环境,点击模型里的,新建模型。
右侧的顶点数不要设置的太高,20万左右就可以了。
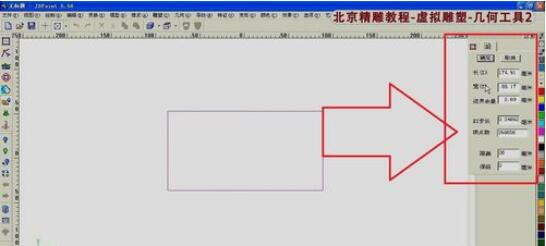
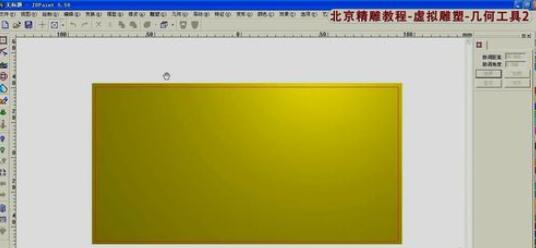
设置好顶点数,点击确定,确定后如图所示。
比如我们要做一个弹簧.
先画一排圆圈,利用区域焊接功能。
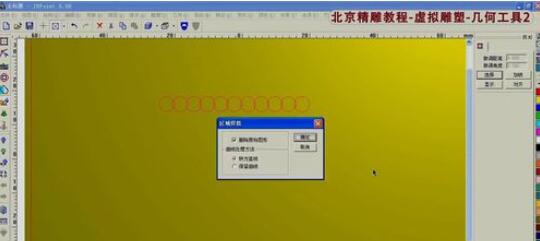
再花一个矩形如图所示!
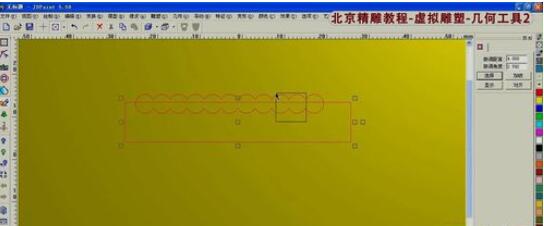
利用裁剪功能,去掉圆圈下方和矩形框。
然后右侧,微调具体填写90度。

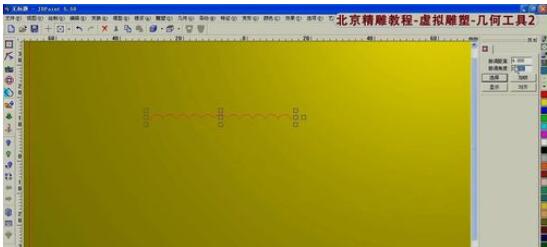
然后在画一个中线,作为一个旋转轴。
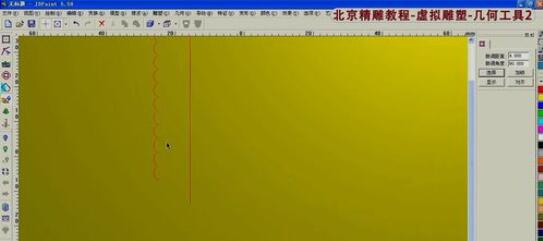
然后选中圆圈图形线条,再点击几何工具里的旋转曲面按钮。
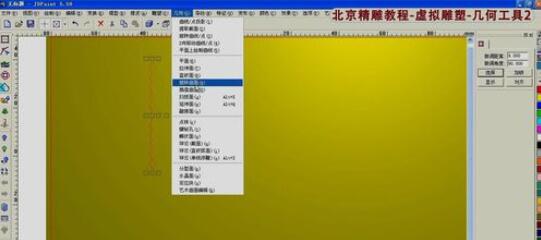
点击后,先选择二维或三维曲线,先点一下圆圈线条,然后在点击指定旋转轴线基点,基点就是上面画的中间的一条线,下面一个点,在点顶端上方一个点即可。
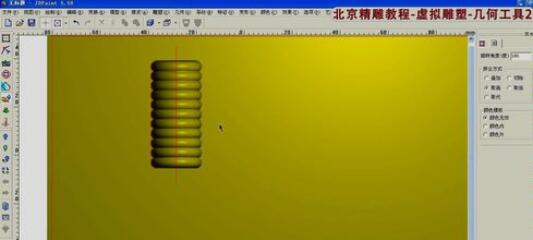
这样就利用旋转曲面做出来了一个这样的东西,是不是很简单,很多类似的图形,都可以利用旋转曲面功能制作出来!

上文就是北京精雕中旋转曲面的使用方法,赶快试试看吧