


今天我们来了解一下python 2.7中安装opencv的操作方法,有不熟悉的小伙伴可以学习一下哦。
python 2.7中安装opencv的操作方法

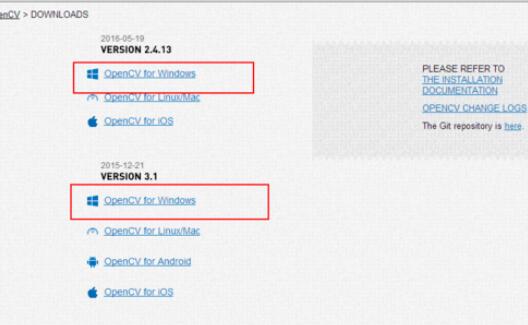
首先要先下载opencv,

打开官网有下载列表,选择windows版本进行下载。
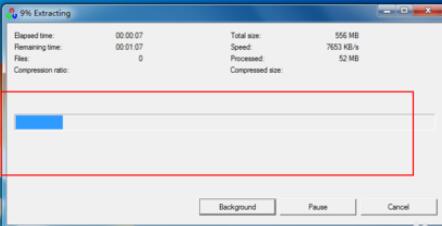
下载完成以后,进行安装。

选择安装路径,进行安装
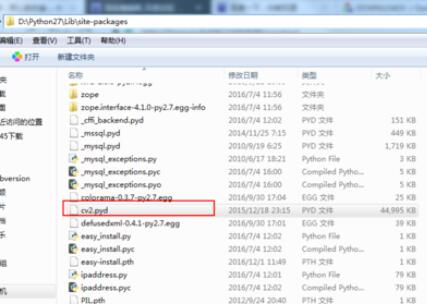
安装完成以后将opencv中的D:opencvopencvbuildpython2.7x64下的cv2.pyd移动到python安装目录下的Libsite-packages
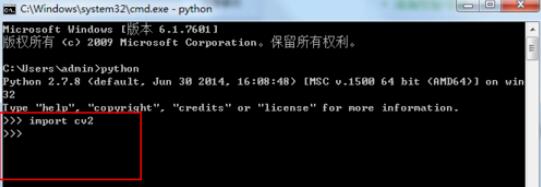
安装完成以后打开命令行进行测试,输入import cv2没有提示错误,就说明安装成功
上文就是python 2.7中安装opencv的操作方法,赶快试试看吧。