


部分用户在使用painter软件的时候,并不是很熟悉其中绘制出油画效果图片的方法?今日在这里小编就为各位带来了painter绘制出油画效果图片的详细操作流程。
painter绘制出油画效果图片的详细操作步骤

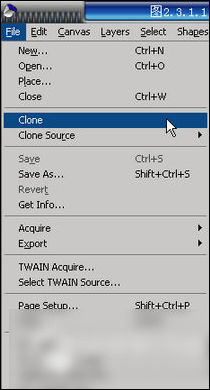
1.在Painter8中打开一张你选好的图片。执行【File】/【Clone】(文件/克隆)的菜单命令。(图2.3.1.1和图2.3.1.2所示)
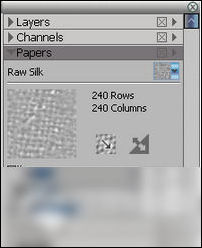
2.到【Paper】(纸纹面板),选择【RawSilk】的纸纹(本教程末尾提供纸纹文件下载,用PaperMover载入使用即可)。(图2.3.2所示)
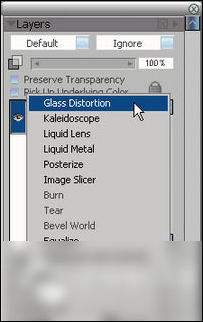
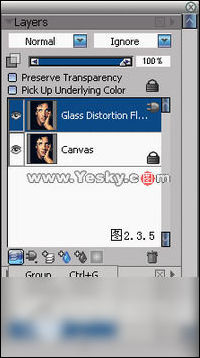
3.到【Layers】(图层面板),添加一个【GlassDistortion】(玻璃扭曲动态图层)。(图2.3.3所示)
4.在【GlassDistortionOptions】的对话框中选择【Using】为【Paper】,调节【Amount】数值为0.72左右,最后按下OK按钮确定。
5.选择【Drop】的命令合并图层。(图2.3.5所示)
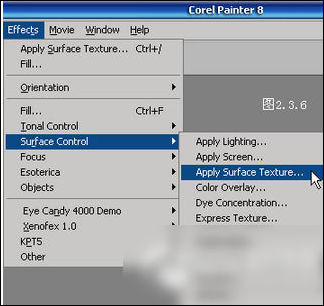
6.执行【Effects】/【SurfaceControl】/【ApplySurfaceTexture】(效果/表面控制/运用表面纹理)的菜单命令。(图2.3.6所示)
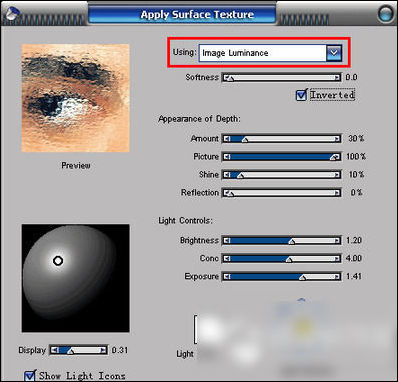
7.在【ApplySurfaceTexture】的对话框中设定【Using】为【ImageLuminance】,设定【Shine】的百分比为10%,设定【Amount】的数值为30%左右。(图2.3.7所示)
8.新建一个图层,使用【Cloners】/【ThickCamelCloner20】(克隆/厚涂驼毛笔克隆20号)在新图层上进行克隆绘画。(图2.3.8.1和图2.3.8.2所示)

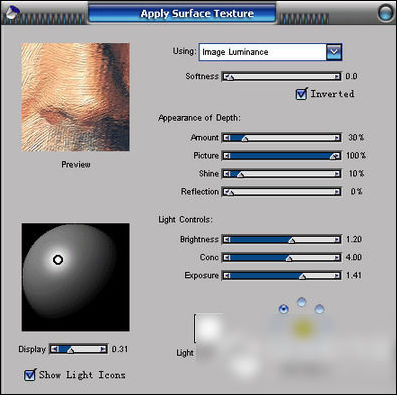
9.合并图层,再次执行【ApplySurfaceTexture】的菜单命令,增加笔触的厚度。(图2.3.9所示)
根据上文讲述的使用painter绘制出油画效果图片的具体操作方法,你们自己也赶紧去试试吧!