


今天我们来学习一下Visual Studio 2005中OpenCV的方法吧,下文是小编带来的Visual Studio 2005(VS2005)安装OpenCV的操作步骤,一起来学习一下吧。
Visual Studio 2005(VS2005)安装OpenCV的操作步骤

直接解压OpenCV-2.4.7到某个目录下,这里解压目录为:D:Program FilesopenCVopencv;
安装cmake-3.4.1-win32-x86到目录:D:Program FilesopenCV中(安装目录可以自定义)

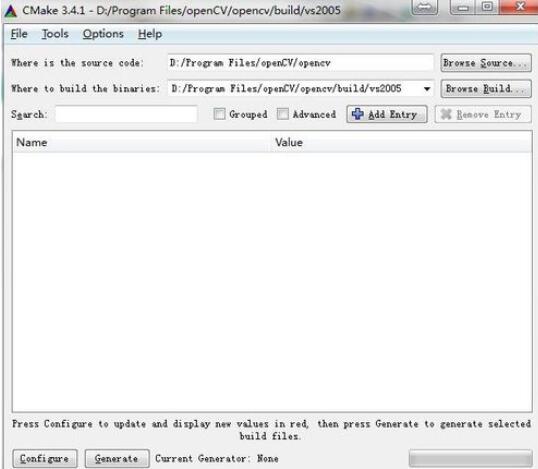
在cmake-3.4.1安装目录bin文件中,运行【cmake-gui.exe】;

设置【where is the source code】路径为OpenCV解压路径(即:D:Program FilesopenCVopencv),并创建子目录D:Program FilesopenCVopencvbuildCmake vs2005,并将cmake的【where to build the binaries】设置为这个目录。
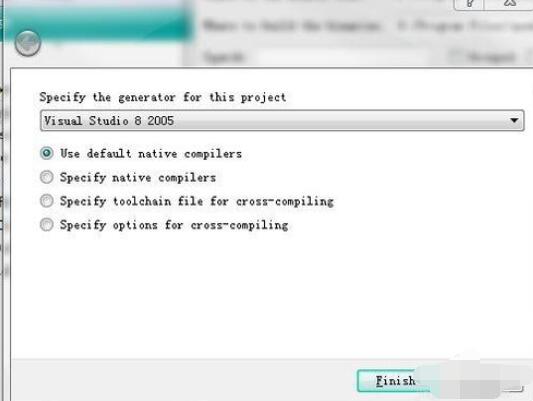
然后点 【configure】,在弹出的对话框内选择【 Visual Studio 8 2005】,然后【Finish】。这时开始编译
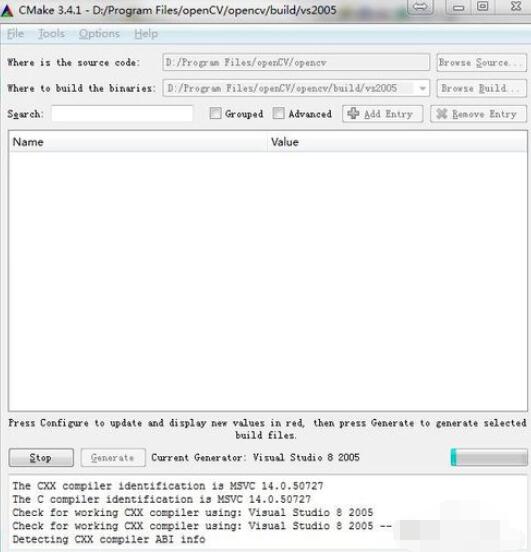
再次点击【Congfigure】,完成后再点击【Generate】就可以生成我们想要的工程文件了。

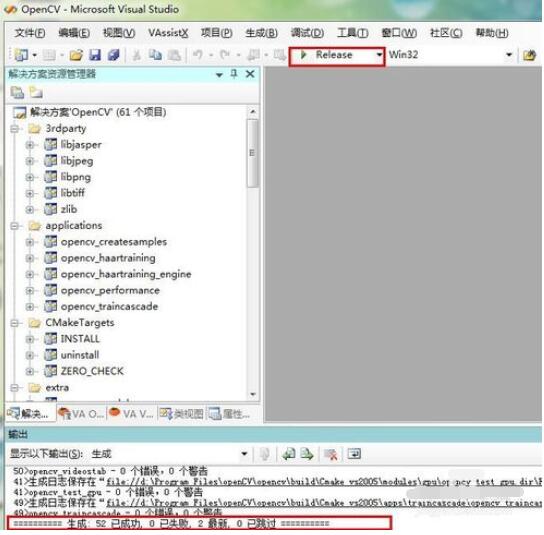
用vs2005打开 buildCmake vs2005目录下OpenCV.sln,然后执行如下操作:
在Debug下,选择Solution Explorer(解决方案资源管理器)里的 Solution OpenCV(解决方案“OpenCV”),点右键,运行"Rebuild Solution";
如编译无错误,再选择INSTALL项目,运行"Build"。
在Release下,选择Solution Explorer里的 Solution OpenCV,点右键,运行"Rebuild Solution";
如编译无错误,再选择INSTALL项目,运行"Build"。

全部运行完毕后,针对你的系统的OpenCV库就生成了。把你需要的lib文件和bin目录下的dll文件拷到OpenCV的安装目下,然后再设置VS2005的环境就可以了。
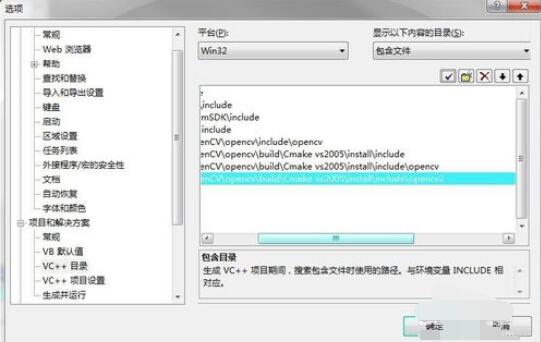
配置include路径:打开Vs,选择菜单“工具”->“选项”->“项目和解决方案”->“VC++目录”->“包含文件”,包含D:Program FilesopenCVopencvbuildCmake vs2005installinclude;D:Program FilesopenCVopencvbuildCmake vs2005installincludeopencv;D:Program FilesopenCVopencvbuildCmake vs2005installincludeopencv2
上面讲解的Visual Studio 2005(VS2005)安装OpenCV的操作步骤,相信大家都学会了吧。