


Source Insight是一款很受欢迎的编程工具,很多程序员使用时都根据自己的喜好调整界面的颜色,下面是关于source insight界面调色的具体方法。
source insight界面调色的具体方法

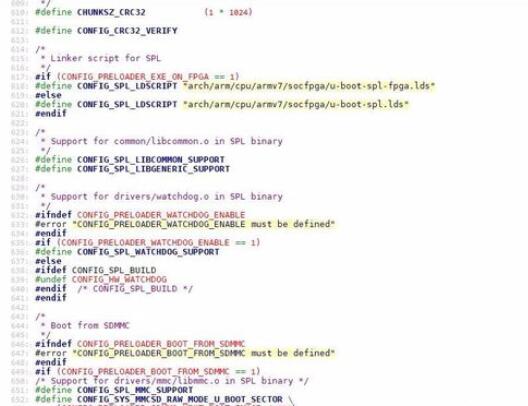
启动SourceInsi
ght,打开任意一个工程或者源文件,初始状态下的显示颜色如下如所示。
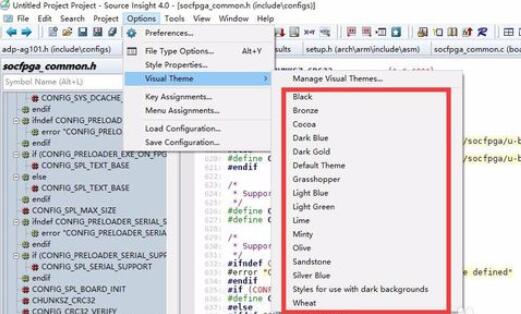
SourceInsight本身自带了几种主题,通过设置主题可以改变配色。这种方法比较简单,但自带的主题配色不一定喜欢。
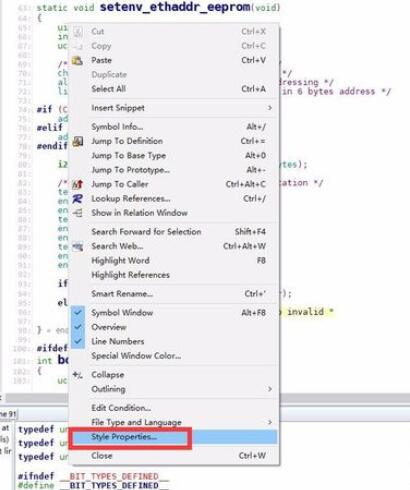
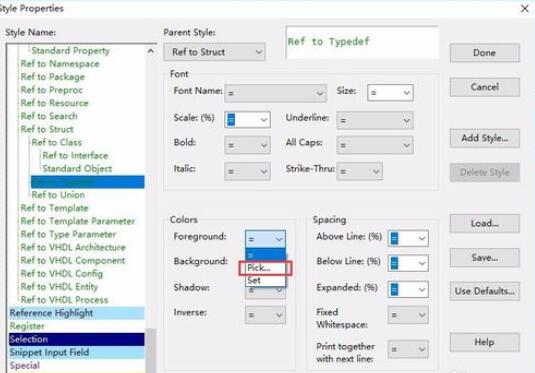
其实源文件中每个元素都可以单独设置颜色。比如要设置数据类型的颜色:将光标放在数据类型的字符中间,右击->Style Properties...。
在Style Properties窗口中,点击Froeground右侧的箭头,选择Pick...。
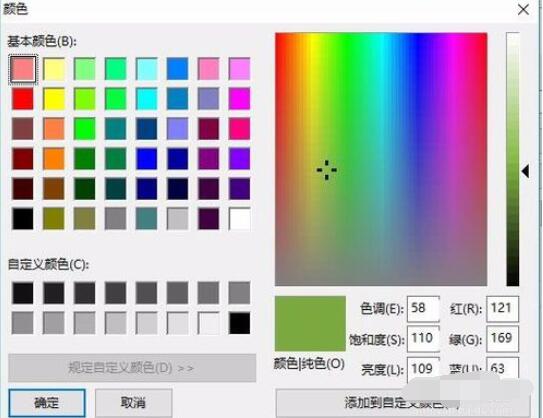
弹出颜色窗口,这里有多种方式设置颜色,可以直接选择基本颜色,也可以通过设置RGB或ESL,还可以直接点击调色板选择喜欢的颜色。
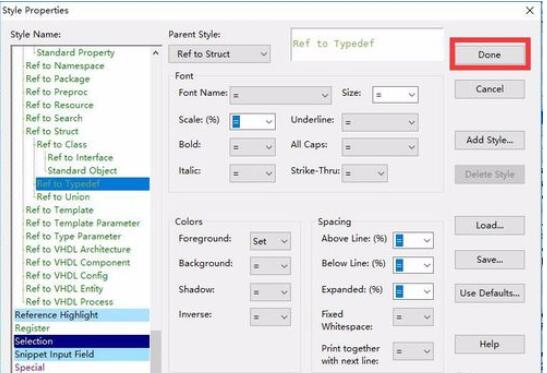
选好颜色点击确定,点击Done,就可以看到同类型的数据类型的颜色都已经变为刚刚设定的颜色。注意数据类型有预定义和自定义之分,不同类型的需要另外设置。
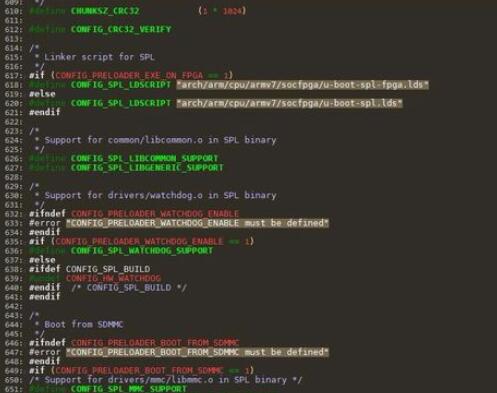
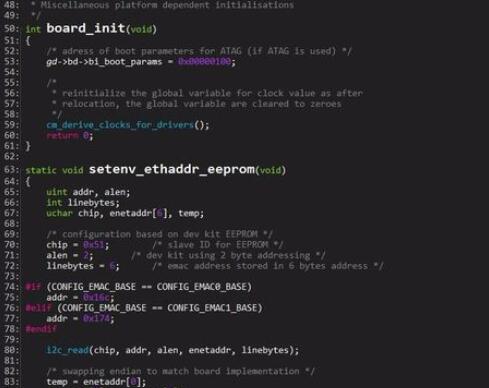
同理,只要将光标放置在源文件相关元素的字符中间,然后右击->Style Properties...->Froeground->Pick...->确定->Done。下图是本人设置的配色。
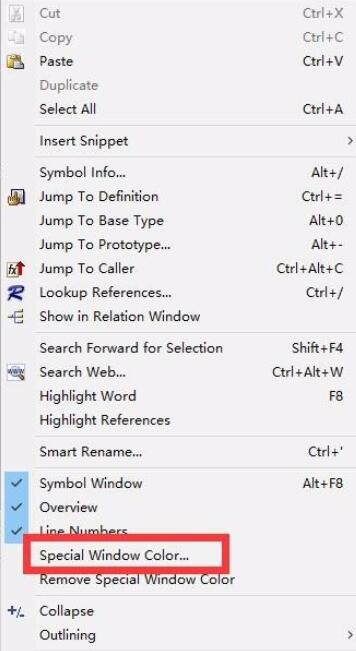
在源文件中任意位置右击,选择Special Window Color...,可以设置窗口背景色。
以上就是关于source insight界面调色的具体方法,大家都学会了吧。