


对于还不了解方正字体库打包的怎样使用教程的,有许多网友咨询过,小编今日就带来了方正字体库打包的使用教程,一起好好学习下吧!
方正字体库打包的使用教程

使用教程
1、下载软件包解压,得到129款方正字体文件。
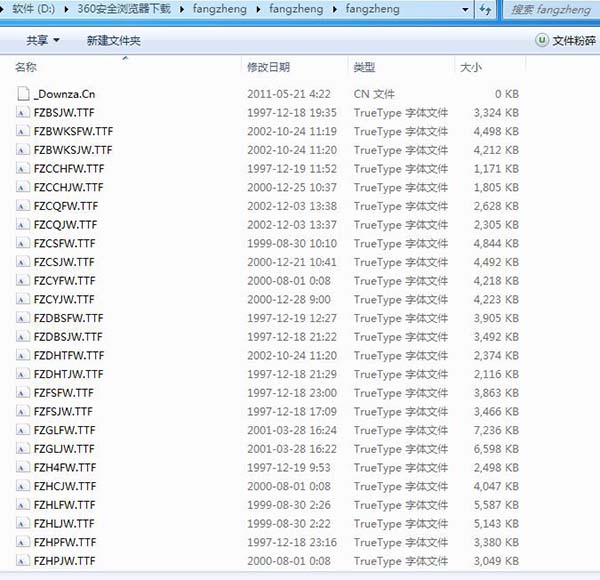
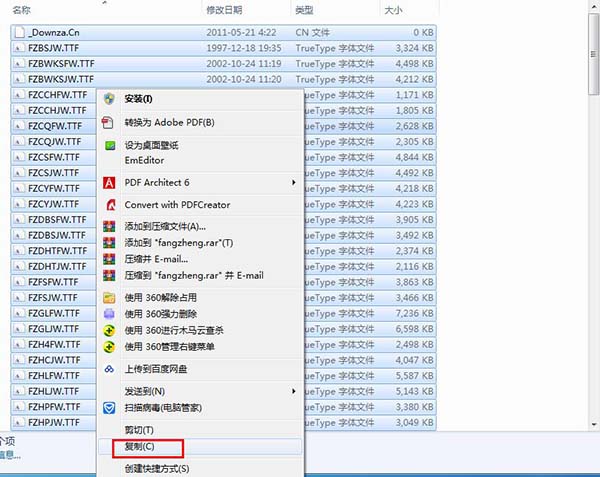
2、按Ctrl+A键选择全部的字体,右键选择复制或者按Ctrl+C。
3、打开C:WINDOWSFonts,进入系统字体库。
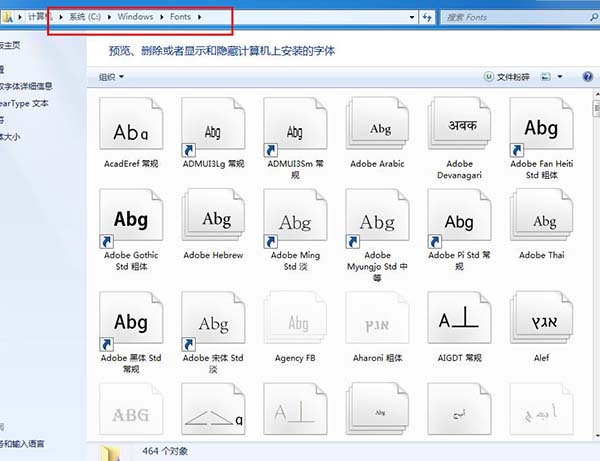
4、将复制的字体文件复制粘贴到系统字体库中即可完成字体的安装。
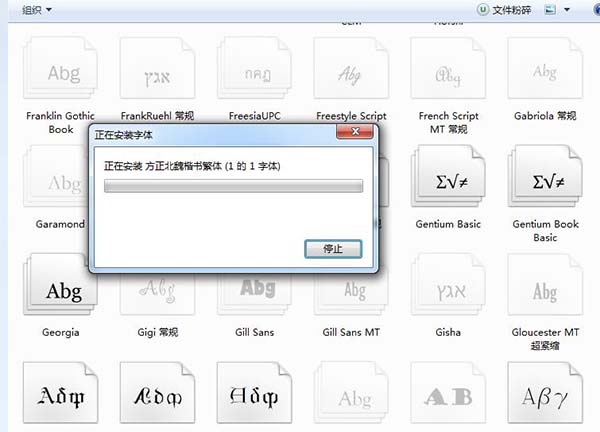
5、小编选择了一款方正北魏楷书繁体字体安装,可以看到字体库中已经有北魏楷书繁体字体,然后打开Word等应用,就可以选择字体使用了。

上文就讲解了方正字体库打包的使用教程的具体操作过程,希望有需要的朋友都来学习哦。