


今天普及一下InDesign进行文字排版的操作步骤,下面就一起去看一看InDesign进行文字排版的操作过程吧,去了解了解,相信可以帮助到大家的。
InDesign进行文字排版的具体操作方法

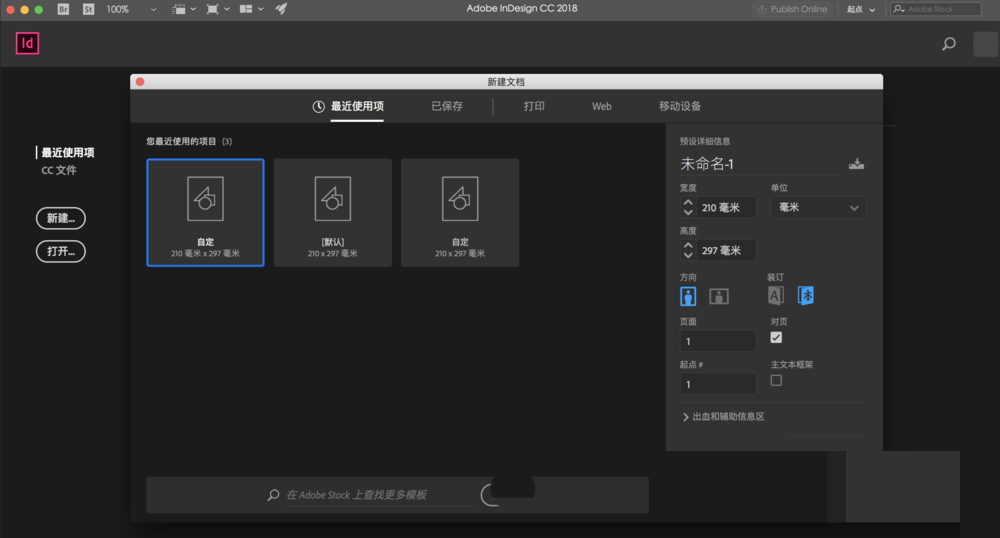
打开InDesign,新建一个文件,一般排版小编都会选择边距和分栏。
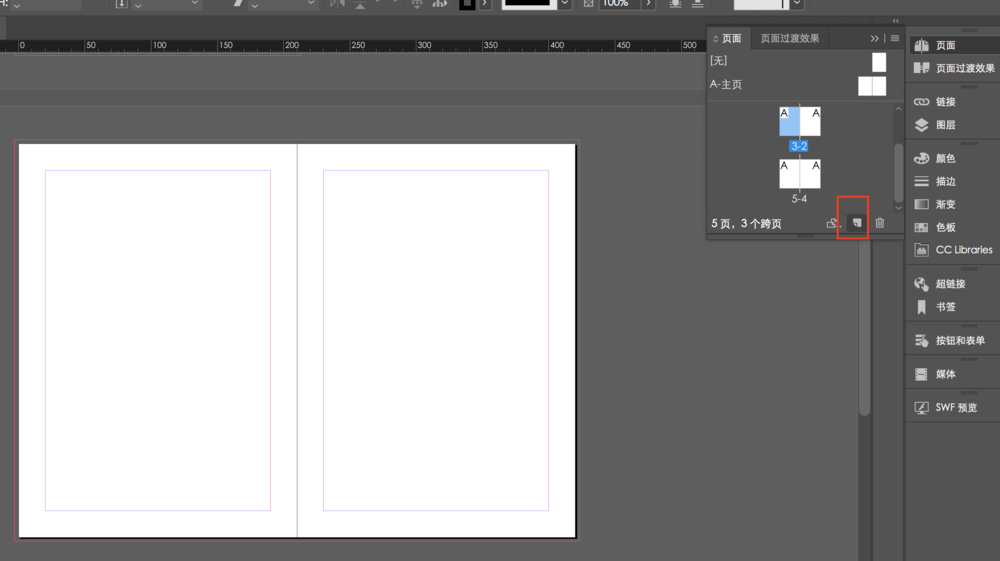
接着新建成功,在右侧可以新建页面,使排版变成对开的形式,根据自己的需要进行调整。
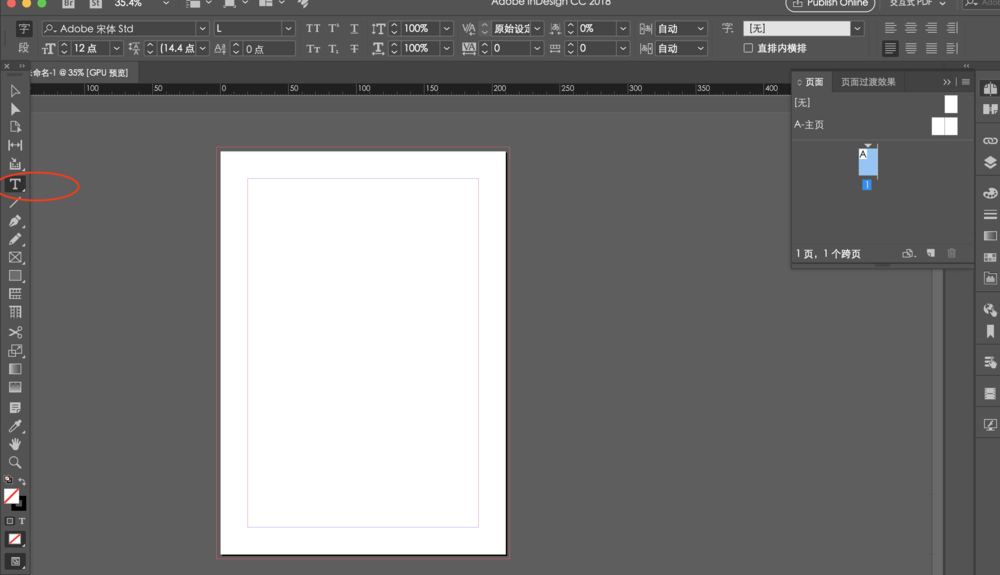
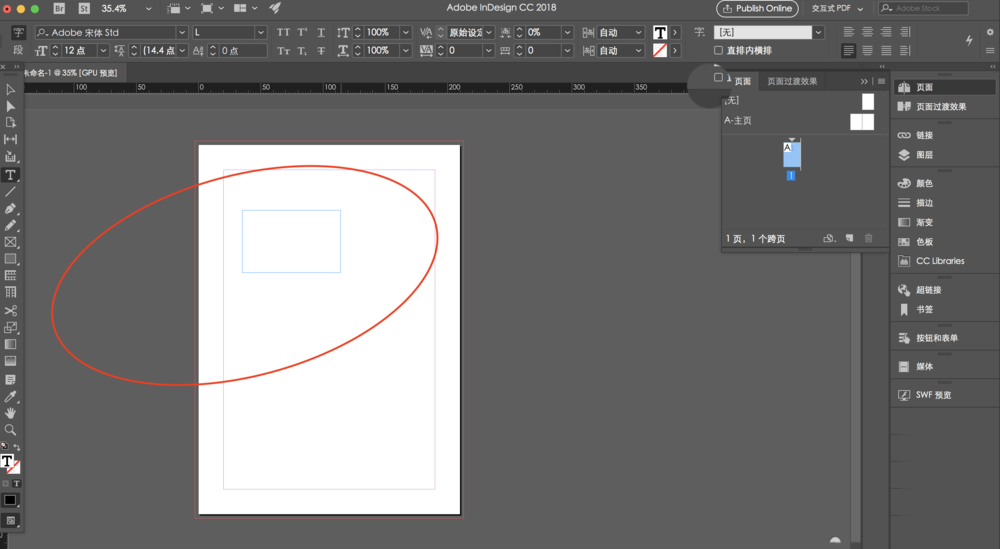
最后进行文字排版,在左侧点击文字排版,可以选择竖排版等等,然后在页面内拉出一个矩形框,就可以在矩形框内排版啦,然后根据自己需要调整字体样式就好啦。
上面就是小编为大家带来的InDesign进行文字排版的操作流程,一起来学习学习吧。相信是可以帮助到一些新用户的。