


最近不少新用户咨询小编关于Creo View 6.0进行安装的操作,本节文章就详细讲解关于Creo View 6.0进行安装的操作教程。来跟着小编一起学习吧!
Creo View 6.0进行安装的操作教程

1、双击“setup.vbs”进入到如下图,语言选择中文
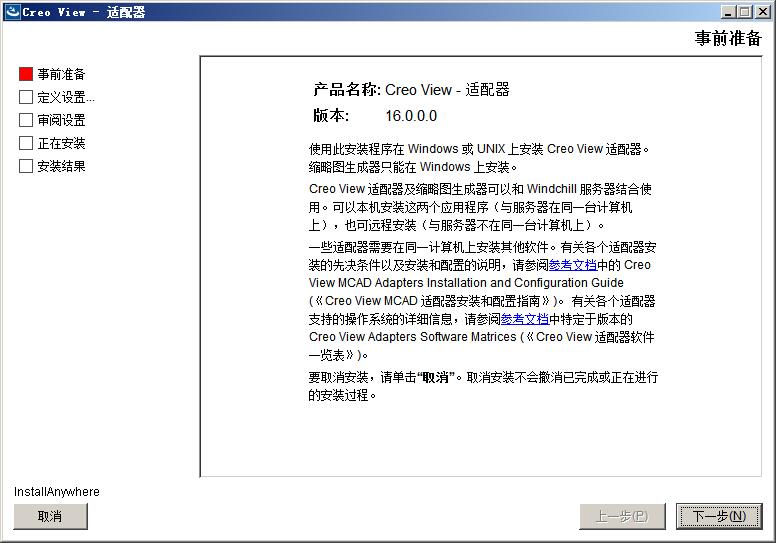
2、点击确定就会进入到Creo View 6.0的安装向导界面
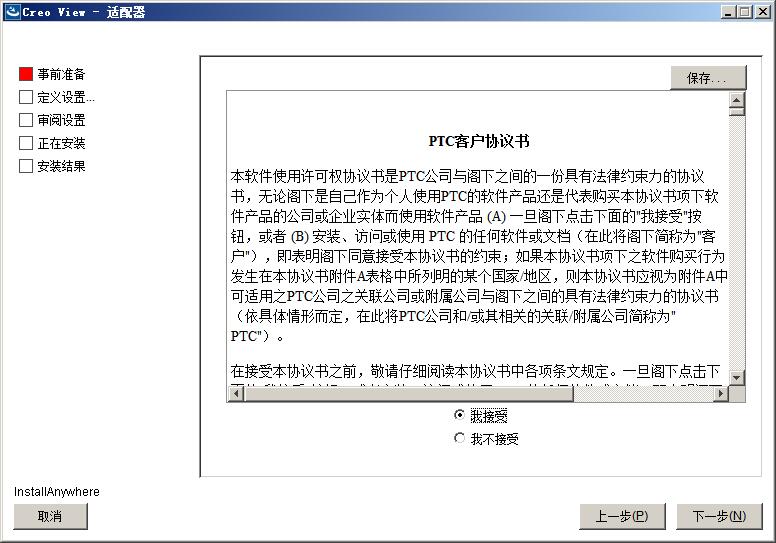
3、下一步出现协议,选择我接受
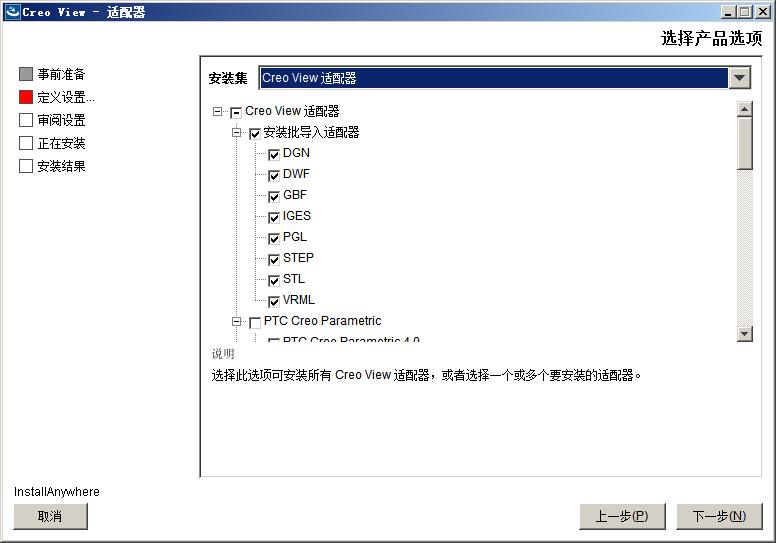
4、下一步选择安装属性,需要的打上勾就可以了
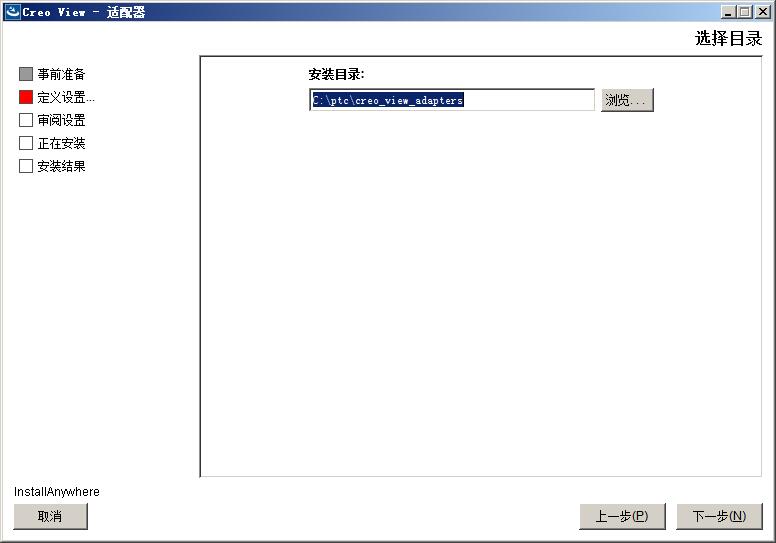
5、然后选择软件安装目录,默认为“C:ptccreo_view_adapters”
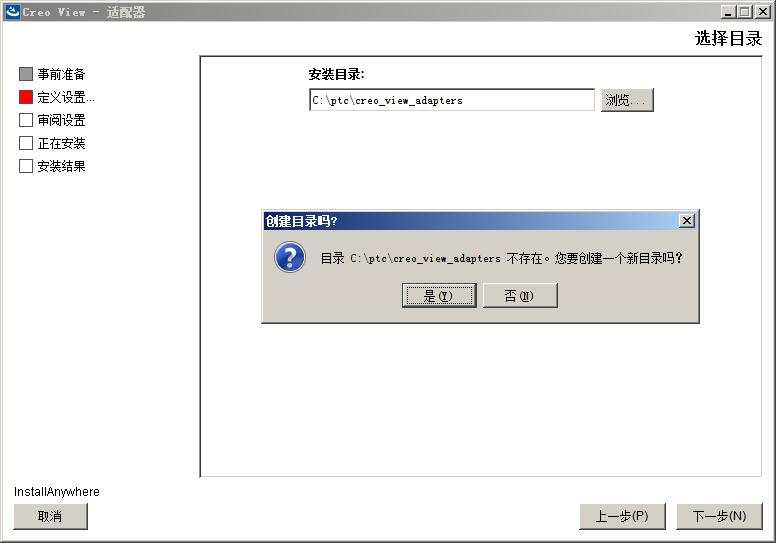
6、提示目录不存在是否创建,点击是
7、如下图选项保持默认

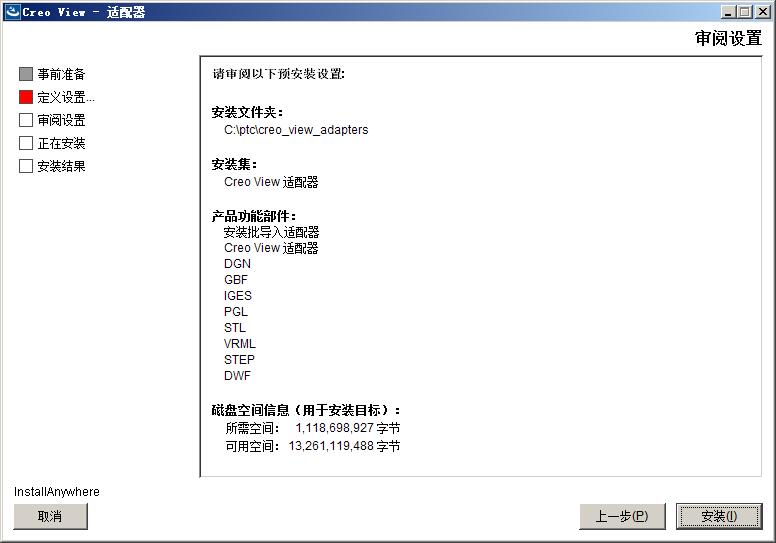
8、确认一下安装信息是否正确,接着点击安装就会开始Creo View 6.0的安装了
9、稍等一会儿就会完成Creo View 6.0的安装了
10、复制文件夹"PTC.LICENSE.WINDOWS.2019-06-01-SSQ" 到临时目录,然后运行“FillLicense.bat”,生成许可文件
11、将生成的许可文件复制到 C:Program FilesPTC
12、创建指向PTC_D_SSQ.dat的环境变量PTC_D_LICENSE_FILE
13、将Creo 6.0.0.0复制替换到C:Program FilesPTCCreo 6.0.0.0
14、复制creo_view_adapters替换到C:ptccreo_view_adapters
15、然后就可以运行软件了
还不了解Creo View 6.0进行安装的操作的朋友们,不要错过小编带来的这篇文章哦。