


亲们或许不知道Premiere中使用雷特字幕器功能的详细操作,那么今天小编就讲解Premiere中使用雷特字幕器功能的操作步骤哦,希望能够帮助到大家呢。
Premiere使用雷特字幕器功能的具体操作

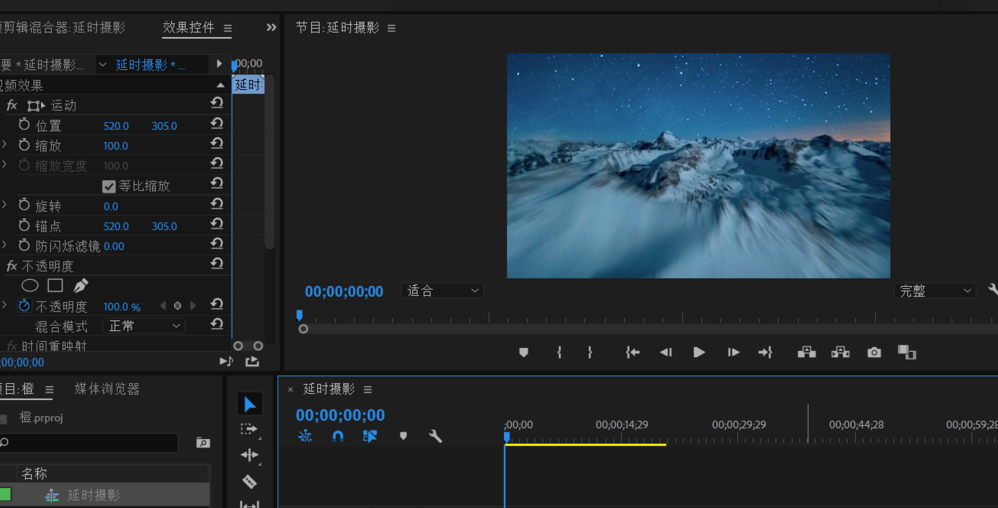
打开Premiere软件,导入视频素材,并将其移动到时间轴上,
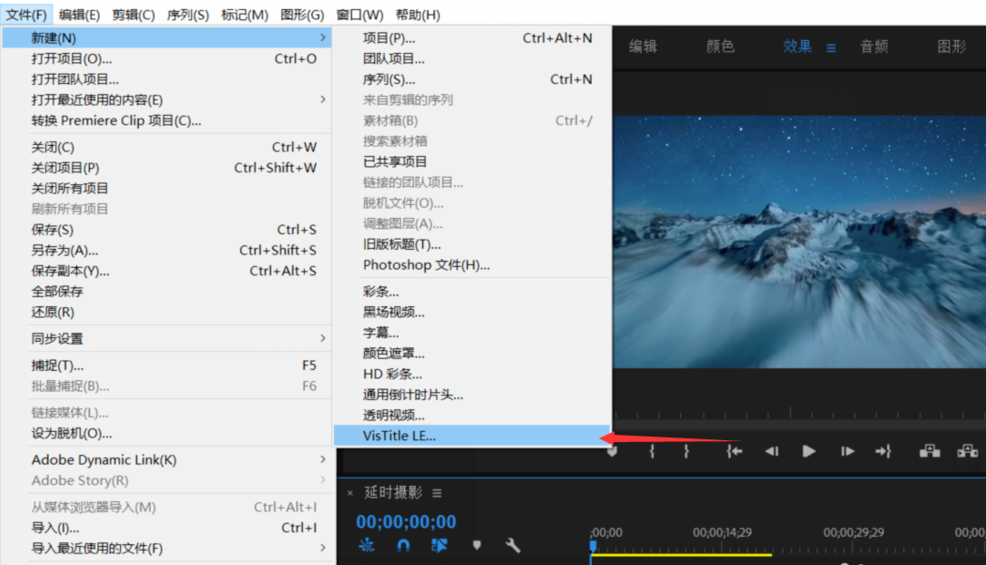
点击菜单栏的【文件】——【新建】——【VisTitleLEForPremiere】选项,如图,
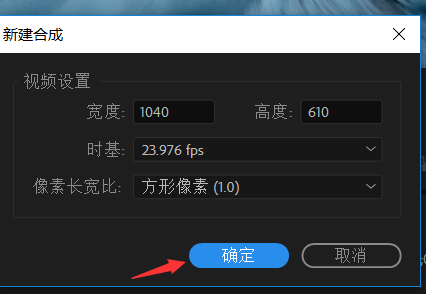
这时弹出【新建合成】窗口,点击确定,软件会根据视频大小来自动匹配尺寸(记得事先设置序列),
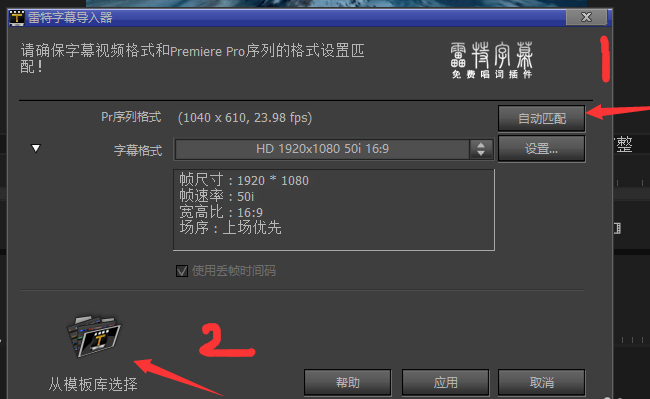
进入雷特字幕导入器,点击【自动匹配】,然后点击【从模板库选择】,
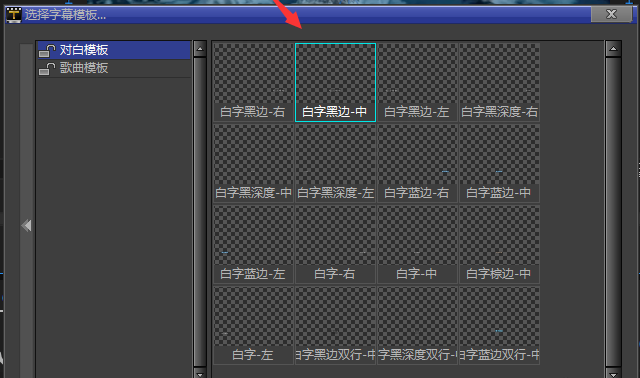
先来选择字幕模板,我选的是白字黑白居中,点击确定,
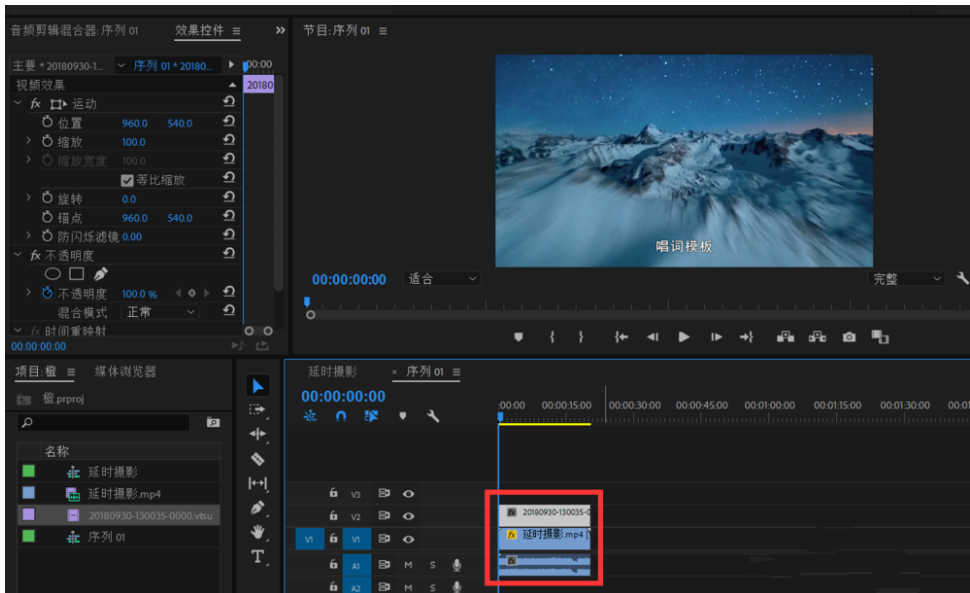
将刚刚建立的模板放到视频上方,然后把字幕素材拉至和视频素材长度一样,如图,
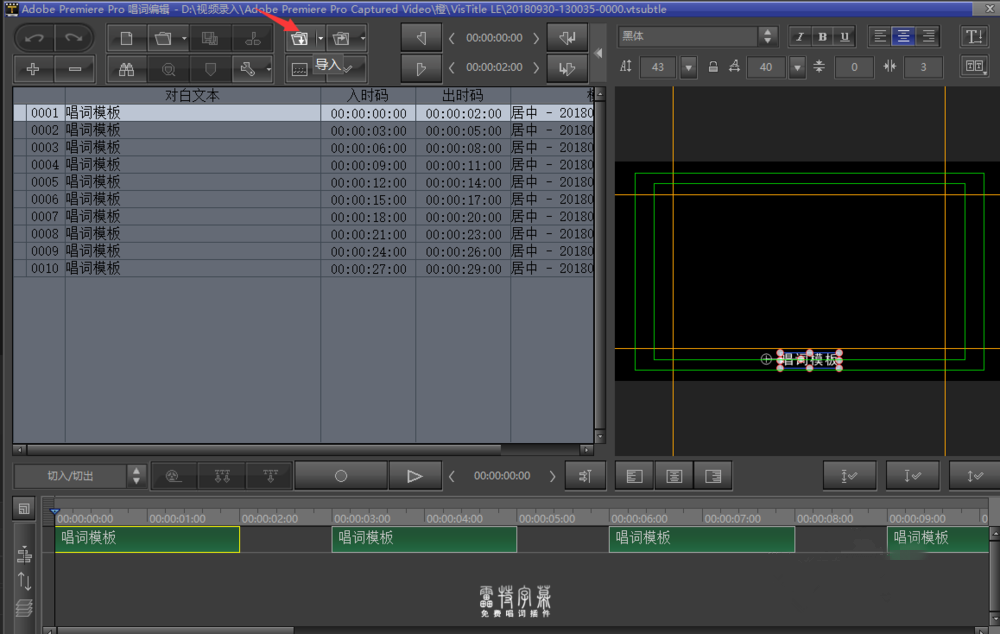
双击字幕模板,会弹出一个窗口,点击导入图标,如图,
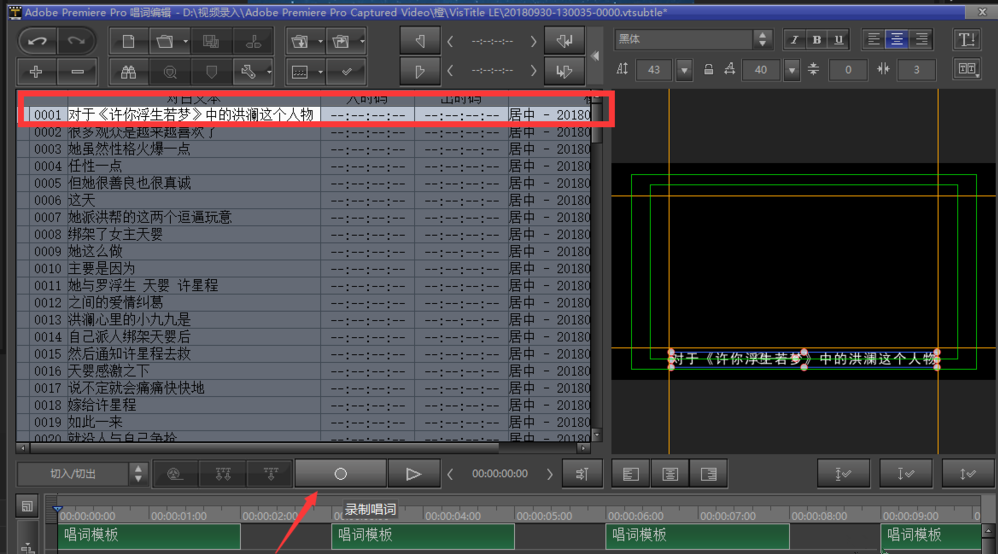
选中之前保存的记事本文件,将其添加进来,如图,定位到文案的第一句话,然后点击【录制唱词】按钮,听它说一句,你就按一下空格键,依次进行即可,
录制结束,直接关闭这个窗口,视频字幕添加完成了。
依照上文描述的Premiere中使用雷特字幕器功能的具体操作步骤,你们是不是都学会啦!