


现在许多都在思科模拟器软件,但不少伙伴还熟悉思科模拟器软件界面,今日就来下文看看在思科模拟器软件界面具体操作吧。
思科模拟器软件界面具体操作

1、双击打开软件Cisco Packet Tracer
2、可以将整个软件界面划分为四个大的区域,虽然天使对各区域的称呼不一定是标准的,这个称呼因人而异
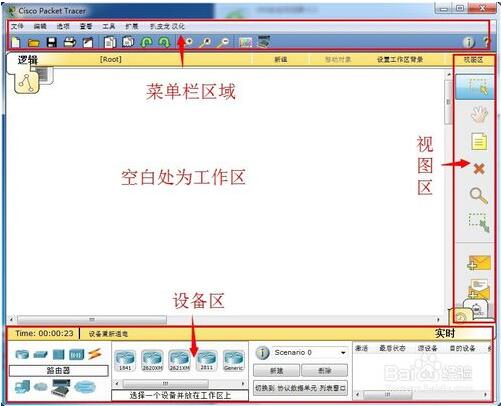
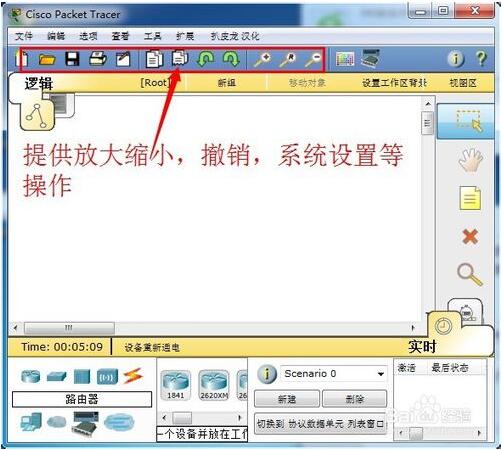
3、菜单栏区域提供复制、粘贴、保存、撤销等常规操作,设置软件信息等
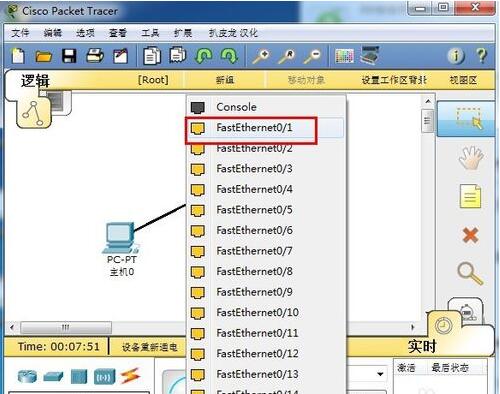
4、设备区,你可以点击一台电脑,然后放置在工作区,使用网线将它们连接,选择连接的端口
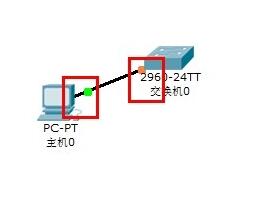
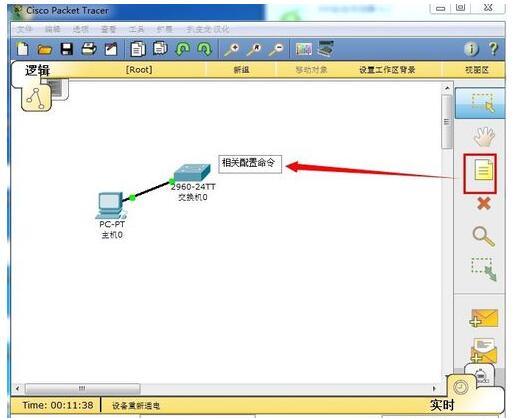
5、交换机不用供电,启动之后加载一段时间,网线两端都会变为绿色,表示连通了
6、视图区域的标签纸,点击可以在工作区任意位置插入文字标签说明
7、 双击交换机,可以打开交换机窗口,查看交换机的属性及更换端口,

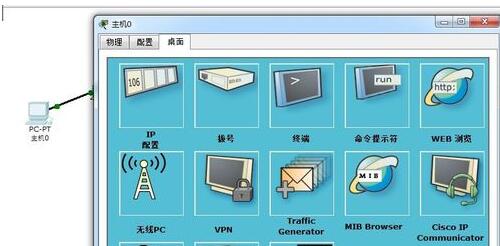
8、 同样,双击电脑,可以看见电脑相关属性,可以配置IP,使用浏览器等等功能。
上面就是小编为大家带来的思科模拟器软件界面的简单使用流程,一起来学习学习吧。相信是可以帮助到一些新用户的。