


当前才接触时光手帐这款应用的网友还不熟悉加背景的操作,接下来小编就来讲解时光手帐加背景的操作方法,相信一定可以帮助到你们。
时光手帐加背景的基础操作

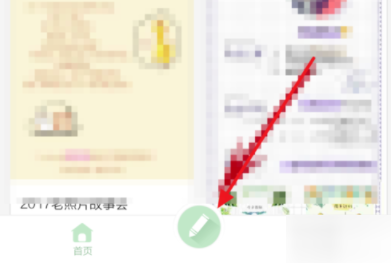
1.打开时光手帐app,点击中间的编辑按钮,进入主编辑界面
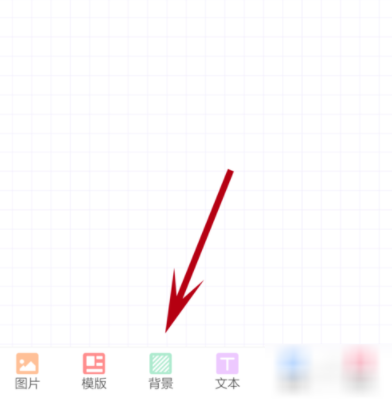
2点击背景
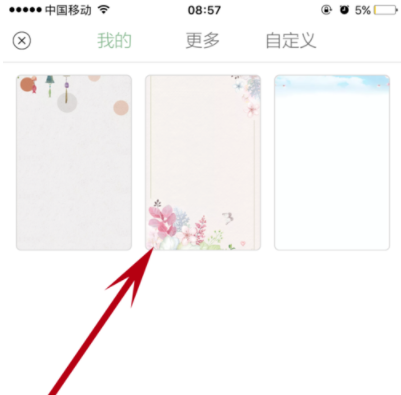
3.点击我的,你可以添加已经用过的背
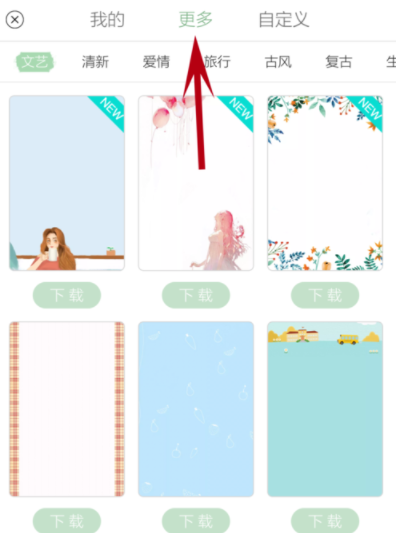
4.点击更多,下载完毕后直接点击 使用即可,你可以添加更多的背景
5.点击自定义,你可以添加自己的图片
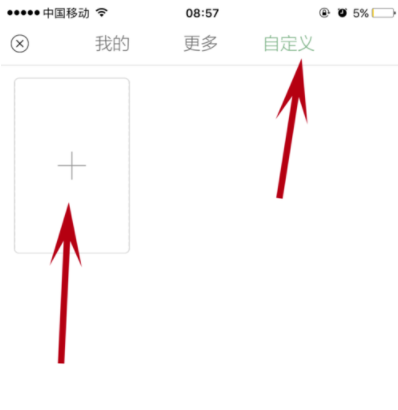
6.选择一张图片,根据提示,依次添加进去,在原来背景的基础上,该图片就可以再增加背景了。
各位小伙伴们,看完上面的精彩内容,都清楚时光手帐加背景的基础操作了吧!