


很多网友都还不熟悉AutoCAD画图纸边框的操作步骤,下面小编就讲解一下AutoCAD画图纸边框的操作方法,希望对你们有所帮助哦。
AutoCAD画图纸边框的操作步骤

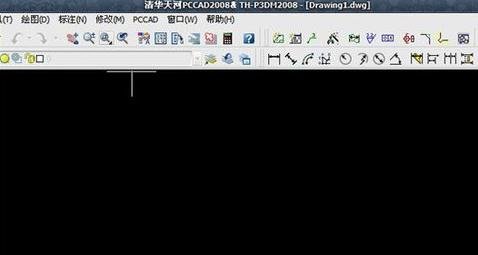
打开CAD绘图软件,新建一个绘图界面,如图所示。
在菜单栏“PCCAD”中找到“图纸”,下拉找到“图纸设置”,如图所示。我这里用的CAD是安装了清华天河的,所以就直接可以调取了。
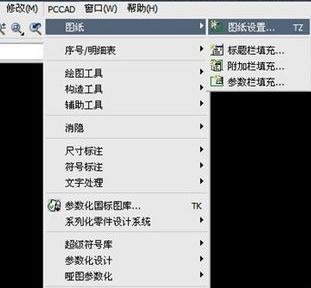
点“图纸设置”,弹出“清华天河图纸设置”窗口,如图所示。
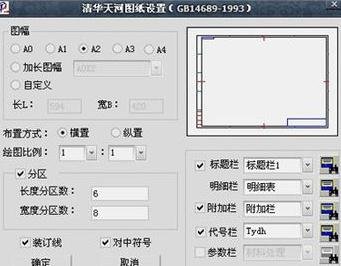
在“清华天河图纸设置”窗口中我们可以看到有A0到A4五种图幅,但在绘图中我们可能遇到更大的尺寸的图纸,可以对图幅进行相应的比例设置。
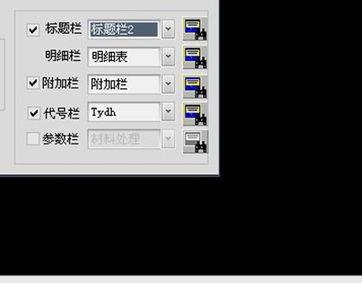
在右下角可以对“标题栏”、“附加栏”、“代号栏”等进行设置。
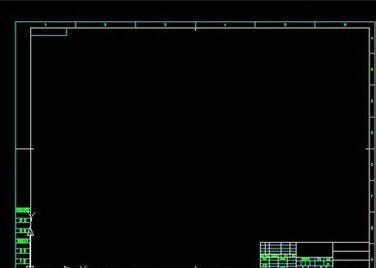
点确定,就可以在需要的位置插入设定好的图框了。
各位小伙伴们,看完上面的精彩内容,都清楚AutoCAD画图纸边框的操作步骤了吧!