


ps被广泛应用,那么用Photoshop将彩色照片转为手绘图是怎么做到的呢?下面就是小编带来的Photoshop将彩色照片转为手绘图的简单操作方法,很简单哦,看完之后你也来试试吧!
Photoshop将彩色照片转为手绘图的简单操作方法
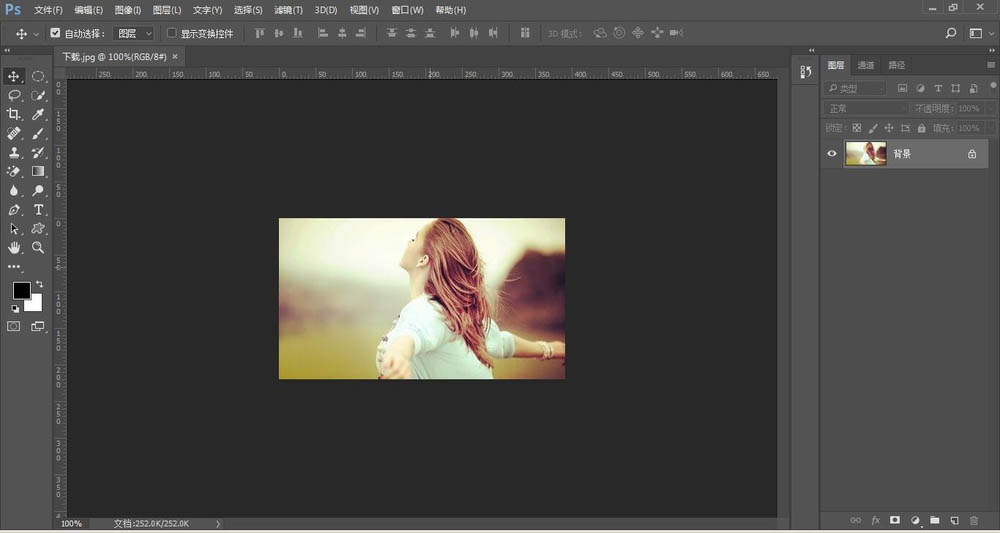
1、将准备好的图片,置入Ps中
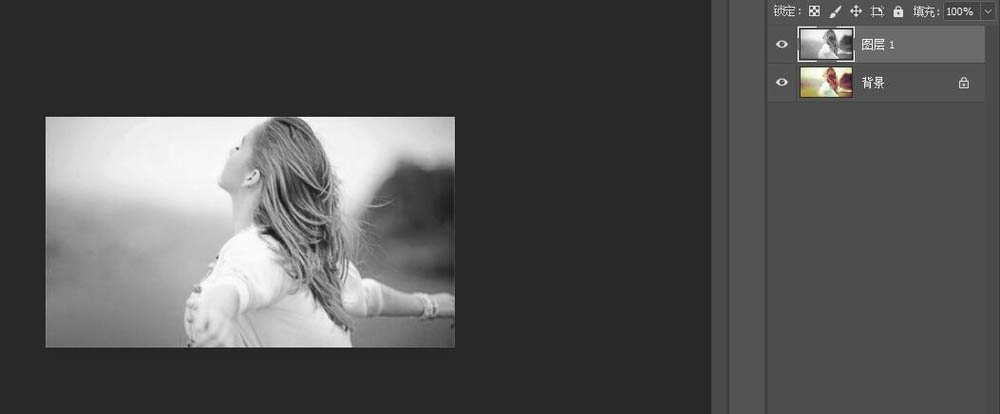
2、ctrl+j复制一个

3、在复制的图片中操作,ctrl+shift+u去色
4、复制去色层,
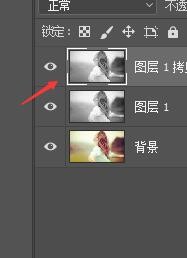
5、在新复制的图层中,ctrl+I反向
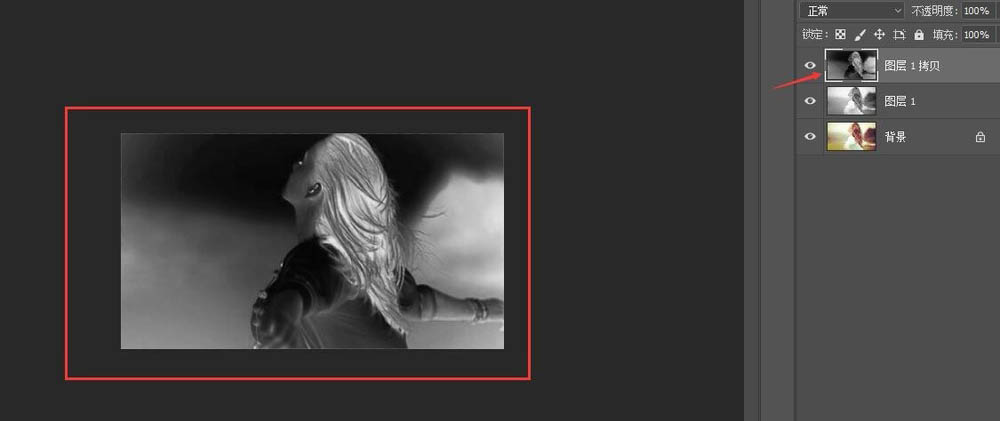
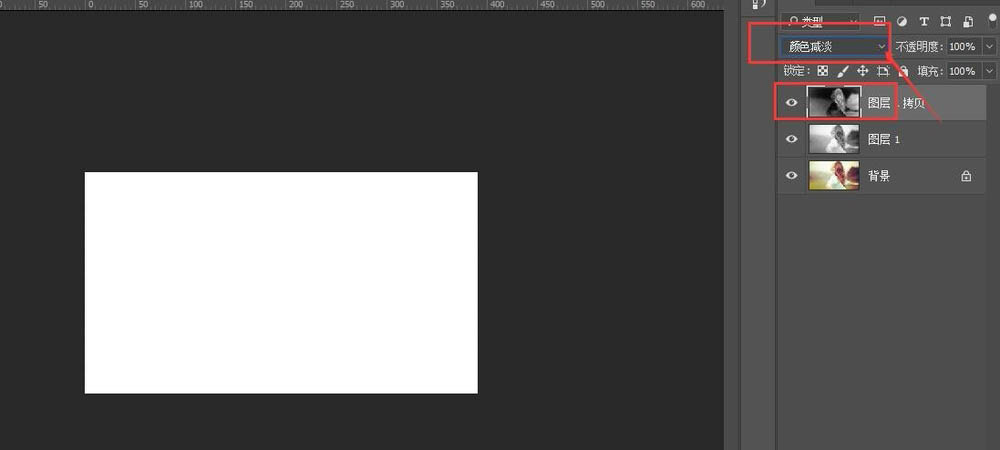
6、将模式调整为“颜色减淡”,如图
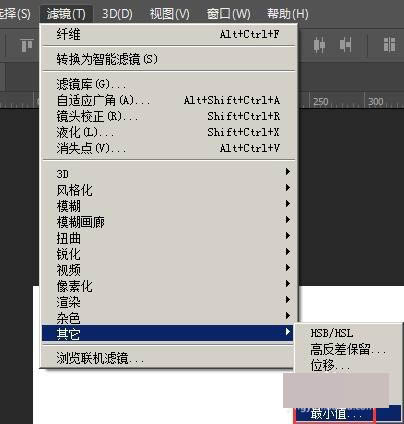
7、选择“滤镜-其他-最小值”
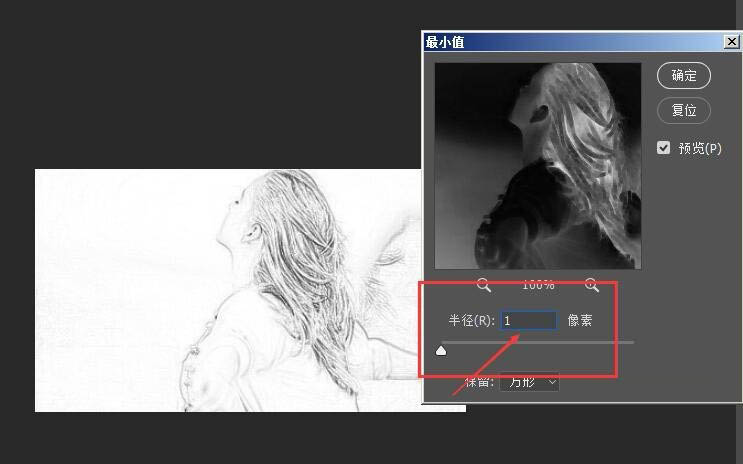
8、最小值调整数值为“1”,确定
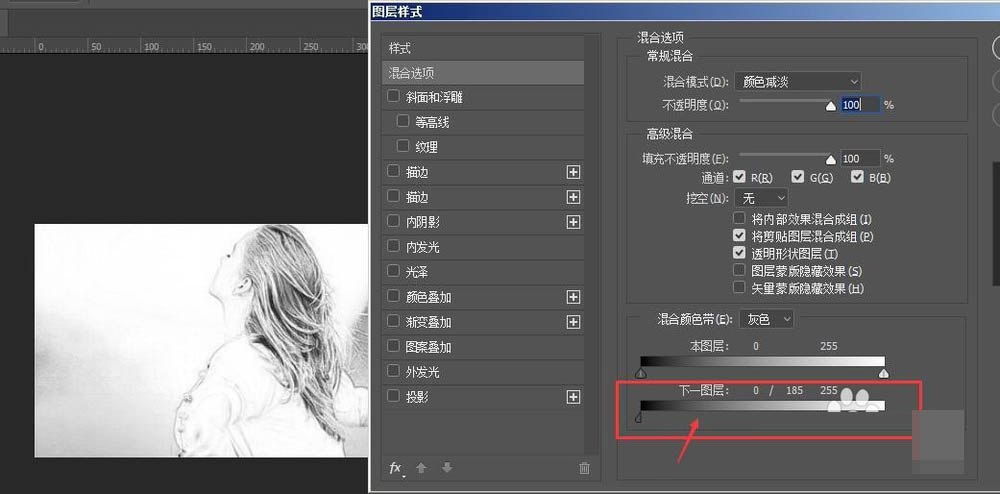
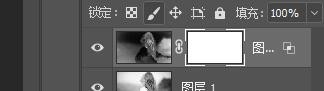
9、然后双击图层蒙版,打开混合选项,按住alt键调整“下一层”
10、选择图层蒙版,对图层添加图层蒙版

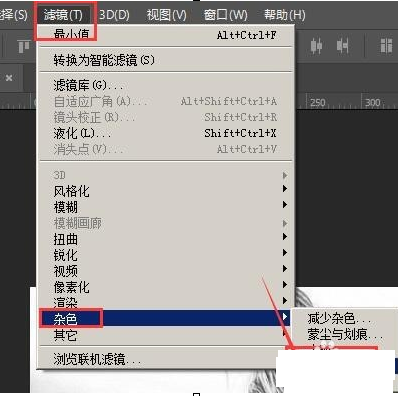
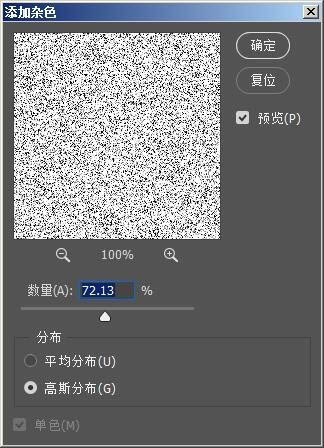
11、点击图层蒙版,选择“滤镜-杂色-添加杂色”
12、调整数量数值,“高斯分布”、确定
13、选择“滤镜-模糊-动感模糊”
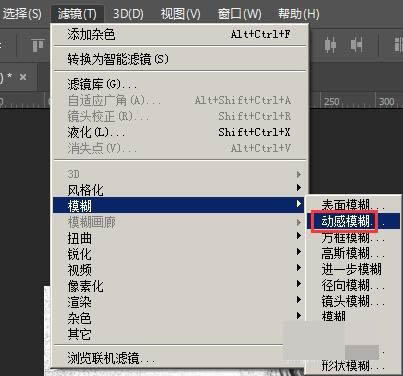
14、调整角度为“50”,距离为“24”,确定

15、最后图片转为手绘版图片

教程结束,以上就是关于Photoshop将普通女生照片转为手绘图教程的全部内容,希望大家看完有所收获!
相关教程推荐: